
(二)使用vue-cli學習使用vue-router
一、路由部分
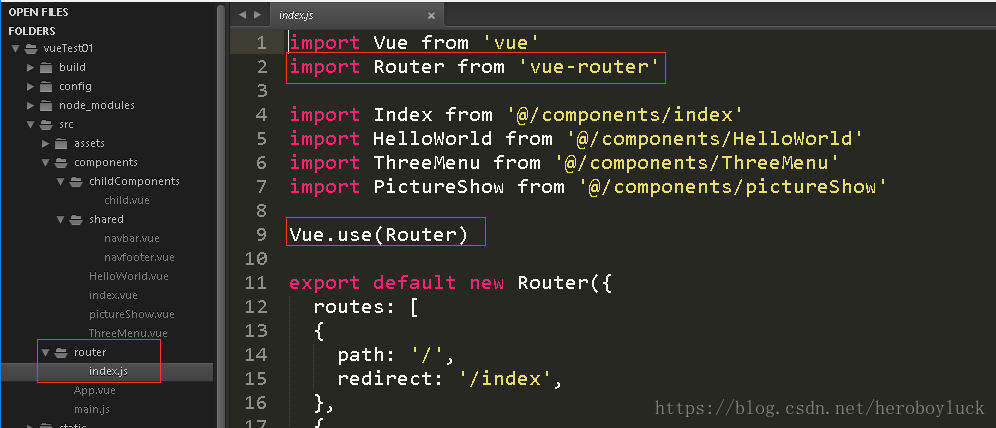
使用vue-router處理連結跳轉,在vue-cli 構建的專案中預設安裝,在生成的模板已經配置好了,如圖:
配置好之後,就可以在頁面中使用了,常用的<a href=''></a>標籤。vue-router提供了<router-link to=''></router-link>,提供當然就有它的好處,參考文件
1.相容性,無論是 HTML5 history 模式還是 hash 模式,它的表現行為一致。
2. 在 HTML5 history 模式下,router-link 會守衛點選事件,讓瀏覽器不再重新載入頁面。
3.當你在 HTML5 history 模式下使用 base 選項之後,所有的 to 屬性都不需要寫 (基路徑) 了
處理路由跳轉後,就需要顯示跳轉的內容,使用<router-view></router-view>
路由書寫:
        export default new Router({
            routes: [
            {
                path:'/',
                redirect:'/login',
            },
            {
              path:'/login',
              name:'login',
              component:Login
            },
            {
              path: '/start',
              redirect:'/start/index',
              name: 'start',
              component:Start,
              children:[
                {
                  path:'index',
                  name:'index',
                  components:{
                      index:Index,
                      info:ContListInfo,
                      handle:ContListHandle
                  }
                }
              ]
        }]
    })
這個路由規則四個意思:1、預設路由跳轉,redirect。2、路由跳轉匹配,‘/login’,匹配元件component:Login。3、子路由設定,children:[ …],要預設顯示某個子路由,redirect地址。4、預設檢視顯示or命名式,
<router-view name='info'></router-view>,沒有name<router-view></router-view>屬性時顯示預設檢視,有那麼值時顯示對應的元件。
其他路由規則
1、動態路由匹配,顯示同一個元件,以url地址傳遞ID or name展示不同的資料。在路由規則中path:’/login/:id’,‘:’表示動態匹配,比如:‘/login/1’、‘/login/user’。如果不涉及複雜的頁面邏輯以及不要求在url地址中顯示當前的操作,可採用父子元件資料 傳遞來更改檢視顯示
2、路由重定向,使用redirect ,指定路由地址‘/login’,或者命名的路由name,redirect:{name:’login’};路由別名,按找時機路由渲染,url地址是自己定義的,比如跳轉到‘/login’,路由規則加屬性 alias:’/api/login’。僅僅是展示用。
3、
路由例項
在vue例項中訪問路由的例項,this.$router
1、通過編碼實現路由跳轉,this.$router.push();如登入操作
//字串
this.$router.push('home');‘/home’
//物件
const userId=123;
this.$router.push({ name: 'user', params: { userId }});‘/user/123’
this.$router.push({ path:user/${userId}})‘/user/123’
2、this.$router.replace().替換掉歷史記錄,不會新增
3、this.$router.go()在歷史記錄中前進或者後退多少布
路有物件屬性:
| this.$router | |
| .path | 獲取當前的路由地址 |
| .params | key/value 物件 路由引數 |
| .query | key/value物件,查詢引數,比如‘/user?id=1’,this.$router.query.id=1 |
| .name | 當前路由的名稱 |