【用Cocos Creator給暗戀的女生寫一個遊戲(8)】——(Run Game) Prefab的動態管理
我們先來考慮一下這個PrefabManager是幹什麼的,我們的遊戲中有重複出現的水管和老公,所以PrefabManager要能夠動態管理他們,理所當然要有建立和銷燬的方法,建立很簡單,我們只需要每隔一段距離往pipeLayer新增子節點就行了,但銷燬它們還是需要一些技巧的,從邏輯角度來說,當水管和老公移動到螢幕外時我們就要將他們銷燬,這裡我們用一個普通班不會教的方法——利用碰撞檢測系統
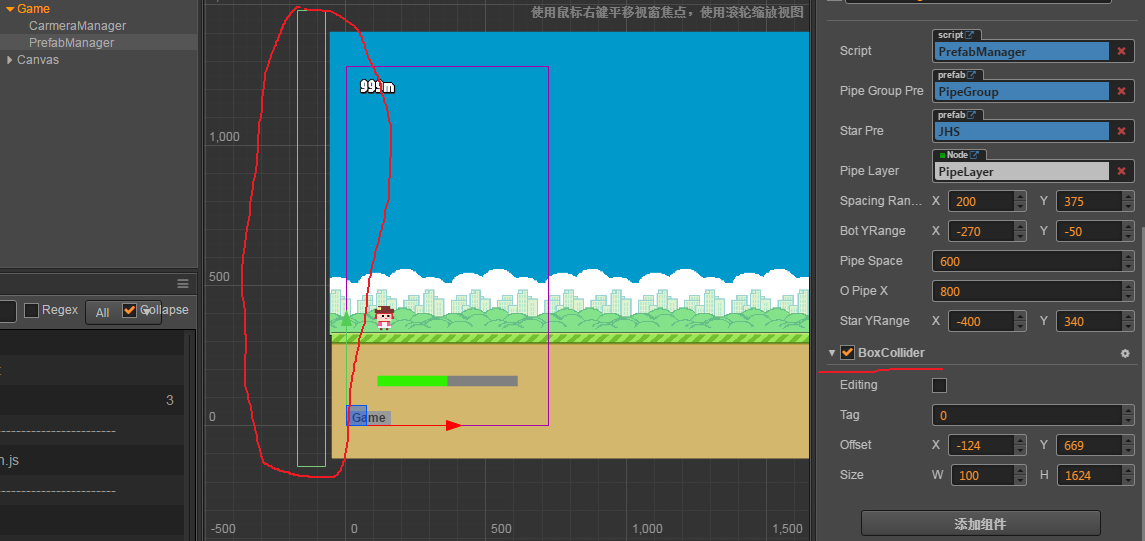
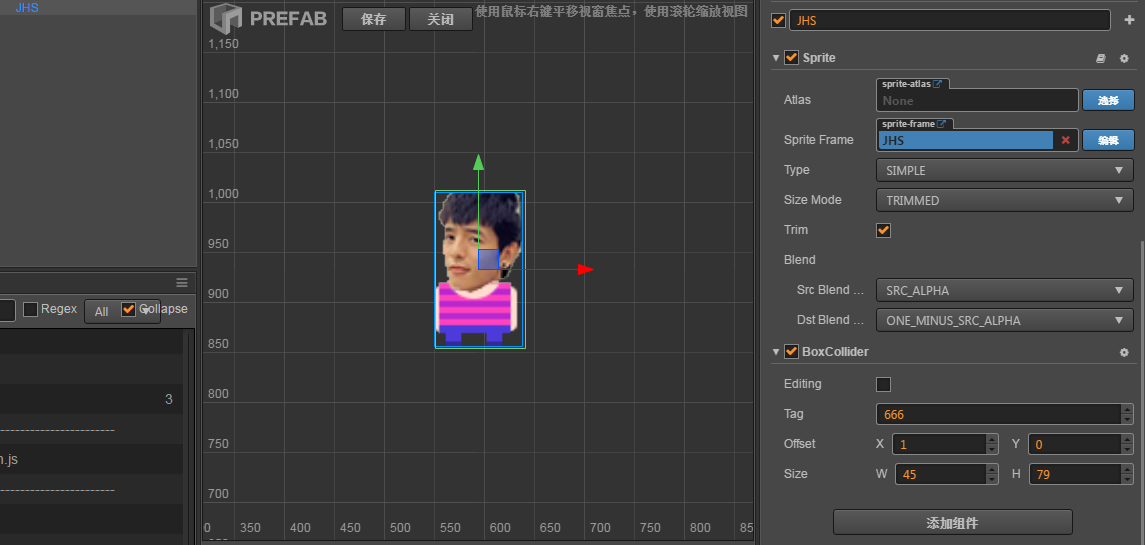
我們先給PrefabManager新增一個碰撞元件,編輯如圖
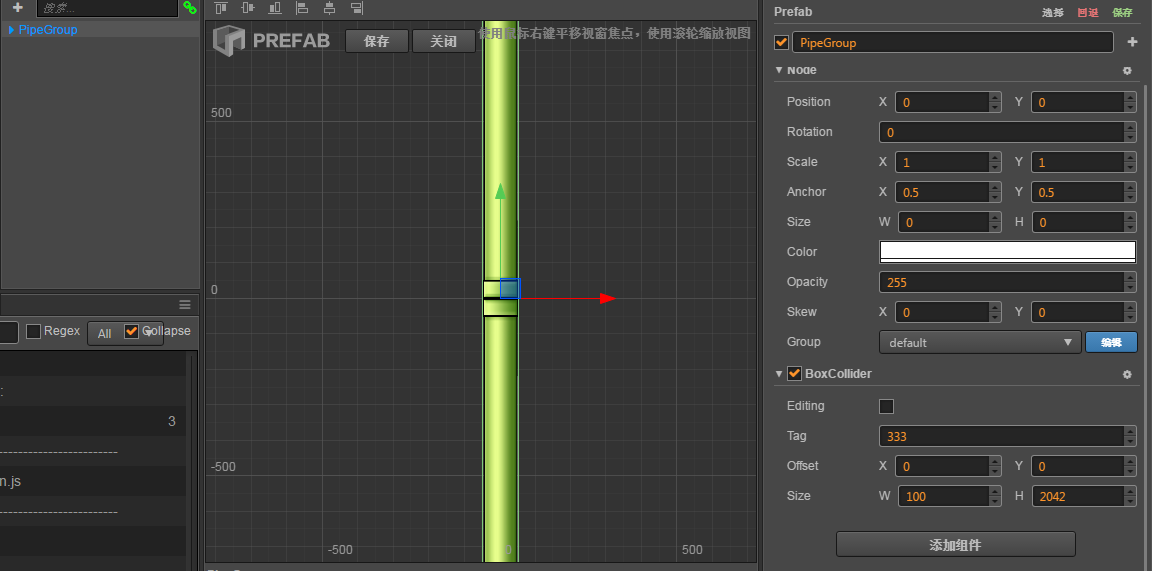
給水管兄弟新增碰撞元件,設定tag為333
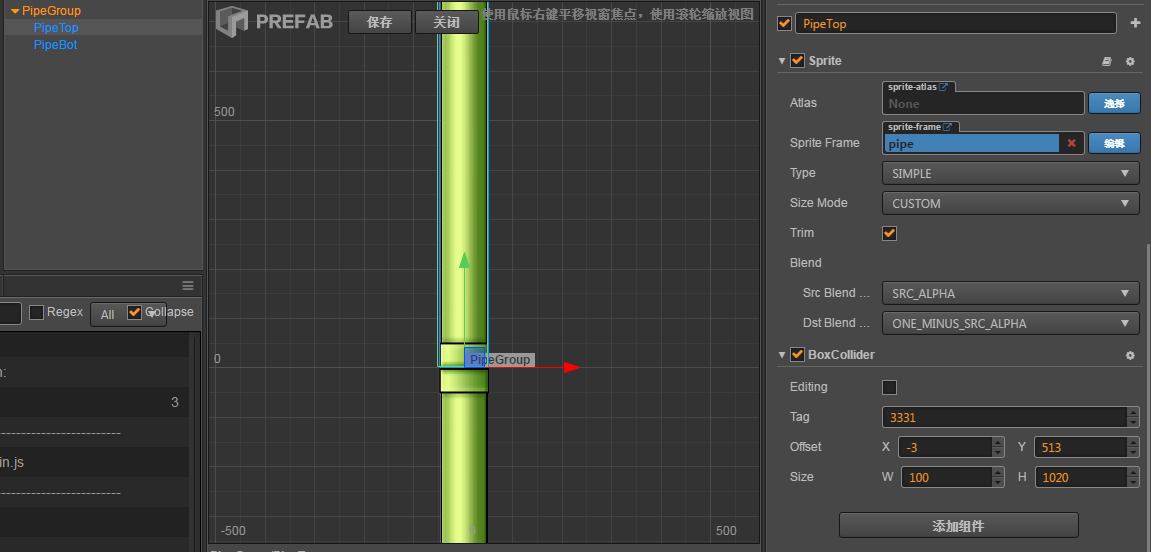
給水管哥哥新增碰撞元件,設定tag為3331
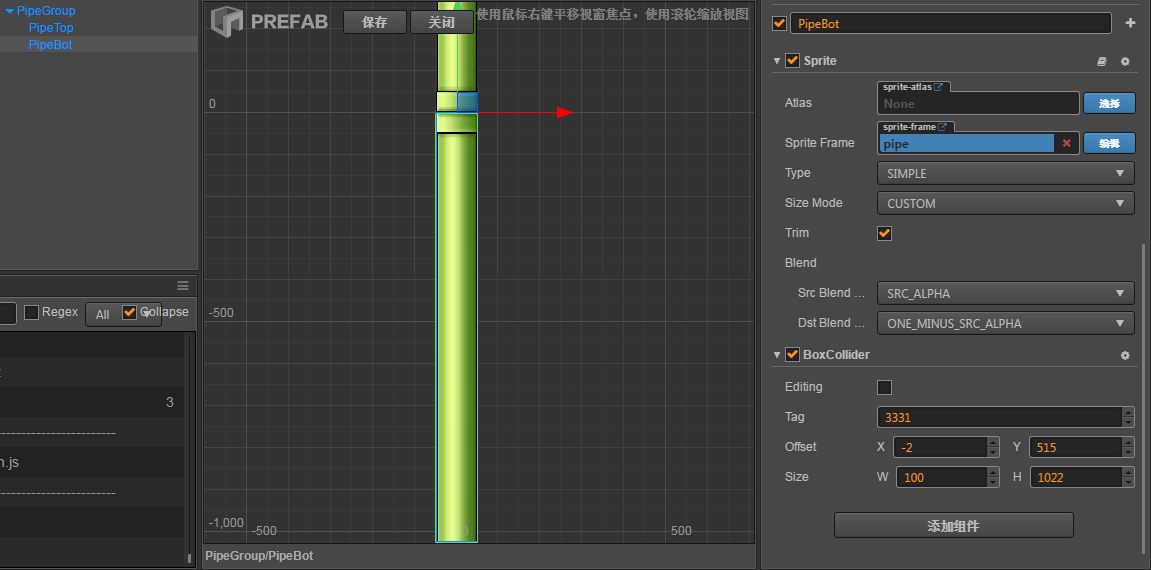
給水管弟弟新增碰撞元件,設定tag也為3331
給老公新增碰撞元件,設定tag為666
PrefabManager.js
cc.Class({
    extends: cc.Component,

    properties: {
        pipeGroupPre:cc.Prefab,
        starPre:cc.Prefab,
        pipeLayer:cc.Node,
        //上下管子之間距離範圍
        spacingRange: cc.p(0,0),
        // 下面管子Y軸偏移量範圍
        botYRange: cc.p(0,0),
        // 左右管子之間距離
        pipeSpace:0,
        //第一個管子位置
        oPipeX:0,
        //星星位置範圍
        starYRange:cc.p(0,0),
    },

    init: function (game) {
        this.game = game;
        this.pipePool = new cc.NodePool();
        this.starPool = new cc.NodePool();
        for(var i=0;i<4;i++){
            this.pipePool.put(cc.instantiate(this.pipeGroupPre));
            this.starPool.put(cc.instantiate(this.starPre));
        }
        this.curPipeX = this.oPipeX;//當前管子位置
        this.spawnPipe();
        this.spawnPipe();

        cc.director.getCollisionManager().enabled = true;
    },

    onCollisionEnter: function(other,self){
        if(other.tag === 333){
            this.desPipe(other.node);
        }else if(other.tag === 666){
            this.desStar(other.node);
        }
    },

    spawnPipe: function(){
        var pipeGroup = this.pipePool.get();
        var pipeTop = pipeGroup.getChildByName("PipeTop");
        var pipeBot = pipeGroup.getChildByName("PipeBot");
        var botYPos = this.botYRange.x + Math.random() * (this.botYRange.y - this.botYRange.x);
        var space = this.spacingRange.x + Math.random() * (this.spacingRange.y - this.spacingRange.x);
        var topYPos = botYPos + space;
        pipeTop.y = topYPos;
        pipeBot.y = botYPos;
        pipeGroup.x = this.curPipeX;
        this.pipeLayer.addChild(pipeGroup);

        this.spawnStar();

        this.curPipeX += this.pipeSpace;
    },

    desPipe: function(node){
        this.pipePool.put(node);
        this.spawnPipe();
    },

    spawnStar: function(){
        if(Math.random() < 0.8){
            var star = this.starPool.get();
            star.y = this.starYRange.x + Math.random()*(this.starYRange.y - this.starYRange.x);
            star.x = this.curPipeX + this.pipeSpace/2;
            this.pipeLayer.addChild(star);
        }
    },

    desStar: function(node){
        this.starPool.put(node);
    },

});
按照慣例,我們從上往下看
在屬性中我們定義了需要用到的兩個Prefab和一個pipeLayer節點,還有一些隨機設定Prefab的引數(這裡用二維的點來表示範圍,x是最小值,y是最大值)
第一個管子的位置要在螢幕外
在init方法裡我們定義了兩個cc.NodePool,分別存放pipeGroup和star
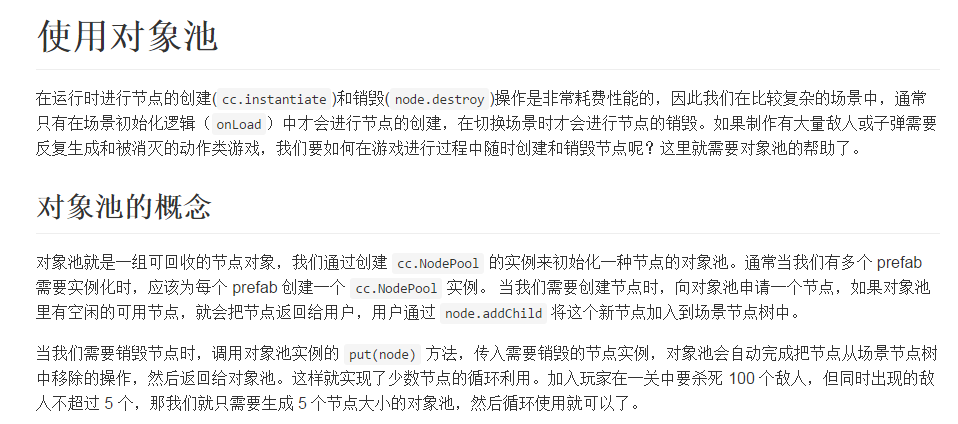
最後排的那位同學問了一個問題”為什麼要用NodePool,直接用instantiate複製和destroy銷燬不就行了麼?”
老師很表揚這種勇於提問的表現,但也要批評這位同學不好好預習的行為
現在我們來翻一下官方文件
“記住了嗎”
“記住了”
螢幕裡最多出現兩個水管,因為人生難免有意外,所以我們在pool裡放四個,
當prefab滾到螢幕外的回收區時,我們就把它放回pool裡,這樣就可以實現一個良性迴圈,畢竟全球變暖了,話說今年好像比去年熱了,話說我好像跑題了。。。
每新增一個pipeGroup我們就要呼叫一次spawnStar方法,但老公不是一個隨便的人,所以我們要給他新增一個出現的概率,0.8吧,畢竟老公是我們這個遊戲的唯一吸引力。。。
最後我們要在Game.js裡初始化PrefabManager
var Player = require("Player");
var CameraManager = require("CameraManager");
var PrefabManager = require("PrefabManager");
cc.Class({
    extends: cc.Component,

    properties: {
        player:Player,
        cameraManager:CameraManager,
        prefabManager:PrefabManager,
    },

    onLoad: function () {
        //返回鍵返回選單
        cc.eventManager.addListener({
            event: cc.EventListener.KEYBOARD,
            onKeyPressed: function(keyCode, event) {
                if(keyCode == cc.KEY.back){
                    cc.director.loadScene('Menu');
                }
            }
        }, this.node);
        this.startGame();
    },

    startGame: function(){
        this.cameraManager.init(this);
        this.prefabManager.init(this);
        this.player.init(this);
    },

    stopGame: function(){

    },

    gainScore: function(){

    },

    gainEnergy:function(){

    },
});
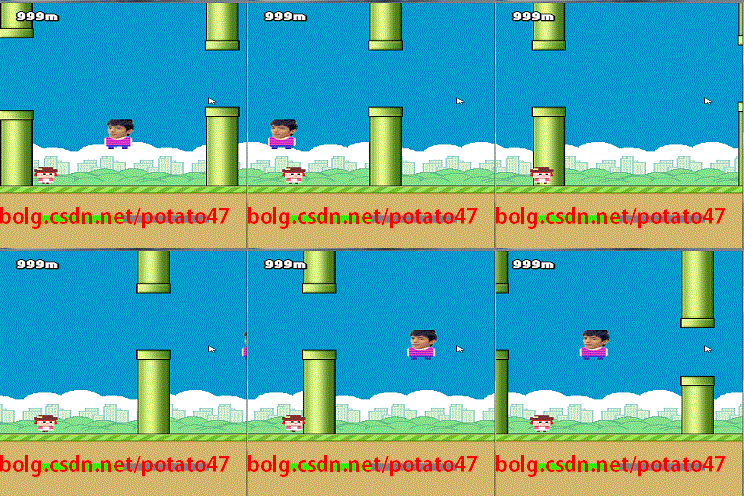
看一下效果

