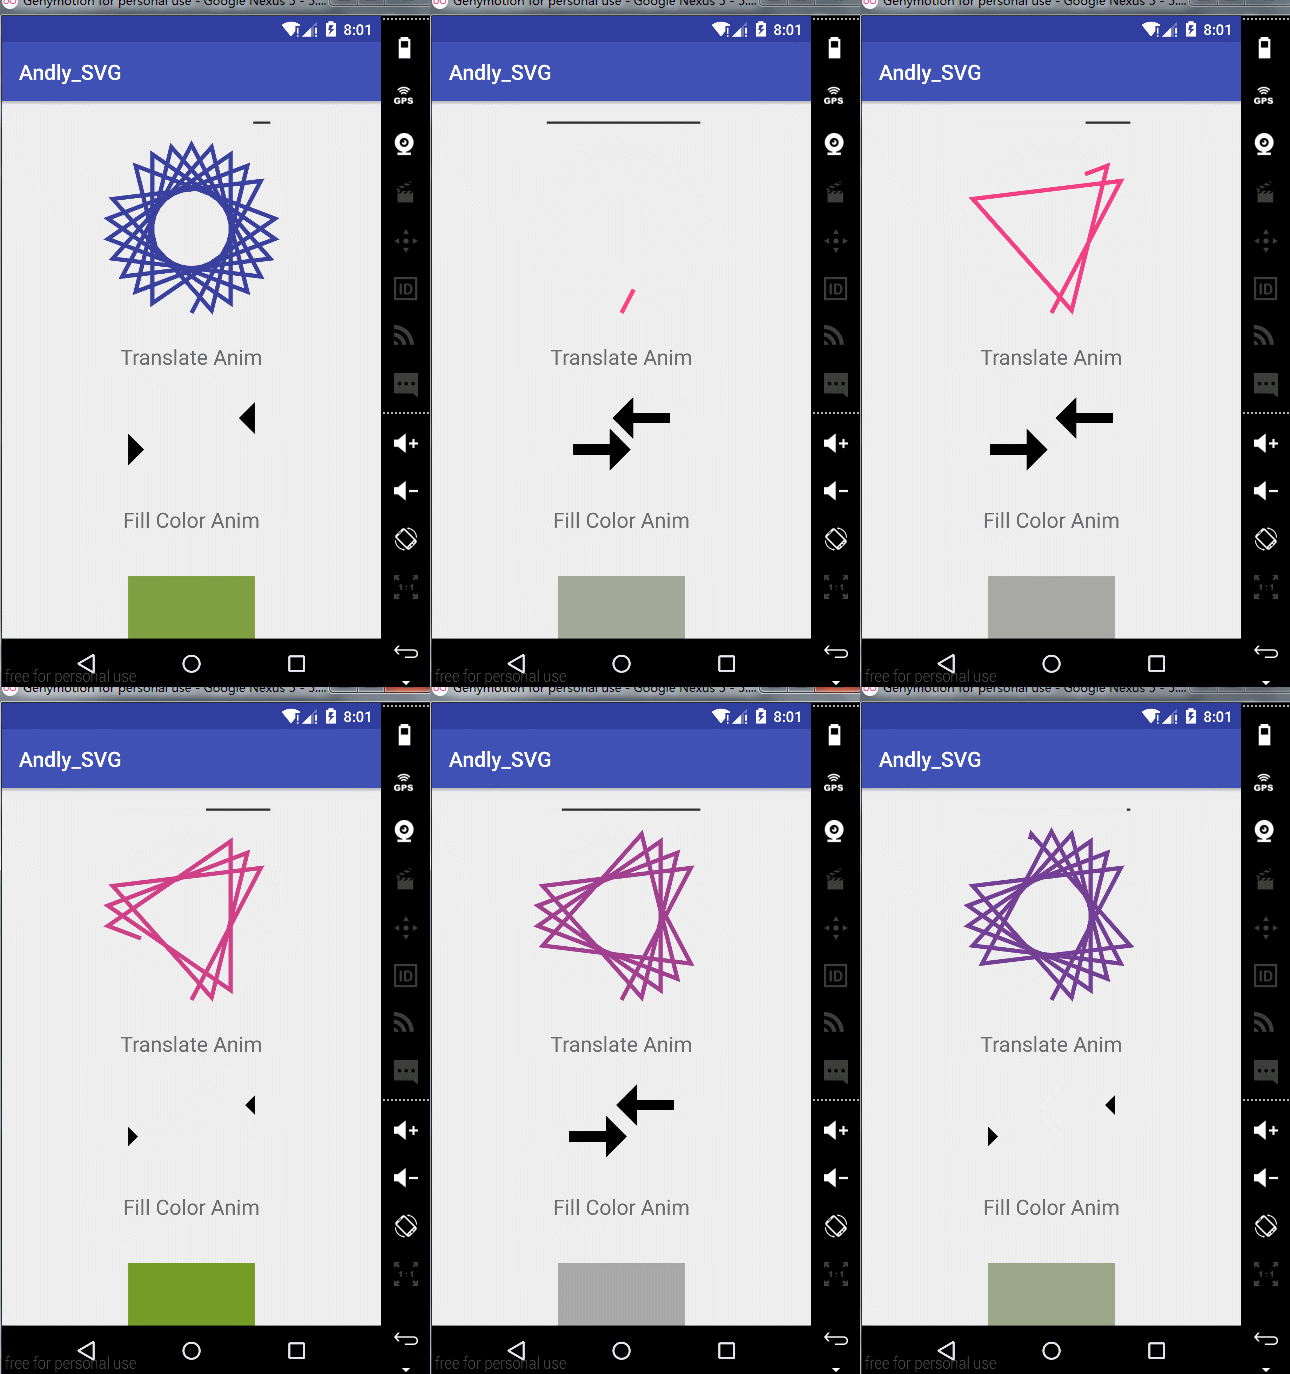
向量圖形SVG&高階動畫
SVG,全名Scalable Vector Graphics可伸縮向量圖形,這種影象格式在前端已經是非常廣泛了,向量影象:SVG是W3C退出的一種開放標準的文字格式的向量圖形描述語言,他也是基於XML的、專門為網路而設計的影象格式,SVG是一種採用XML來描述而為圖形的語言,所以它可以直接開啟xml檔案來修改和編輯點陣圖影象:點陣圖影象的儲存單位是影象上每一點的畫素值,因而檔案會比較大,像GIF、JPEG、PNG等都是點陣圖影象格式
SVG的語法
M = moveto(M X,Y) :將畫筆移動到指定的座標位置,相當於 android Path 裡的moveTo()
L = lineto(L X,Y) :畫直線到指定的座標位置,相當於 android Path 裡的lineTo()
H = horizontal lineto(H X):畫水平線到指定的X座標位置
V = vertical lineto(V Y):畫垂直線到指定的Y座標位置
C = curveto(C X1,Y1,X2,Y2,ENDX,ENDY):三次貝賽曲線
S = smooth curveto(S X2,Y2,ENDX,ENDY) 同樣三次貝塞爾曲線,更平滑
Q = quadratic Belzier curve(Q X,Y,ENDX,ENDY):二次貝賽曲線
T = smooth quadratic Belzier curveto(T ENDX,ENDY):對映 同樣二次貝塞爾曲線,更平滑
A = elliptical Arc(A RX,RY,XROTATION,FLAG1,FLAG2,X,Y):弧線 ,相當於arcTo()
Z = closepath():關閉路徑(會自動繪製連結起點和終點)
Part 1、基本用法
Vector在Android中指代的是Vector Drawable,也就是Android中的向量圖。Vector影象剛釋出的時候,只支援Android5.0+的,自從AppCompat 23.2之後,Vector可以使用於Android2.1以上的所有系統,只需要引用com.android.support:appcompat-v7:23.2.0以上的版本就可以了。但是這裡的相容並非真實的相容,而是在低版本中生成PNG圖片來替代SVG
<vector xmlns:android="http://schemas.android.com/apk/res/android"
    android:width="200dp"
    android:height="200dp"
    android:viewportHeight="500"
    android:viewportWidth="500">

    <path
        android:name="square"
        android:fillColor="#000000"
        android:pathData="M100,100 L400,100 L400,400 L100,400 z"/>

</vector>
tips:
1、android:width/android:height : 向量圖形的大小
2、android:viewportwidth/android:viewportheight : 定義影象被劃分的比例大小,例如例子中的500,即把200dp大小的影象劃分成500份
Vector Drawable相對於普通的Drawable來說,有以下幾個好處:(1)Vector影象可以自動進行適配,不需要通過解析度來設定不同的圖片。
(2)Vector影象可以大幅減少影象的體積,同樣一張圖,用Vector來實現,可能只有PNG的幾十分之一。
(3)使用簡單,很多設計工具,都可以直接匯出SVG影象,從而轉換成Vector影象 功能強大。
(4)不用寫很多程式碼就可以實現非常複雜的動畫 成熟、穩定,前端已經非常廣泛的進行使用了。
下面推薦幾個網址
SVG編輯器:http://editor.method.ac/
將SVG檔案轉化為VectorDrawable xml檔案:http://inloop.github.io/svg2android/
眾多SVG的圖片:http://www.flaticon.com/
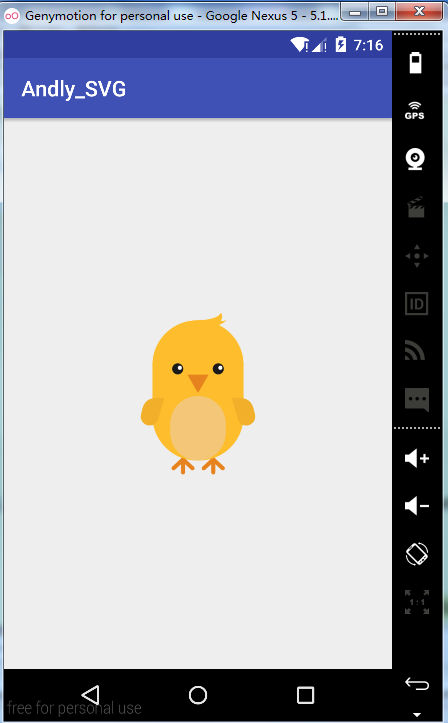
效果~
似乎看上去很簡單,但當你要使用相容向量圖的時候需要在build.gradle檔案新增
//在gradle2.0及以上:
android {
  defaultConfig {
  vectorDrawables.useSupportLibrary = true
}}
//在gradle 1.5以前
android {
  defaultConfig {
    // Stops the Gradle plugin’s automatic rasterization of vectors
    generatedDensities = []
  }
  // Flag to tell aapt to keep the attribute ids around
  aaptOptions {
    additionalParameters "--no-version-vectors"
  }
}<?xml version="1.0" encoding="utf-8"?>
<selector xmlns:android="http://schemas.android.com/apk/res/android">
<item android:drawable="@drawable/chick"/>
</selector>static {
AppCompatDelegate.setCompatVectorFromSourcesEnabled(true);
} <android.support.v7.widget.AppCompatTextView
android:layout_width="150dp"
android:layout_height="150dp"
android:drawableLeft="@drawable/chick"/> 1)當Vector比較簡單時,其效率是一定比Bitmap高的,所以,為了保證Vector的高效率,Vector需要更加簡單,PathData更加標準、精簡,當Vector影象變得非常複雜時,就需要使用Bitmap來代替了
2)Vector適用於ICON、Button、ImageView的圖示等小的ICON,或者是需要的動畫效果,由於Bitmap在GPU中有快取功能,而Vector並沒有,所以Vector影象不能做頻繁的重繪
3)Vector影象過於複雜時,不僅僅要注意繪製效率,初始化效率也是需要考慮的重要因素
Part 2、SVG的高階動畫
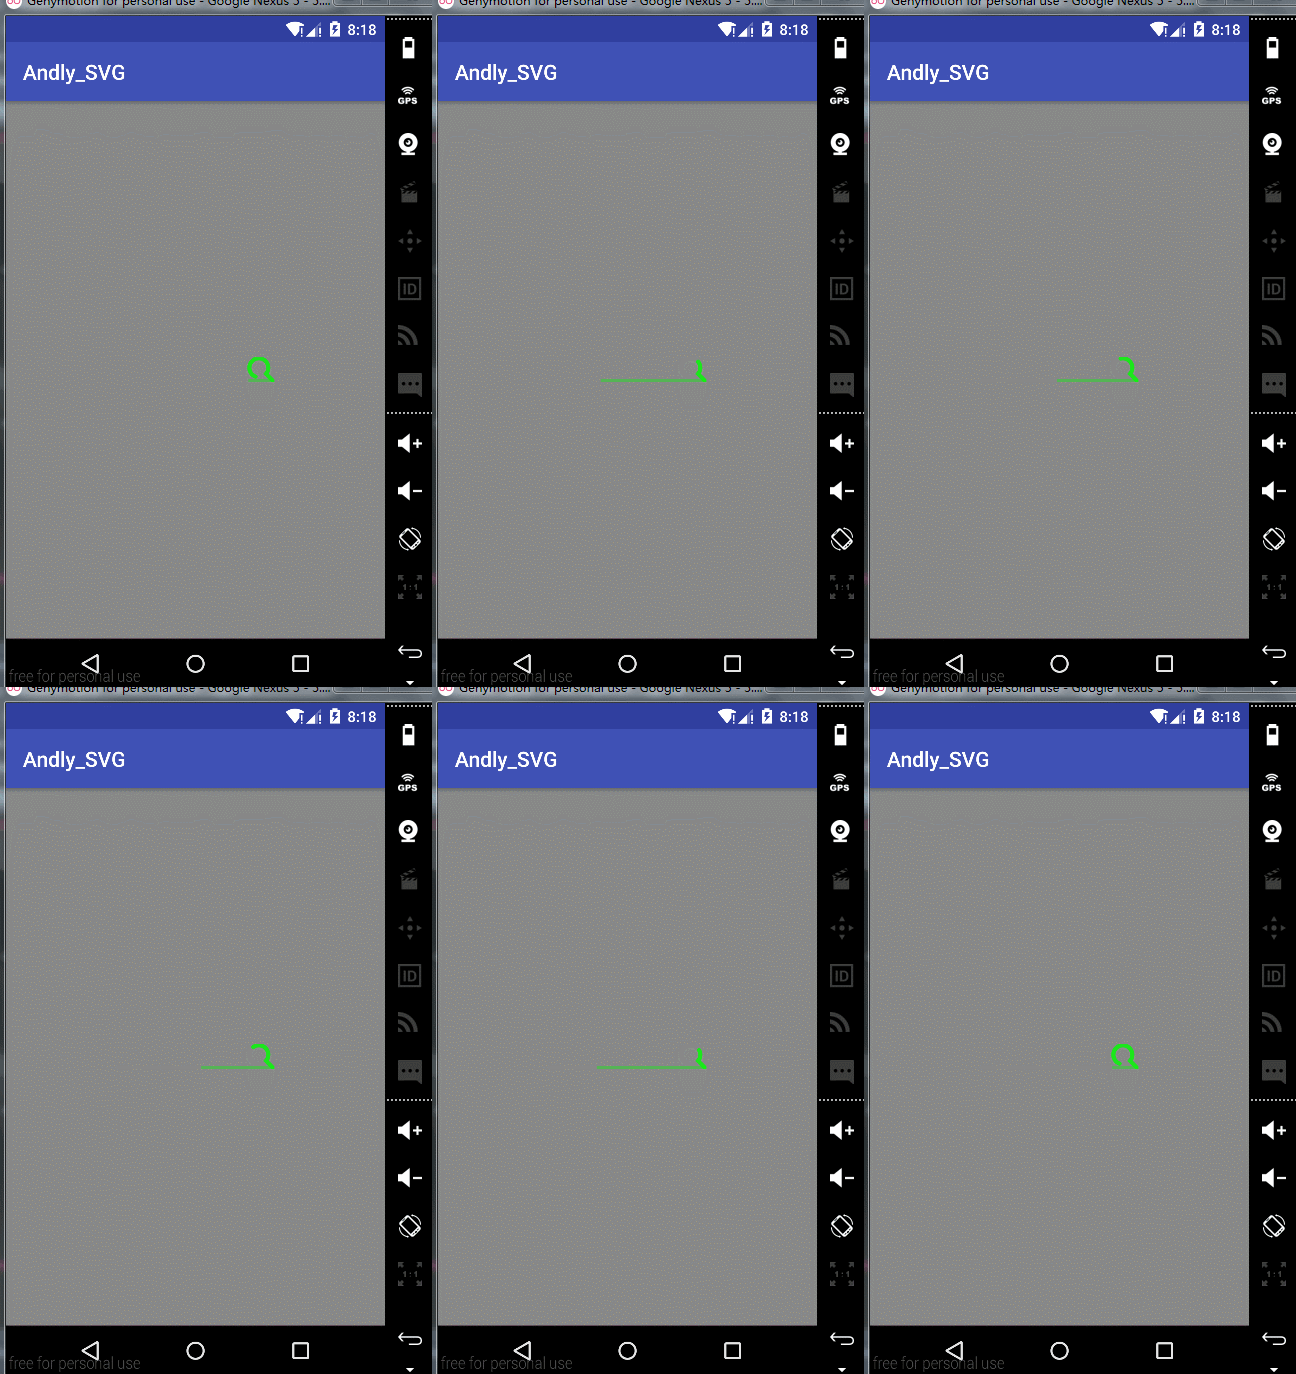
效果~
tips:
1、畫出相應圖形
<vector xmlns:android="http://schemas.android.com/apk/res/android"
        android:width="150dp"
        android:height="24dp"
        android:viewportHeight="24"
        android:viewportWidth="150">

    <path
        android:name="search"
        android:pathData="M141,17 A9,9 0 1,1 142,16 L149,23"
        android:strokeAlpha="0.8"
        android:strokeColor="#00FF00"
        android:strokeLineCap="round"
        android:strokeWidth="4"/>
    <path
        android:name="bar"
        android:pathData="M0,23 L149,23"
        android:strokeAlpha="0.8"
        android:strokeColor="#7700FF00"
        android:strokeLineCap="square"
        android:strokeWidth="4"/>
</vector><animated-vector
xmlns:android="http://schemas.android.com/apk/res/android"
android:drawable="@drawable/searchbar">
<target
android:name="search"
android:animation="@animator/anim_searchbar_in"/>
<target
android:name="bar"
android:animation="@animator/anim_searchbar_out"/>
</animated-vector>3、為每個path設定動畫
anim_searchbar_in
<objectAnimator
    xmlns:android="http://schemas.android.com/apk/res/android"
    android:duration="1000"
    android:propertyName="trimPathStart"
    android:repeatCount="infinite"
    android:repeatMode="reverse"
    android:valueFrom="0"
    android:valueTo="1"
android:valueType="floatType"/><objectAnimator
xmlns:android="http://schemas.android.com/apk/res/android"
android:duration="1000"
android:propertyName="trimPathStart"
android:repeatCount="infinite"
android:repeatMode="reverse"
android:valueFrom="1"
android:valueTo="0"
android:valueType="floatType"/>
可以仿照上面來定義自己的SVG動畫
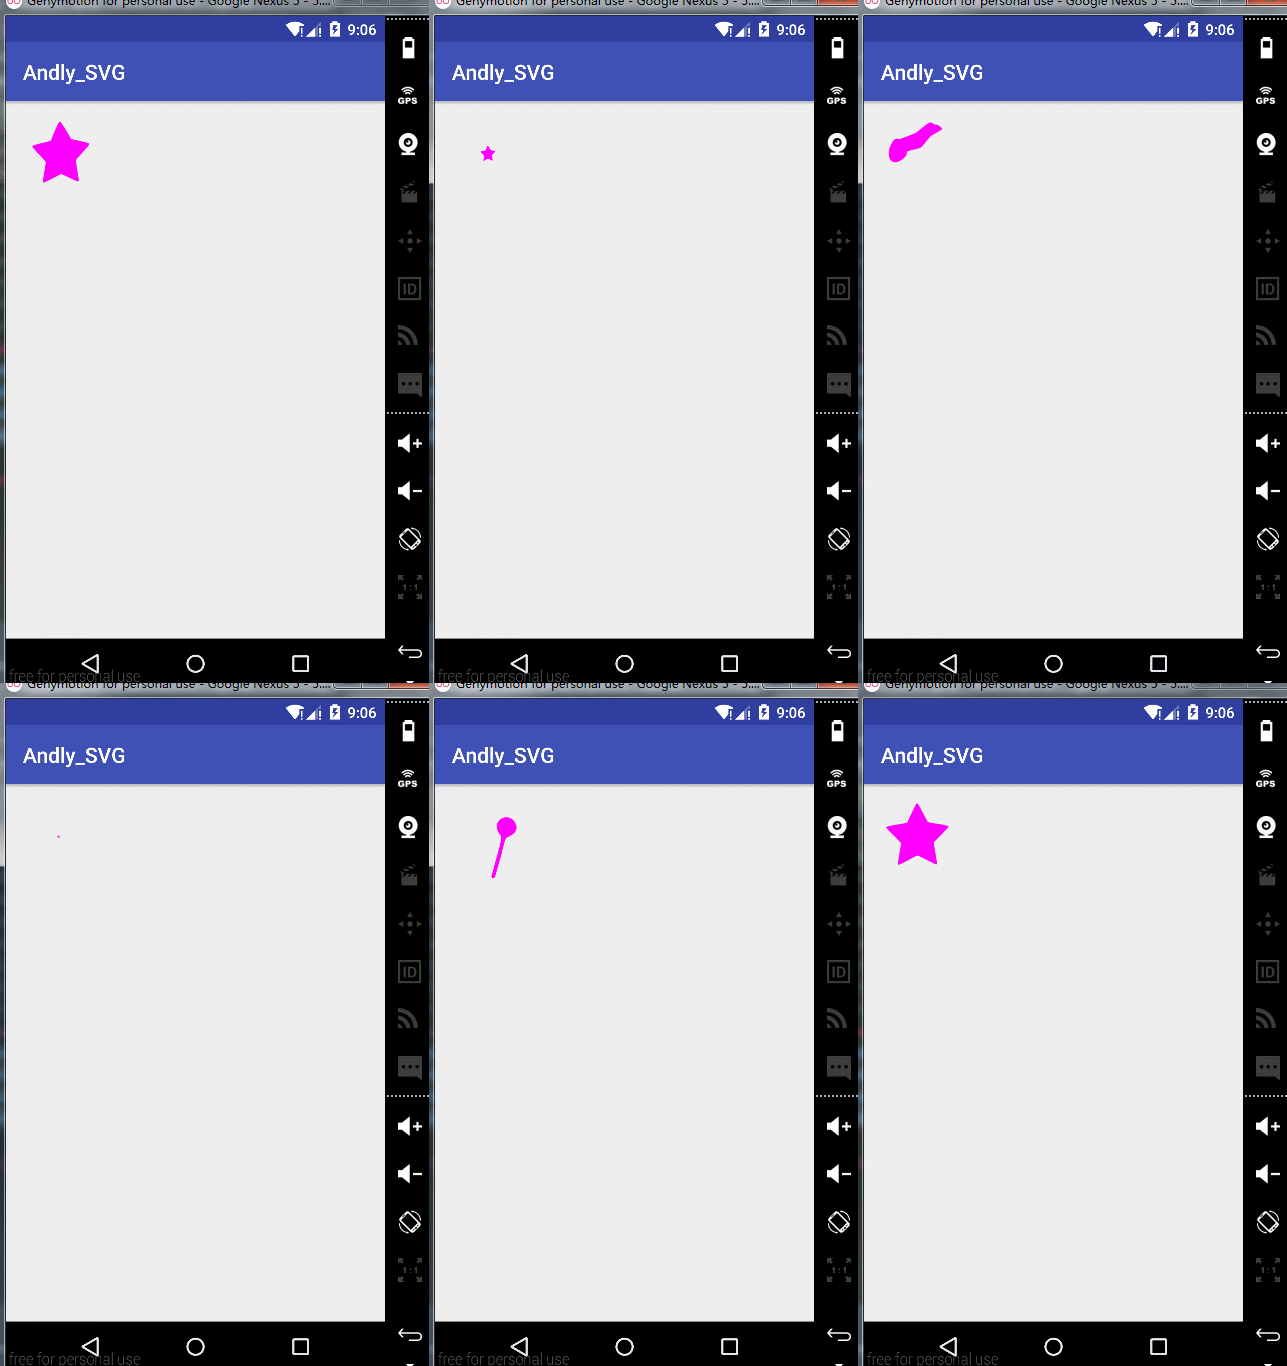
效果~
tips:
1、定義圖形
<?xml version="1.0" encoding="utf-8"?>
<vector xmlns:android="http://schemas.android.com/apk/res/android"
    android:viewportWidth="400"
    android:viewportHeight="400"
    android:width="300px"
    android:height="300px">

    <group android:name="star_group"
        android:pivotX="200"
        android:pivotY="200"
        android:scaleX="1.0"
        android:scaleY="1.0">

        <path
            android:name="star"
            android:fillColor="#FF00FF"
            android:pathData="M 200.30535,69.729172
            C 205.21044,69.729172 236.50709,141.52218 240.4754,144.40532
            C 244.4437,147.28846 322.39411,154.86809 323.90987,159.53312
            C 325.42562,164.19814 266.81761,216.14828 265.30186,220.81331
            C 263.7861,225.47833 280.66544,301.9558 276.69714,304.83894
            C 272.72883,307.72209 205.21044,268.03603 200.30534,268.03603
            C 195.40025,268.03603 127.88185,307.72208 123.91355,304.83894
            C 119.94524,301.9558 136.82459,225.47832 135.30883,220.8133
            C 133.79307,216.14828 75.185066,164.19813 76.700824,159.53311
            C 78.216581,154.86809 156.16699,147.28846 160.13529,144.40532
            C 164.1036,141.52218 195.40025,69.729172 200.30535,69.729172 z"/>
    </group>
</vector>2、設定animated-vector動畫
<animated-vector xmlns:android="http://schemas.android.com/apk/res/android"
                 android:drawable="@drawable/vd_star" >
    <target
        android:name="star_group"
        android:animation="@animator/star_rotate" />
    <target
        android:name="star"
        android:animation="@animator/star_shap" />
</animated-vector>


