
caffe原始碼分析-db, io
阿新 • • 發佈:2019-02-19
本文主要分析下caffe的原始碼,io操作,以及資料庫檔案(如lmdb)讀取。
例如,從prototxt讀取網路初始化引數:
NetParameter param;
ReadNetParamsFromTextFileOrDie(path, ¶m);
bool ReadProtoFromTextFile(const char *filename, Message *proto) {
    int fd = open(filename, O_RDONLY);
    CHECK_NE(fd, -1) << "File not found: " << filename;
    FileInputStream *input = new FileInputStream(fd);
    bool success = google::protobuf::TextFormat::Parse(input, proto);
    delete input;
    close(fd);
    return success;
}
例如讀取下面這個net
name: "LeNet"
layer {
  name: "mnist"
  type: "Data"
  top: "data"
  top: "label"
  include {
    phase: TRAIN
  }
  transform_param {
    scale: 0.00390625
  }
  data_param {
    source: "/home/xy/caffe-master/examples/mnist/mnist_train_lmdb"
    batch_size: 64
    backend: LMDB
  }
}
將引數寫為prototxt檔案:
void WriteProtoToTextFile(const Message &proto, const char *filename) {
    int fd = open(filename, O_WRONLY | O_CREAT | O_TRUNC, 0644);
    FileOutputStream *output = new FileOutputStream(fd);
    CHECK(google::protobuf::TextFormat::Print(proto, output));
    delete output;
    close(fd);
}
輸出網路(列印), 示例:
// read proto txt to proto class
NetParameter param;
ReadNetParamsFromTextFileOrDie(path, ¶m);
// print proto class
PrintProto(param);

函式定義如下:
void PrintProto(const Message &proto) {
    OstreamOutputStream os(&std::cout);
    google::protobuf::TextFormat::Print(proto, &os);
}
讀取proto檔案轉化為Datum:
// read Datum from file
string datum_path = base_dir + "0.proto";
Datum datum;
ReadProtoFromBinaryFileOrDie(datum_path, &datum);

bool ReadProtoFromBinaryFile(const char *filename, Message *proto) {
    int fd = open(filename, O_RDONLY);
    CHECK_NE(fd, -1) << "File not found: " << filename;
    ZeroCopyInputStream *raw_input = new FileInputStream(fd);
    CodedInputStream *coded_input = new CodedInputStream(raw_input);
    coded_input->SetTotalBytesLimit(kProtoReadBytesLimit, 536870912);

    bool success = proto->ParseFromCodedStream(coded_input);

    delete coded_input;
    delete raw_input;
    close(fd);
    return success;
}
Datum與cv::Mat的轉化:
cv::Mat DecodeDatumToCVMatNative(const Datum &datum) {
    cv::Mat cv_img;
    CHECK(datum.encoded()) << "Datum not encoded";
    const string &data = datum.data();
    std::vector<char> vec_data(data.c_str(), data.c_str() + data.size());
    cv_img = cv::imdecode(vec_data, -1);
    if (!cv_img.data) {
        LOG(ERROR) << "Could not decode datum ";
    }
    return cv_img;
}

void CVMatToDatum(const cv::Mat &cv_img, Datum *datum) {
    datum->set_channels(cv_img.channels());
    datum->set_height(cv_img.rows);
    datum->set_width(cv_img.cols);
    datum->clear_data();
    datum->clear_float_data();
    datum->set_encoded(false);
    int datum_channels = datum->channels();
    int datum_height = datum->height();
    int datum_width = datum->width();
    int datum_size = datum_channels * datum_height * datum_width;
    std::string buffer(datum_size, ' ');
    for (int h = 0; h < datum_height; ++h) {
        const uchar *ptr = cv_img.ptr<uchar>(h);
        int img_index = 0;
        for (int w = 0; w < datum_width; ++w) {
            for (int c = 0; c < datum_channels; ++c) {
                int datum_index = (c * datum_height + h) * datum_width + w;
                buffer[datum_index] = static_cast<char>(ptr[img_index++]);
            }
        }
    }
    datum->set_data(buffer);
}
下面簡要看db:
class Cursor {
public:
    Cursor() { }
    virtual ~Cursor() { }
    virtual void SeekToFirst() = 0;
    virtual void Next() = 0;
    virtual string key() = 0;
    virtual string value() = 0;
    virtual bool valid() = 0;

    DISABLE_COPY_AND_ASSIGN(Cursor);
};

    class Transaction {
    public:
        Transaction() { }
        virtual ~Transaction() { }
        virtual void Put(const string& key, const string& value) = 0;
        virtual void Commit() = 0;

    DISABLE_COPY_AND_ASSIGN(Transaction);
    };

    class DB {
    public:
        DB() { }
        virtual ~DB() { }
        virtual void Open(const string& source, Mode mode) = 0;
        virtual void Close() = 0;
        virtual Cursor* NewCursor() = 0;
        virtual Transaction* NewTransaction() = 0;

    DISABLE_COPY_AND_ASSIGN(DB);
    };

    DB* GetDB(DataParameter::DB backend);
    DB* GetDB(const string& backend);
}

DB *GetDB(const string &backend) {
    if (backend == "lmdb") {
        return new LMDB();
    }
    LOG(FATAL) << "Unknown database backend";
    return NULL;
}
caffe系列原始碼分析介紹
本系列深度學習框架caffe 原始碼分析主要內容如下:
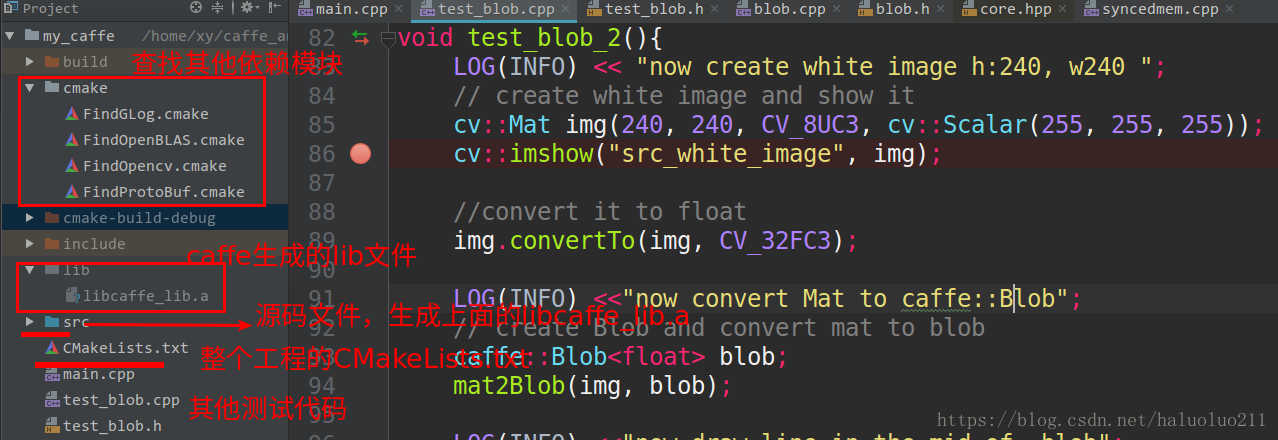
自己從頭構建一遍工程,這樣能讓我更好的瞭解大型的專案的構建。當然原始的caffe的構建感覺還是比較複雜(主要是cmake),我這裡僅僅使用cmake構建,而且簡化點,當然最重要的是支援CLion直接執行除錯(如果需要這個工程可以評論留下你的郵箱,我給你傳送過去)。
2. caffe的資料記憶體分配類SyncedMemory, 以及類Blob資料傳輸的媒介.
主要內容:
caffe原始碼分析-SyncedMemory
caffe原始碼分析-Blob
其中Blob分析給出了其直接與opencv的圖片相互轉化以及操作,可以使得我們更好的理解Blob.
3. caffe layer的原始碼分析,包括從整體上說明了layer類別以及其proto定義與核心函式.
首先分析了最簡單的layer Relu,然後在是inner_product_layer全連線層, 最後是layer_factorycaffe中 以此工廠模式create各種Layer.
4. 資料輸入層,主要是多執行緒+BlockingQueue的方式讀取資料訓練:
5. IO處理例如讀取proto檔案轉化為網路,以及網路引數的序列化
6. 最後給出了使用純C++結合多層感知機網路訓練mnist的示例
內容如下:
類似與caffe一樣按照layer、solver、loss、net等模組構建的神經網路實現可以見下面這篇blog,相信看懂了這個python的程式碼理解caffe框架會更簡單點.
最後如果需要cmake + CLion直接執行除錯caffe的程式碼工程,可以評論留下你的郵箱,我給你傳送過去.