RadioButton的drawableTop資源大小調整
阿新 • • 發佈:2019-02-20
RadioButton一般用的時候會伴隨資源圖片的使用,或左或右或上或下的,挺好用,但麻煩的是圖片資源有多大它就給顯示多大,XML檔案還不能給調整:
XML佈局:
<RadioButton
android:id="@+id/rb_a"
android:layout_width="wrap_content"
android:layout_height="wrap_content"
android:layout_weight=".2"
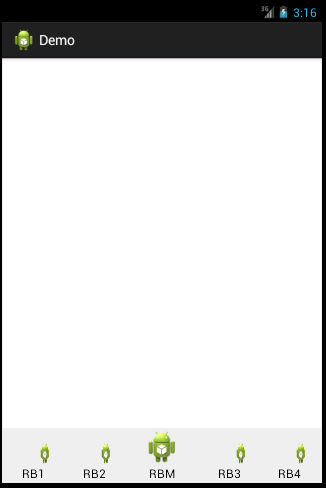
android:button 效果是這樣的:
差異表現的不是很明顯,但是它們原來長啥樣,現在就是啥樣,假如每個影象畫素大小不一,那麼一點都說不上美觀了,我們要求的是一片林子,鳥都一樣,不能什麼都有。
找了一下資料,解決辦法如下:
rbs = new 解釋一下:
給控制元件起作用的是這個方法
public void setCompoundDrawables (Drawable left, Drawable top, Drawable right, Drawable bottom);意思是給當前的控制元件的某個位置上的drawable設定邊界限制,達到佈局要求,引數依次是設定 上、下、左、右 四個位置的drawable邊界大小,有的就設定,沒的設定null,否則空指標異常。
按照Google的API解釋:Sets the Drawables (if any) to appear to the left of, above, to the right of, and below the text. Use null if you do not want a Drawable there. The Drawables must already have had setBounds(Rect) called。
可以看出這個方法的使用是有一個前提,必須在呼叫之前呼叫setBounds(Rect)。
Rect意思是矩形,用起來也簡單,在繪圖中設定畫布大小都會用得到這個:
Rect r = new Rect(startX, startY, endX, endY);這裡的意思從座標(startX, startY)到座標(endX, endY)組成的矩形邊界裡面繪製圖片。
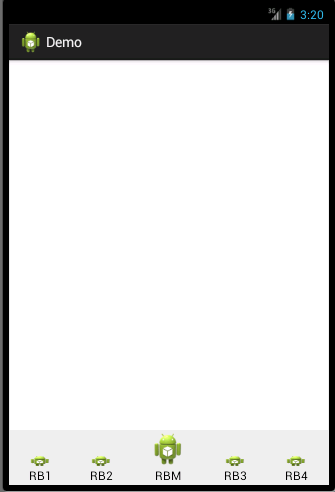
效果如下,雖然有一個比較大,但是有個老大也是合理的麼:

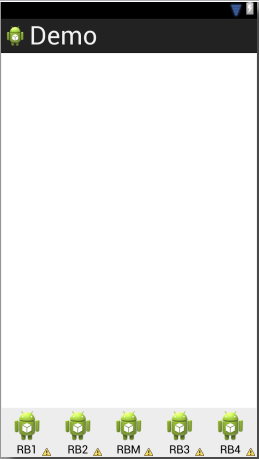
這樣就可以按自己的想法來了,要瘦要胖,隨你心情: