
springboot 啟動原理
@SpringBootApplication
public class Application {
    public static void main(String[] args) {
        SpringApplication.run(Application.class, args);
    }
}從上面程式碼可以看出,Annotation定義(@SpringBootApplication)和類定義(SpringApplication.run)最為耀眼,所以要揭開SpringBoot的神祕面紗,我們要從這兩位開始就可以了。
SpringBootApplication背後的祕密
@SpringBootApplication註解是Spring Boot的核心註解,它其實是一個組合註解:
@Target(ElementType.TYPE)
@Retention(RetentionPolicy.RUNTIME)
@Documented
@Inherited
@SpringBootConfiguration
@EnableAutoConfiguration
@ComponentScan(excludeFilters = {
		@Filter(type = FilterType.CUSTOM, classes = TypeExcludeFilter.class),
		@Filter(type = FilterType.CUSTOM,
				classes = AutoConfigurationExcludeFilter.class) })
public @interface SpringBootApplication {
......
}
雖然定義使用了多個Annotation進行了原資訊標註,但實際上重要的只有三個Annotation:
@Configuration(@SpringBootConfiguration點開檢視發現裡面還是應用了@Configuration)- @EnableAutoConfiguration
- @ComponentScan
即 @SpringBootApplication = (預設屬性)@Configuration + @EnableAutoConfiguration + @ComponentScan
所以,如果我們使用如下的SpringBoot啟動類,整個SpringBoot應用依然可以與之前的啟動類功能對等:
@Configuration
@EnableAutoConfiguration
@ComponentScan
public class Application {
    public static void main(String[] args) {
        SpringApplication.run(Application.class, args);
    }
}
每次寫這3個比較累,所以寫一個@SpringBootApplication方便點。接下來分別介紹這3個Annotation。
@Configuration
這裡的@Configuration對我們來說不陌生,它就是JavaConfig形式的Spring Ioc容器的配置類使用的那個@Configuration,SpringBoot社群推薦使用基於JavaConfig的配置形式,所以,這裡的啟動類標註了@Configuration之後,本身其實也是一個IoC容器的配置類。
舉幾個簡單例子回顧下,XML跟config配置方式的區別:
一、表達形式層面
基於XML配置的方式是這樣:
<?xml version="1.0" encoding="UTF-8"?>
<beans xmlns="http://www.springframework.org/schema/beans"
       xmlns:xsi="http://www.w3.org/2001/XMLSchema-instance"
       xsi:schemaLocation="http://www.springframework.org/schema/beans http://www.springframework.org/schema/beans/spring-beans-3.0.xsd"
       default-lazy-init="true">
    <!--bean定義-->
</beans>
而基於JavaConfig的配置方式是這樣:
@Configuration
public class MockConfiguration{
    //bean定義
}任何一個標註了@Configuration的Java類定義都是一個JavaConfig配置類。
二、註冊bean定義層面
基於XML的配置形式是這樣:
<bean id="mockService" class="..MockServiceImpl">
    ...
</bean>
而基於JavaConfig的配置形式是這樣的:
@Configuration
public class MockConfiguration{
    @Bean
    public MockService mockService(){
        return new MockServiceImpl();
    }
}任何一個標註了@Bean的方法,其返回值將作為一個bean定義註冊到Spring的IoC容器,方法名將預設成該bean定義的id。
三、表達依賴注入關係層面
為了表達bean與bean之間的依賴關係,在XML形式中一般是這樣:
<bean id="mockService" class="..MockServiceImpl">
   <propery name ="dependencyService" ref="dependencyService" />
</bean>
<bean id="dependencyService" class="DependencyServiceImpl"></bean>
而基於JavaConfig的配置形式是這樣的:
@Configuration
public class MockConfiguration{
    @Bean
    public MockService mockService(){
        return new MockServiceImpl(dependencyService());
    }

    @Bean
    public DependencyService dependencyService(){
        return new DependencyServiceImpl();
    }
}
如果一個bean的定義依賴其他bean,則直接呼叫對應的JavaConfig類中依賴bean的建立方法就可以了。
@Configuration:提到@Configuration就要提到他的搭檔@Bean。使用這兩個註解就可以建立一個簡單的spring配置類,可以用來替代相應的xml配置檔案。
<beans>
    <bean id = "car" class="com.test.Car">
        <property name="wheel" ref = "wheel"></property>
    </bean>
    <bean id = "wheel" class="com.test.Wheel"></bean>
</beans>
相當於:
@Configuration
public class Conf {
    @Bean
    public Car car() {
        Car car = new Car();
        car.setWheel(wheel());
        return car;
    }

    @Bean
    public Wheel wheel() {
        return new Wheel();
    }
}@Configuration的註解類標識這個類可以使用Spring IoC容器作為bean定義的來源。
@Bean註解告訴Spring,一個帶有@Bean的註解方法將返回一個物件,該物件應該被註冊為在Spring應用程式上下文中的bean。
@ComponentScan
@ComponentScan這個註解在Spring中很重要,它對應XML配置中的<context:component-scan base-package="" />元素,@ComponentScan的功能其實就是自動掃描並載入符合條件的元件(比如@Component和@Repository等)或者bean定義,最終將這些bean定義載入到IoC容器中。
我們可以通過basePackages等屬性來細粒度的定製@ComponentScan自動掃描的範圍,如果不指定,則預設Spring框架實現會從宣告@ComponentScan所在類的package進行掃描。
注:所以SpringBoot的啟動類最好是放在root package下,因為預設不指定basePackages。
@EnableAutoConfiguration
個人感覺@EnableAutoConfiguration這個Annotation最為重要,所以放在最後來解讀,大家是否還記得Spring框架提供的各種名字為@Enable開頭的Annotation定義?比如:@EnableScheduling、@EnableCaching、@EnableMBeanExport等。
@EnableAutoConfiguration的理念和做事方式其實一脈相承,簡單概括一下就是,藉助@Import的支援,收集和註冊特定場景相關的bean定義。
@EnableScheduling是通過@Import將Spring排程框架相關的bean定義都載入到IoC容器。@EnableMBeanExport是通過@Import將JMX相關的bean定義載入到IoC容器。
而@EnableAutoConfiguration也是藉助@Import的幫助,將所有符合自動配置。
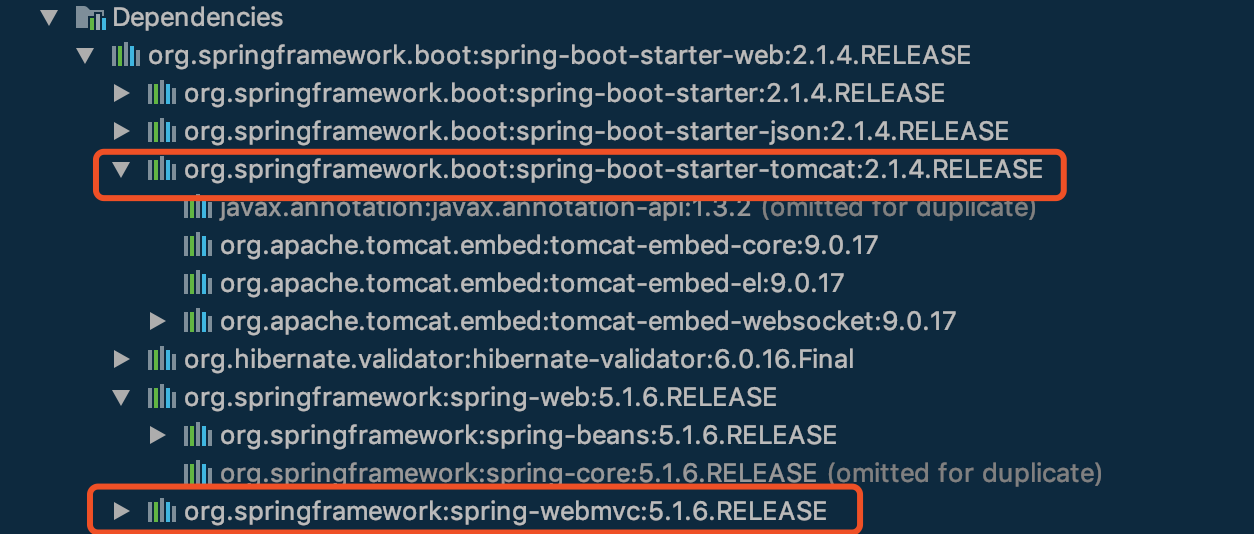
@EnableAutoConfiguration會根據類路徑中的jar依賴為專案進行自動配置,如:添加了spring-boot-starter-web依賴,會自動新增Tomcat和Spring MVC的依賴,Spring Boot會對Tomcat和Spring MVC進行自動配置。
@EnableAutoConfiguration作為一個複合Annotation,其自身定義關鍵資訊如下:
@Target(ElementType.TYPE)
@Retention(RetentionPolicy.RUNTIME)
@Documented
@Inherited
@AutoConfigurationPackage
@Import(AutoConfigurationImportSelector.class)
public @interface EnableAutoConfiguration {
......
}
其中,最關鍵的要屬 @Import(AutoConfigurationImportSelector.class),藉助AutoConfigurationImportSelector@EnableAutoConfiguration可以幫助SpringBoot應用將所有符合條件的@Configuration配置都載入到當前SpringBoot建立並使用的IoC容器。就像一隻“八爪魚”一樣,藉助於Spring框架原有的一個工具類:
SpringFactoriesLoader的支援,@EnableAutoConfiguration可以智慧的自動配置功效才得以大功告成!

相關推薦
帶著萌新看springboot原始碼11(springboot啟動原理 原始碼上)
通過前面這麼多講解,springboot原理應該也大概有個輪廓了,一些基本的配置,從客戶端url到controller(配置一些要用的元件,servlet三大元件,處理器對映器,攔截器,檢視解析器這些都說過了),然後通過Dao和資料庫打交道(配置資料來源、Druid監控都說了,其實我後面要
32 SpringBoot啟動原理與流程
1 啟動原理 1.1 入口(Springboot27Application.java) @SpringBootApplication public class Springboot27Application { public static void main(String
springboot 啟動原理詳解
前言 SpringBoot為我們做的自動配置,確實方便快捷,但是對於新手來說,如果不大懂SpringBoot內部啟動原理,以後難免會吃虧。所以這次博主就跟你們一起一步步揭開SpringBoot的神祕面紗,讓它不在神祕。 正文 我們開發任何一個Spring Boot
SpringBoot啟動原理及相關流程
一、springboot啟動原理及相關流程概覽 springboot是基於spring的新型的輕量級框架,最厲害的地方當屬自動配
詳解SpringBoot——啟動原理及自定義starter
模塊 開始 print handler man comm toc ade ogg 一、引言 SpringBoot的一大優勢就是Starter,由於SpringBoot有很多開箱即用的Starter依賴,使得我們開發變得簡單,我們不需要過多的關註框架的配置。 在日常開發中,
springboot 啟動原理
@SpringBootApplication public class Application { public static void main(String[] args) { SpringApplication.run(Application.class, args);
springboot啟動原理及原始碼賞析
springboot啟動原理剖析 2019年8月1日 15:42 我們開發任何一個Spring Boot專案
SpringBoot啟動原理
背景 1> 大家都知道SpringBoot是通過main函式啟動的,這裡面跟蹤程式碼到處都沒有找到while(true),為什麼啟動後可以一直跑? 2> SpringBoot預設使用tomcat作為web容器。大家也可以通過在pom檔案中exclusion掉tomcat,denpendency j
springboot之啟動原理解析
tor 支持 告訴 定制 root init listen 執行流程 config 本文轉載自:https://www.cnblogs.com/shamo89/p/8184960.html 前言 SpringBoot為我們做的自動配置,確實方便快捷,但是對於新手來說,如
SpringBoot 三 啟動原理
啟動類 SpringBootApplication背後的祕密 @Target({ElementType.TYPE}) @Retention(RetentionPolicy.RUNTIME) @Documented @Inherited @SpringBootConfigur
SpringBoot嵌入式servlet容器啟動原理
轉載自caychen的部落格SpringBoot嵌入式servlet容器啟動原理 從原始碼的角度分析SpringBoot內嵌的servlet容器是怎麼啟動的 Spring Boot應用啟動執行run方法: public ConfigurableApplicationCo
十六、SpringBoot之啟動原理
幾個重要的事件回撥機制 配置在META-INF/spring.factories ApplicationContextInitializer SpringApplicationRunListener 只需要放在ioc容器中 Applicatio
知識儲備:SpringBoot啟動執行流程原理解析
SpringBoot專案通過SpringApplication.run()執行,分為兩步 首先new了一個SpringApplication,之後再呼叫run()方法 ,下面我們就看看這兩步 1.建立SpringApplication 通過debug進入到Sprin
SpringBoot中嵌入式Servlet容器啟動原理;
什麼時候建立嵌入式的Servlet容器工廠?什麼時候獲取嵌入式的Servlet容器並啟動Tomcat; 獲取嵌入式的Servlet容器工廠: 1)、SpringBoot應用啟動執行run方法 2)、refreshContext(context);SpringBo
springboot啟動環境變數profile maven打包profile內部原理
springboot啟動處理步驟: 1、不接配置中心的情況下,啟動的時候springboot預設會載入bootstrap.yml 以及 bootstrap-profile。profile。{profile}在bootstrap.yml中 spring.prof
SpringBoot系列(二)啟動原理解析
要想了解開一輛車首先你要知道,這輛車的駕駛座在哪,以及它是如何啟動的。接下來我們就一起了解一下SpringBoot的啟動原理,之前說過這是SpringBoot入口那麼下面來看幾個註解------ @SpringBootApplication 我們不難發現@SpringBoot
十一、SpringBoot之使用外接的Servlet容器及啟動原理
一、嵌入式和外接Servlet容器對比 嵌入式Servlet容器:應用打成可執行的jar 優點:簡單、便攜; 缺點:預設不支援JSP、優化定製比較複雜; 外接的Servlet容器:外面安裝Tomcat---應用war包的方式打包; 二、使用外接的Servlet容
SpringBoot學習筆記一之【Idea下建立springboot示例、啟動原理分析與兩種部署啟動方式】
1、使用背景 首先說下我們為什麼使用springboot,原因有以下幾點 1、快速建立獨立執行的spring專案以及與主流框架繼承 2、使用嵌入式的Servlet容器,無需打成war包 3、starters自動依賴於版本控制 4、大量的自動配置,簡化開發,也可修改預設值 5、
SpringBoot系列之外部Servlet容器啟動原理
外部Servlet容器啟動springboot應用原理 瞭解外部Servlet容器啟動springboot的原理,需要先了解一個規則,這個規則可以參考servlet3.0規範的8.2.4章 Shared libraries / runtimes pluggability:
SpringBoot系列之嵌入式servlet容器啟動原理
嵌入式servlet容器啟動原理 本文將探討以下問題: 什麼時候建立嵌入式的Servlet容器工廠?什麼時候獲取嵌入式的Servlet容器並啟動Tomcat; 1)、SpringBoot應用啟動執行run方法 2)、refreshContext(context);S