Spring Cloud 入門教程(九): 高可用的服務註冊中心(Greenwich.RELEASE)
參考網址:https://blog.csdn.net/forezp/article/details/81041101
一、準備工作
繼續延用以前的專案,這裡出現了點小插曲,由於打算不修改 hosts 檔案去實現單臺伺服器的服務叢集,折騰一天也沒折騰明白,最後總結個結論:單臺伺服器得修改hosts,多臺伺服器可通過ip去配置。
修改 hosts : C:\Windows\System32\drivers\etc
在檔案最後新增幾行:

二、修改專案erurekaserver
1、新建application-one.yml
server:
  port: 8761
spring:
  application:
    name: eurekaserver
  profiles: one
eureka:
  instance:
    hostname: localhost1
  client:
    register-with-eureka: true
    fetch-registry: true
    serviceUrl:
      defaultZone: http://localhost2:8861/eureka/
  server:
    enableSelfPreservation: false
2、新建application-two.yml
server:
  port: 8861
spring:
  application:
    name: eurekaserver
  profiles: two

eureka:
  instance:
    hostname: localhost2
  client:
    register-with-eureka: true
    fetch-registry: true
    serviceUrl:
      defaultZone: http://localhost1:8761/eureka/
  server:
    enableSelfPreservation: false
3、修改啟動項
EurekaServerApplication.java 右鍵 -> Run As -> Run Configruations.. 建立兩個啟動應用


4、分別啟動 one two
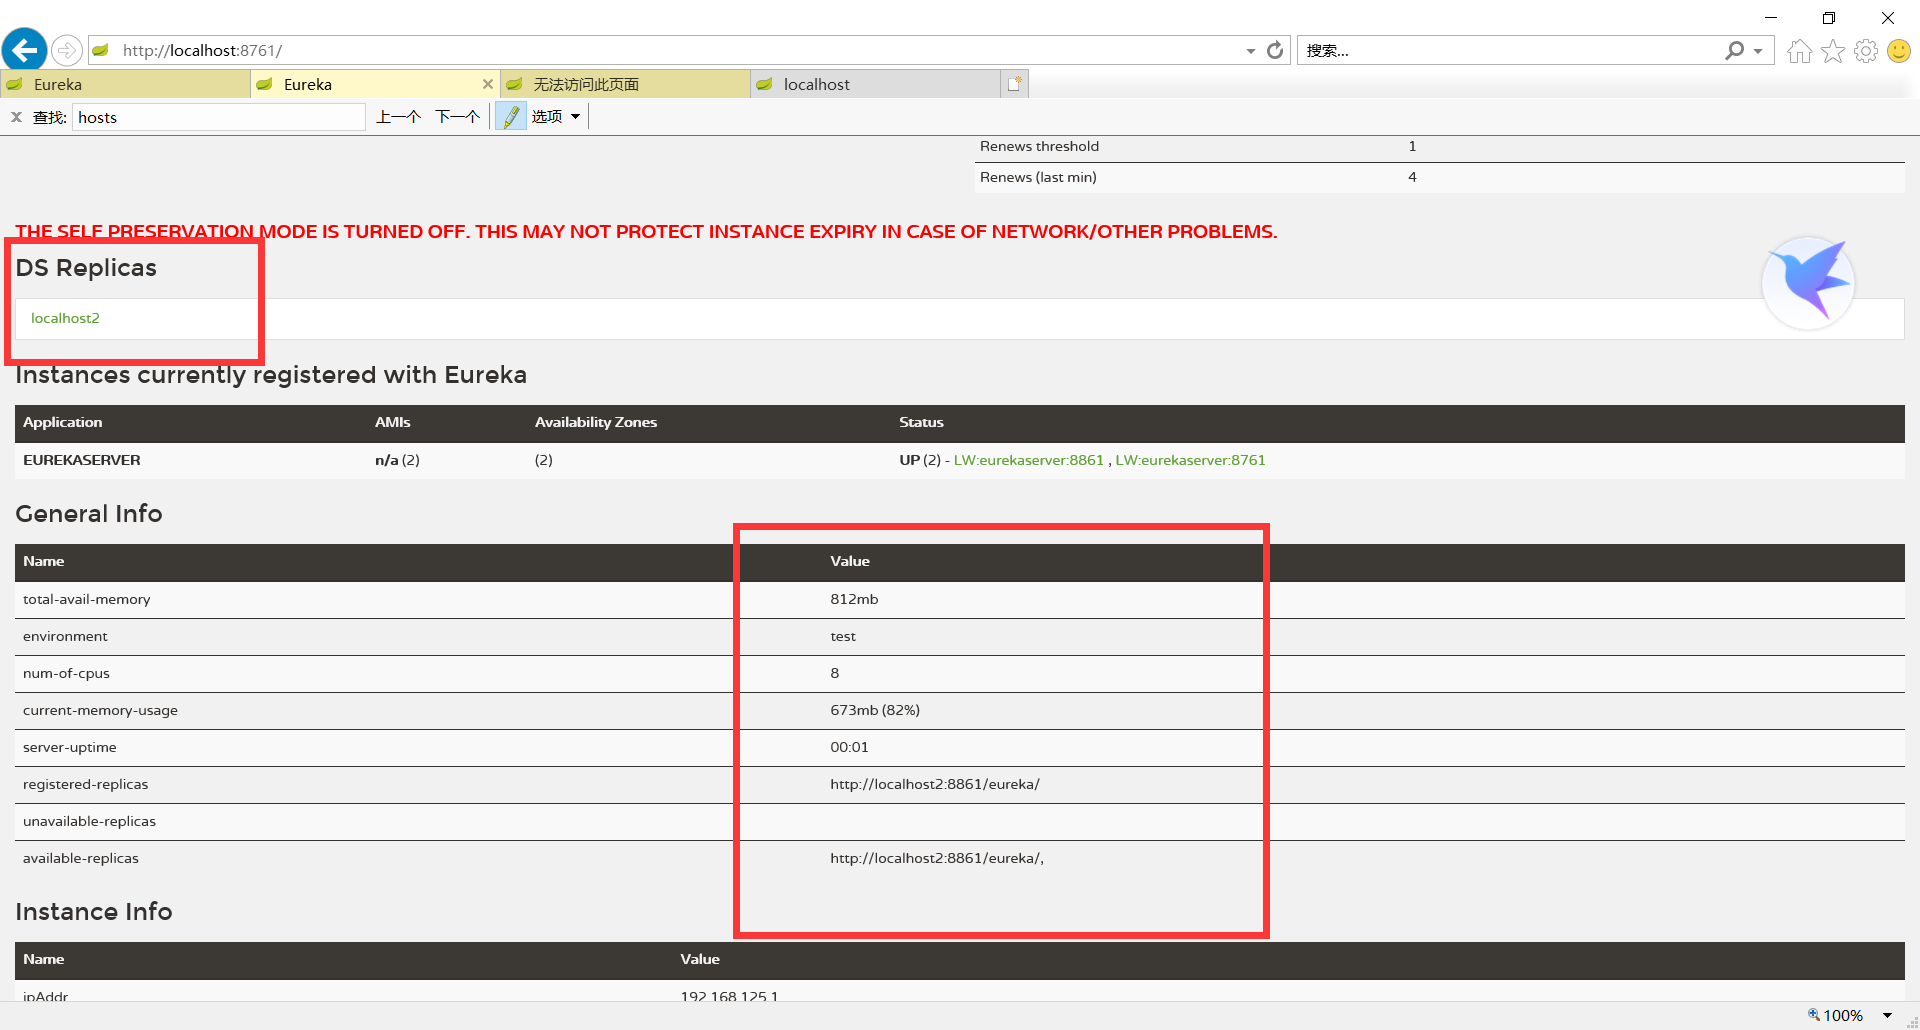
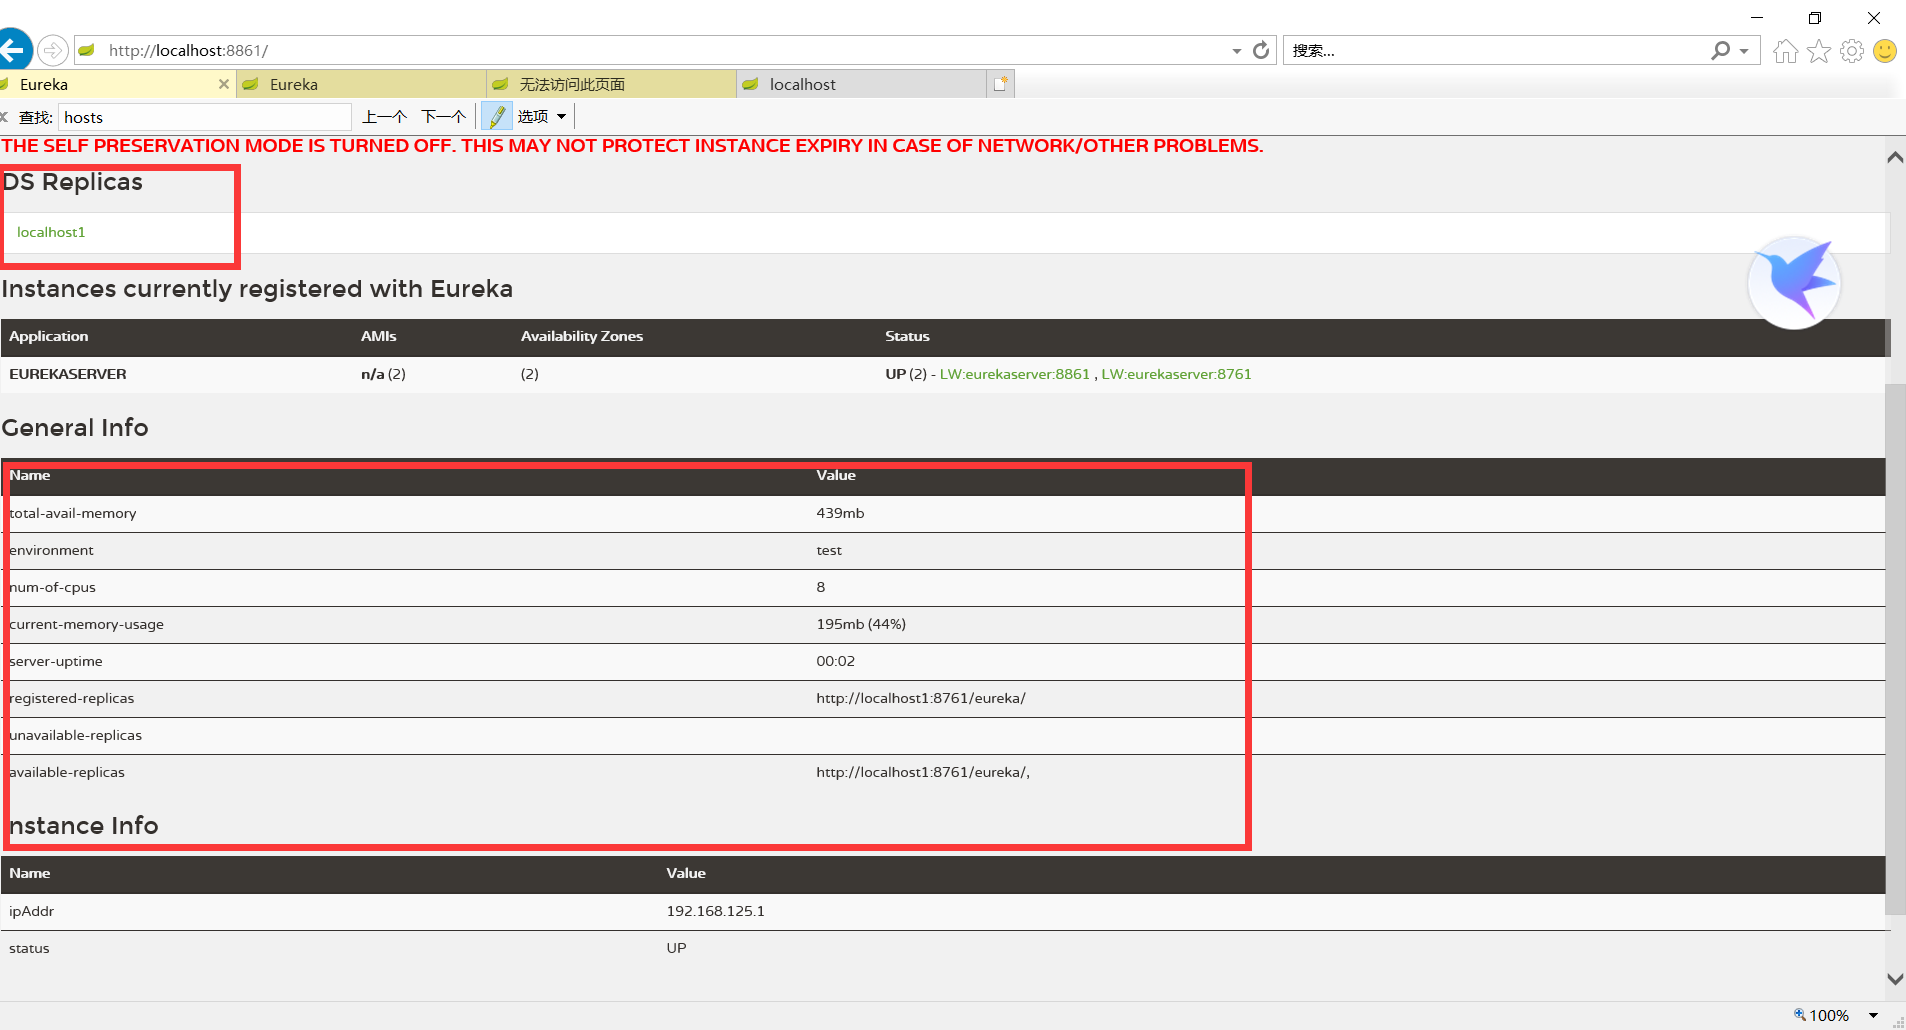
啟動的時候總是有個後臺會報錯,等啟動完成後就好了。分別訪問:http://localhost:8761/,http://localhost:8861/,結果如下:


三、修改config-server專案
1、修改application.properties,紅框標註部分

2、啟動config-server
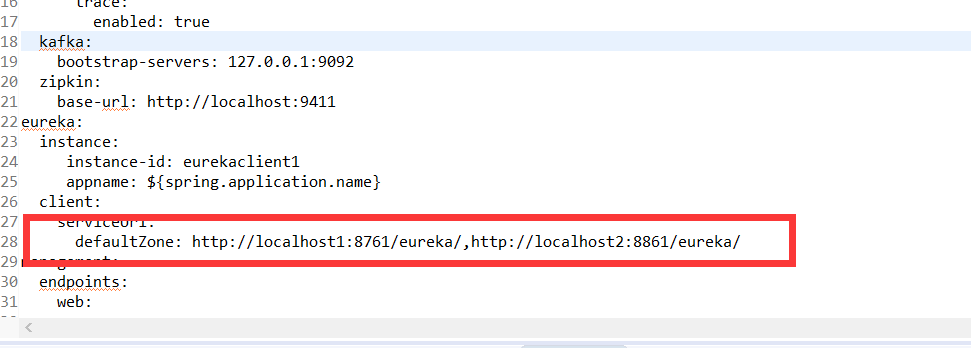
四、修改eurekaclient1的bootstrap.yml

啟動專案
五、修改service-ribbon的 application.yml

啟動專案
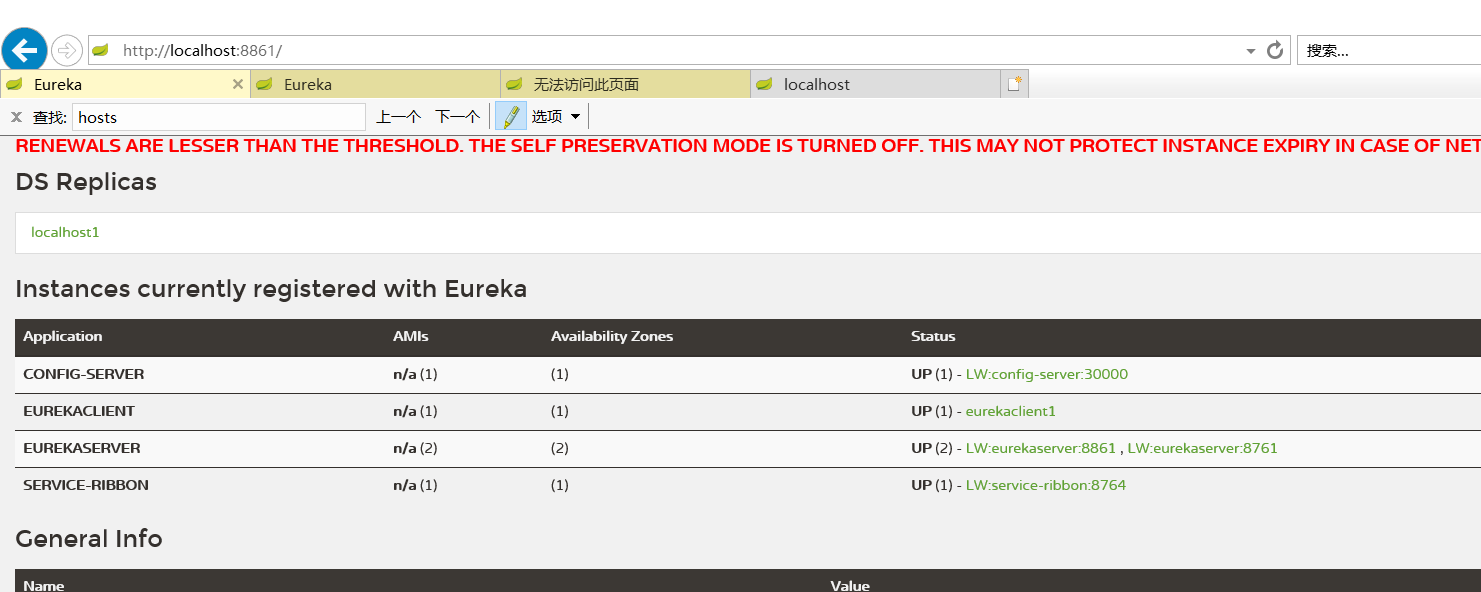
六、再次分別訪問:http://localhost:8761/,http://localhost:8861/


七、訪問http://localhost:8764/hello

可成功訪問。
疑問總結: 就算我關閉了 erurekaserver -one 和 erurekaserver -two 再訪問:http://localhost:8764/hello 依然可行,所以,做完這個沒什麼感覺,菜鳥繼續前行。
上 一篇:Spring Cloud 入門教程(八): 服務鏈路追蹤(Spring Cloud Sleuth)(Greenwich.RELEASE)
