Linux驅動之GPIO子系統和pinctrl子系統
阿新 • • 發佈:2020-09-15
# 前期知識
[1.如何編寫一個簡單的Linux驅動(一)——驅動的基本框架](https://www.cnblogs.com/UnfriendlyARM/p/13629905.html)
[2.如何編寫一個簡單的Linux驅動(二)——裝置操作集file_operations](https://www.cnblogs.com/UnfriendlyARM/p/13659337.html)
[3.如何編寫一個簡單的Linux驅動(三)——完善裝置驅動](https://www.cnblogs.com/UnfriendlyARM/p/13663984.html)
[4.Linux驅動之裝置樹的基礎知識](https://www.cnblogs.com/UnfriendlyARM/p/13669520.html)
# 前言
在學習微控制器(比如51微控制器和STM32)的時候,我們可以直接對微控制器的暫存器進行操作,進而達到控制pin腳的目的。而Linux系統相較於一個微控制器系統,要龐大而複雜得多,因此在Linux系統中我們不能直接對pin腳進行操作。Linux系統講究驅動分層,pinctrl子系統和GPIO子系統就是驅動分層的產物。如果我們要操作pin腳,就必須要藉助pinctrl子系統和GPIO子系統。
pinctrl子系統的作用是`pin config(引腳配置)`和`pin mux(引腳複用)`,而如果pin腳被複用為了GPIO(`注意:GPIO功能只是pin腳功能的一種`),就需要再借助GPIO子系統對pin腳進行控制了,GPIO子系統提供了一系列關於GPIO的API函式,供我們呼叫。本章,我們會使用pinctrl子系統和GPIO子系統來完成對GPIO的操作。
本章的驅動程式碼和使用者程式程式碼要在"[如何編寫一個簡單的Linux驅動(三)——完善裝置驅動](https://www.cnblogs.com/UnfriendlyARM/p/13663984.html)"這一章所寫的程式碼基礎上進行修改。如果要下載"[如何編寫一個簡單的Linux驅動(三)——完善裝置驅動](https://www.cnblogs.com/UnfriendlyARM/p/13663984.html)"這一章的程式碼,請點選[這裡](https://github.com/shanwuyan/Linux-Drivers-Learning/tree/master/3.%E5%A6%82%E4%BD%95%E7%BC%96%E5%86%99%E4%B8%80%E4%B8%AA%E7%AE%80%E5%8D%95%E7%9A%84Linux%E9%A9%B1%E5%8A%A8%EF%BC%88%E4%B8%89%EF%BC%89%E2%80%94%E2%80%94%E5%AE%8C%E5%96%84%E8%AE%BE%E5%A4%87%E9%A9%B1%E5%8A%A8)。
# 1.閱讀幫助文件
開啟核心裝置樹目錄下的文件`kernel/Documentation/devicetree/bindings/pinctrl/samsung-pinctrl.txt`,可以看到三星原廠提供的pinctrl子系統的幫助說明。
首先看下面這一段文件內容。
> Eg: <&gpx2 6 0>
<[phandle of the gpio controller node]
[pin number within the gpio controller]
[flags]>
Values for gpio specifier: - Pin number: is a value between 0 to 7. - Flags: 0 - Active High 1 - Active Low 這段內容舉例瞭如何使能某個GPIO。以`<&gpx2 6 0>`為例,第一個引數`&gpx2`是對應的gpio controller節點,第二個引數`6`是gpio controller的pin腳編號,第三個引數`0`是標誌位(0表示高電平有效,1表示低電平有效)。 再看文件中的這一段內容。 > \- Pin mux/config groups as child nodes: The pin mux (selecting pin function mode) and pin config (pull up/down, driver strength) settings are represented as child nodes of the pin-controller node. There should be atleast one child node and there is no limit on the count of these child nodes. It is also possible for a child node to consist of several further child nodes to allow grouping multiple pinctrl groups into one. The format of second level child nodes is exactly the same as for first level ones and is described below.
\- samsung,pin-val: Initial value of pin output buffer. \- samsung,pin-pud: Pull up/down configuration. \- samsung,pin-drv: Drive strength configuration. \- samsung,pin-pud-pdn: Pull up/down configuration in power down mode. \- samsung,pin-drv-pdn: Drive strength configuration in power down mode. 這部分內容較長,簡而言之就是描述了`引用pin腳的寫法`、`pin腳的功能複用屬性`、`pin腳的配置屬性`。 1. `引用pin腳`的屬性名為`samsung,pins`,它的值寫法是`[pin bank name]-[pin number within the bank]`,如`samsung.pins = gpa0-1;`。 2. `pin腳功能複用屬性`的屬性名為`samsung,pin-function`,它的值的寫法可以在`dt-bindings/pinctrl/samsung.h`檔案中找到,如`samsung,pin-function = EXYNOS_PIN_FUNC_OUTPUT;`。 3. `pin腳的配置屬性`比較多,這裡只選兩個本章用得到的:`samsung.pin-val`是pin腳的預設輸出值(高電平還是低電平),如`samsung.pin-val = <1>;`,而`samsung.pin-pud`是設定上拉或者下拉,如`samsung.pin-pud =;`。
以上這兩部分說明了pin腳複用為GPIO時該如何寫裝置樹程式碼。
# 2.修改裝置樹原始碼
本章要實現的效果是讓使用者程式控制開發板上LED燈的亮滅。通過檢視開發板原理圖,得知兩個LED燈連的pin腳是`gpl2-0`和`gpk1-1`。
(1) 開啟pinctrl相關的裝置樹標頭檔案`kernel/arch/arm/boot/dts/exynos4412-pinctrl.dtsi`,可以看到`gpk`和`gpl`是`pinctrl_1`的子節點,見下方程式碼。
```
...
pinctrl_1: pinctrl@11000000 {
...
gpk1: gpk1 {
gpio-controller;
#gpio-cells = <2>;
interrupt-controller;
#interrupt-cells = <2>;
};
...
gpl2: gpl2 {
gpio-controller;
#gpio-cells = <2>;
interrupt-controller;
#interrupt-cells = <2>;
};
...
}
...
```
在`pinctrl_1`節點下新增兩個自定義的節點`pinctrl_shanwuyan_leds`,如下方程式碼。
```
pinctrl_1: pinctrl@11000000 {
...
gpk1: gpk1 {
gpio-controller;
#gpio-cells = <2>;
interrupt-controller;
#interrupt-cells = <2>;
};
...
gpl2: gpl2 {
gpio-controller;
#gpio-cells = <2>;
interrupt-controller;
#interrupt-cells = <2>;
};
...
/*自己新增的裝置樹節點*/
pinctrl_shanwuyan_leds: gpio_leds {
samsung,pins = "gpl2-0","gpk1-1" ; //LED的pin腳為gpl2-0和gpk1-1
samsung,pin-function = ; //設定為輸出
samsung,pin-val = <1>; //預設輸出為低電平
samsung,pin-pud = ; //設定為上拉
};
...
}
```
(2) 然後開啟裝置樹檔案`kernel/arch/arm/boot/dts/exynos4412-itop-elite.dts`,在根節點下新增一個自定義節點`shanwuyan_leds`。另外,如果裝置樹檔案中其他的程式碼段也使用了這兩個pin腳,記得將它們註釋掉。本文中,`gpk1-1`在裝置樹自帶的led燈裝置中被使用了,所以要先註釋掉。如下方程式碼。
```
/ {
model = "TOPEET iTop 4412 Elite board based on Exynos4412";
compatible = "topeet,itop4412-elite", "samsung,exynos4412", "samsung,exynos4";
chosen {
bootargs = "root=/dev/mmcblk0p2 rw rootfstype=ext4 rootdelay=1 rootwait";
stdout-path = "serial2:115200n8";
};
memory {
reg = <0x40000000 0x40000000>;
};
leds { //這是裝置樹自帶的led裝置節點
compatible = "gpio-leds";
led2 {
label = "red:system";
gpios = <&gpx1 0 GPIO_ACTIVE_HIGH>;
default-state = "off";
linux,default-trigger = "heartbeat";
};
led3 {
label = "red:user";
// gpios = <&gpk1 1 GPIO_ACTIVE_HIGH>; //和我們自己寫的led裝置所用的pin腳產生了衝突,要註釋掉
default-state = "off";
};
};
...
...
/*自己新增的裝置樹節點*/
shanwuyan_leds{
compatible = "samsung,shanwuyan_leds";
pinctrl-names = "default";
pinctrl-0 = <&pinctrl_shanwuyan_leds>;
led-gpios = <&gpl2 0 GPIO_ACTIVE_HIGH>,<&gpk1 1 GPIO_ACTIVE_HIGH>;
status = "okay";
};
};
```
(3) 使用命令`make dtbs`編譯裝置樹檔案。

將生成的dtb檔案燒寫進開發板中。

重啟開發板,在命令列輸入`ls /proc/device-tree/shanwuyan_leds/`,可以檢視到我們新新增的節點及其屬性。

# 3.修改驅動程式
開啟驅動程式碼檔案。
(1) 首先新增四個新的標頭檔案,然後把驅動名稱修改一下,再新增三個巨集定義。如下方程式碼。
```c
/* 原始碼檔名為"shanwuyan.c"*/
#include
#include
#include
#include
#include
#include
#include
/*新新增如下四個新的標頭檔案*/
#include
#include
#include
#include
#define SHANWUYAN_NAME "shanwuyan_leds" //修改驅動名稱
/*新增三個新的巨集定義*/
#define LEDS_NUM 2 //LED燈的個數為2
#define LEDS_ON 1 //LED燈的開啟狀態
#define LEDS_OFF 0 //lED燈的關閉狀態
...
```
(2) 向結構體`shanwuyan_dev`中新增兩個新的成員變數,如下方程式碼。
```c
struct shanwuyan_dev
{
struct cdev c_dev; //字元裝置
dev_t dev_id; //裝置號
struct class *class; //類
struct device *device; //裝置
int major; //主裝置號
int minor; //次裝置號
/*新新增的成員變數*/
struct device_node *node; //用於獲取裝置樹節點
int led_gpios[2]; //用於獲取兩個led的GPIO編號
};
```
(3) 我們需要新增一個新的函式`leds_init`,用以初始化兩個LED佔用的GPIO。在該函式中,我們使用GPIO子系統提供的API函式,對pin腳進行操作。在新增之前,我們要先介紹幾個函式。
```c
//位於linux/of.h檔案中
static inline struct device_node *of_find_node_by_path(const char *path);
//通過節點路徑來查詢裝置樹節點,若查詢失敗,則返回NULL
```
```c
//位於linux/of_gpio.h檔案中
static inline int of_get_named_gpio(struct device_node *np, const char *propname, int index);
//通過裝置樹節點、屬性名、屬性索引號來獲取GPIO編號,若獲取失敗,則返回一個負數
```
```c
//位於linux/gpio.h檔案中
static inline int gpio_request(unsigned gpio, const char *label);
//申請GPIO,第一個引數是GPIO編號,第二個引數是給GPIO加的標籤(由程式設計師給定),如果申請成功,則返回0,否則返回一個非零數
static inline void gpio_free(unsigned gpio);
//釋放GPIO,引數是GPIO編號
static inline int gpio_direction_input(unsigned gpio);
//把GPIO設定為輸入模式,引數是GPIO編號,如果設定成功,則返回0,否則返回一個非零數
static inline int gpio_direction_output(unsigned gpio, int value);
//把GPIO設定為輸出模式,第一個引數是GPIO編號,第二個引數是預設輸出值,如果設定成功,則返回0,否則返回一個非零數
static inline void gpio_set_value(unsigned int gpio, int value);
//設定GPIO的輸出值,第一個引數是GPIO編號,第二個引數是輸出值
```
接下來我們新增函式`led_init`,然後在入口函式`shanwuyan_init`中呼叫它,在載入驅動的時候就完成GPIO的初始化。相應的,在出口函式`shanwuyan_exit`中,要釋放掉申請的GPIO。如下方程式碼。
```c
...
static int leds_init(struct shanwuyan_dev *leds_dev)//初始化led的GPIO
{
int ret = 0;
int i = 0;
char led_labels[][20] = {"led_gpio_0", "led_gpio_1"}; //定義兩個裝置標籤
/*1.根據裝置節點在裝置樹中的路徑,獲取裝置樹中的裝置節點*/
leds_dev->node = of_find_node_by_path("/shanwuyan_leds");
if(leds_dev->node == NULL)
{
ret = -EINVAL;
printk("cannot find node /shanwuyan_leds\r\n");
goto fail_find_node;
}
/*2.獲取led對應的gpio*/
for(i = 0; i < LEDS_NUM; i++)
{
leds_dev->led_gpios[i] = of_get_named_gpio(leds_dev->node, "led-gpios", i);
if(leds_dev->led_gpios[i] < 0) //如果獲取失敗
{
printk("cannot get led_gpio_%d\r\n", i);
ret = -EINVAL;
goto fail_get_gpio;
}
}
for(i = 0; i < LEDS_NUM; i++) //打印出獲取的gpio編號
printk("led_gpio_%d = %d\r\n", i, leds_dev->led_gpios[i]);
/*3.申請gpio*/
for(i = 0; i < LEDS_NUM; i++)
{
ret = gpio_request(leds_dev->led_gpios[i], led_labels[i]);
if(ret) //如果申請失敗
{
printk("cannot request the led_gpio_%d\r\n", i);
ret = -EINVAL;
if(i == 1)
goto fail_request_gpio_1;
else
goto fail_request_gpio_0;
}
}
/*4.使用gpio:設定為輸出*/
for(i = 0; i < LEDS_NUM; i++)
{
ret = gpio_direction_output(leds_dev->led_gpios[i], 1);
if(ret) //如果是指失敗
{
printk("failed to set led_gpio_%d\r\n", i);
ret = -EINVAL;
goto fail_set_output;
}
}
/*5.設定輸出高電平,led會亮*/
for(i = 0; i < LEDS_NUM; i++)
gpio_set_value(leds_dev->led_gpios[i], 1);
return 0;
fail_set_output:
gpio_free(leds_dev->led_gpios[1]); //釋放掉led_gpio_1
fail_request_gpio_1:
gpio_free(leds_dev->led_gpios[0]);//如果led_gpio_1申請失敗,則也要把led_gpio_0也要釋放掉
fail_request_gpio_0:
fail_get_gpio:
fail_find_node:
return ret;
}
static int __init shanwuyan_init(void) //驅動入口函式
{
int ret = 0;
/*1.分配裝置號*/
...
/*2.向核心新增字元裝置*/
...
/*3.自動建立裝置節點*/
...
/*4.初始化GPIO*/
leds_init(&shanwuyan);
return 0;
}
static void __exit shanwuyan_exit(void) //驅動出口函式
{
int i = 0;
/*釋放GPIO*/
for(i = 0; i < LEDS_NUM; i++)
gpio_free(shanwuyan.led_gpios[i]);
/*登出裝置號*/
...
/*摧毀裝置*/
...
/*摧毀類*/
...
}
...
```
(4) 然後一下`open`函式,因為該函式有一個引數我們一直沒有使用,現在我們使用它,`close`函式無需改造。如下方程式碼。
```c
...
/*開啟裝置*/
static int shanwuyan_open(struct inode *inode, struct file *filp)
{
printk(KERN_EMERG "shanwuyan_open\r\n");
filp->private_data = &shanwuyan; //在裝置操作集中,我們儘量使用私有資料來操作物件
return 0;
}
...
```
(5) 最後改造`write`函式(使用者程式控制GPIO,只需要用到`write`函式,用不到`read`函式,所以不用改造`read`函式)。如下方程式碼。
```c
...
/*寫裝置*/
static ssize_t shanwuyan_write(struct file *filp, const char __user *buf, size_t count, loff_t *ppos)
{
int i = 0;
int ret = 0;
char user_data; //儲存使用者資料
struct shanwuyan_dev *led_dev = filp->private_data; //獲取私有變數
ret = copy_from_user(&user_data, buf, count); //獲取使用者資料
if(ret < 0)
return -EINVAL;
if(user_data == LEDS_ON) //如果接到的命令是開啟LED
for(i = 0; i < LEDS_NUM; i++)
gpio_set_value(led_dev->led_gpios[i], LEDS_ON);
else if(user_data == LEDS_OFF) //如果接到的命令是關閉LED
for(i = 0; i < LEDS_NUM; i++)
gpio_set_value(led_dev->led_gpios[i], LEDS_OFF);
return 0;
}
...
```
# 4.修改使用者程式
使用者程式只用得到寫操作,可以把讀操作的程式碼刪除。再另外修改一下寫操作的程式碼,如下。
```c
//原始碼名稱為 "shanwuyanAPP.c"
#include
#include
#include
#include
#include
#include
#include
/*
*argc:應用程式引數個數,包括應用程式本身
*argv[]:具體的引數內容,字串形式
*./shanwuyanAPP <0:1> 0表示LED滅,1表示LED亮
*/
int main(int argc, char *argv[])
{
int ret = 0;
int fd = 0;
char *filename;
char user_data;
user_data = atoi(argv[2]);
if(argc != 3)
{
printf("Error usage!\r\n");
return -1;
}
filename = argv[1]; //獲取裝置名稱
fd = open(filename, O_RDWR);
if(fd < 0)
{
printf("cannot open device %s\r\n", filename);
return -1;
}
/*寫操作*/
ret = write(fd, &user_data, sizeof(char));
if(ret < 0)
printf("write error!\r\n");
/*關閉操作*/
ret = close(fd);
if(ret < 0)
{
printf("close device %s failed\r\n", filename);
}
return 0;
}
```
# 5.應用
編譯驅動,交叉編譯使用者程式,拷貝到開發板中。
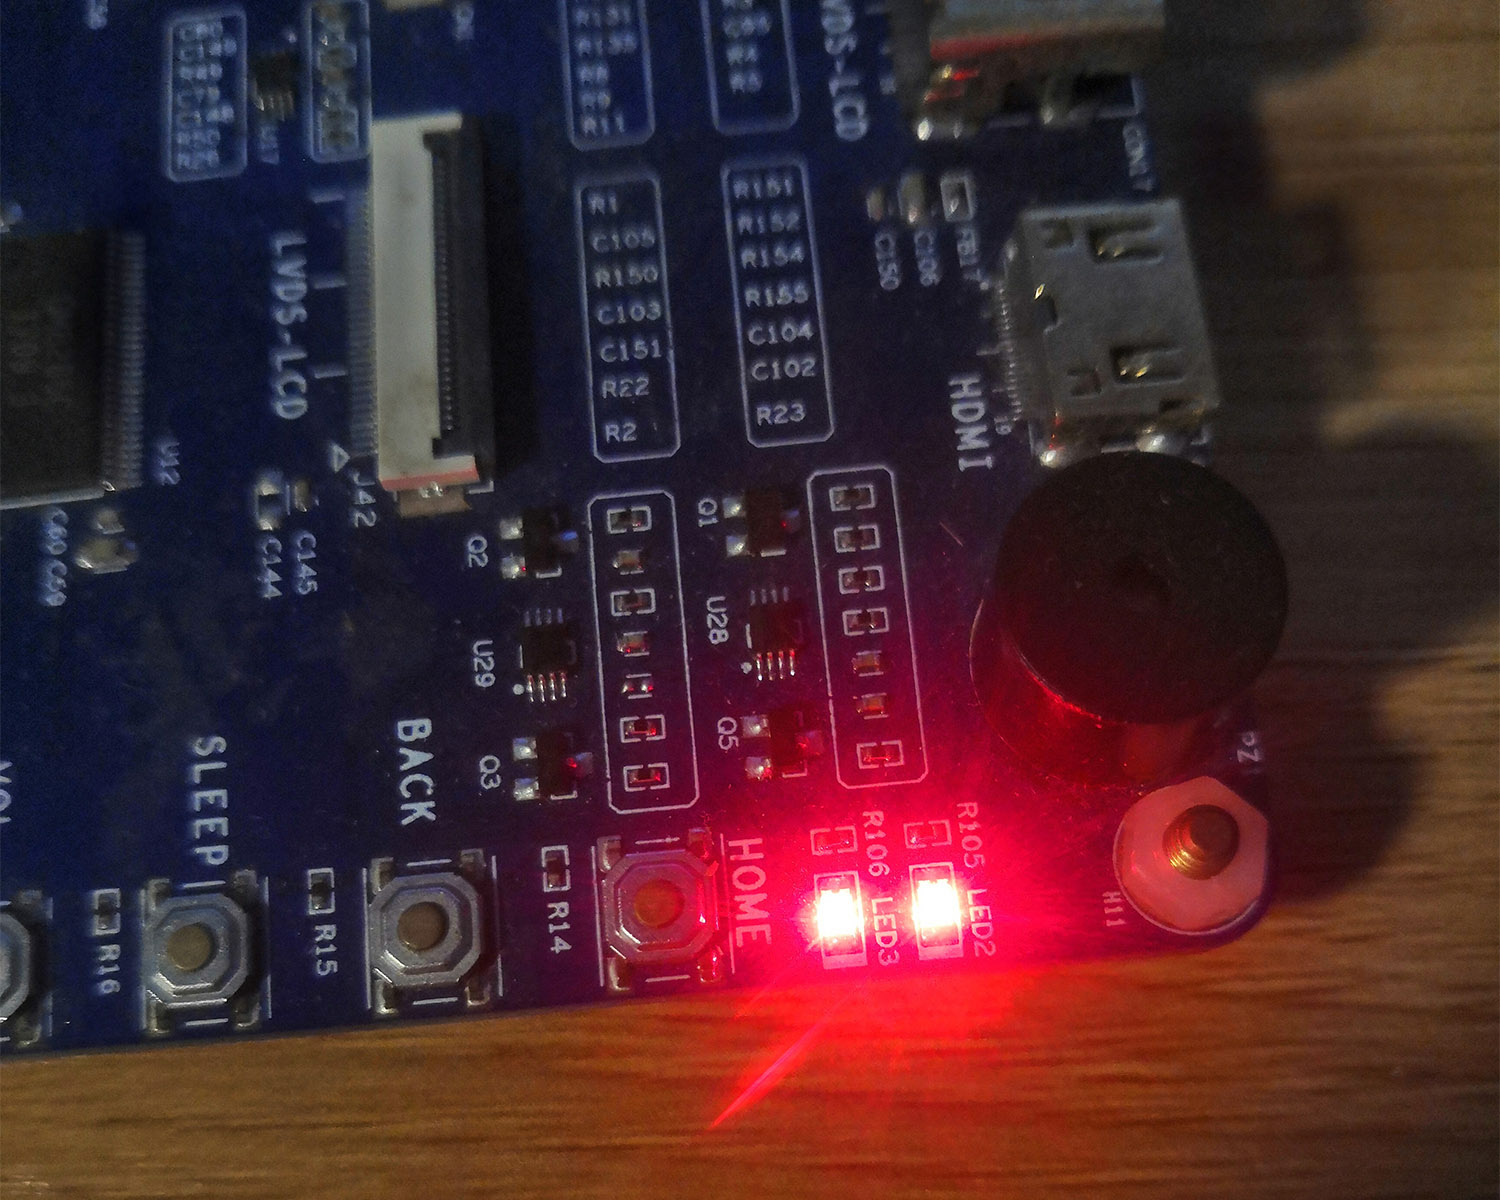
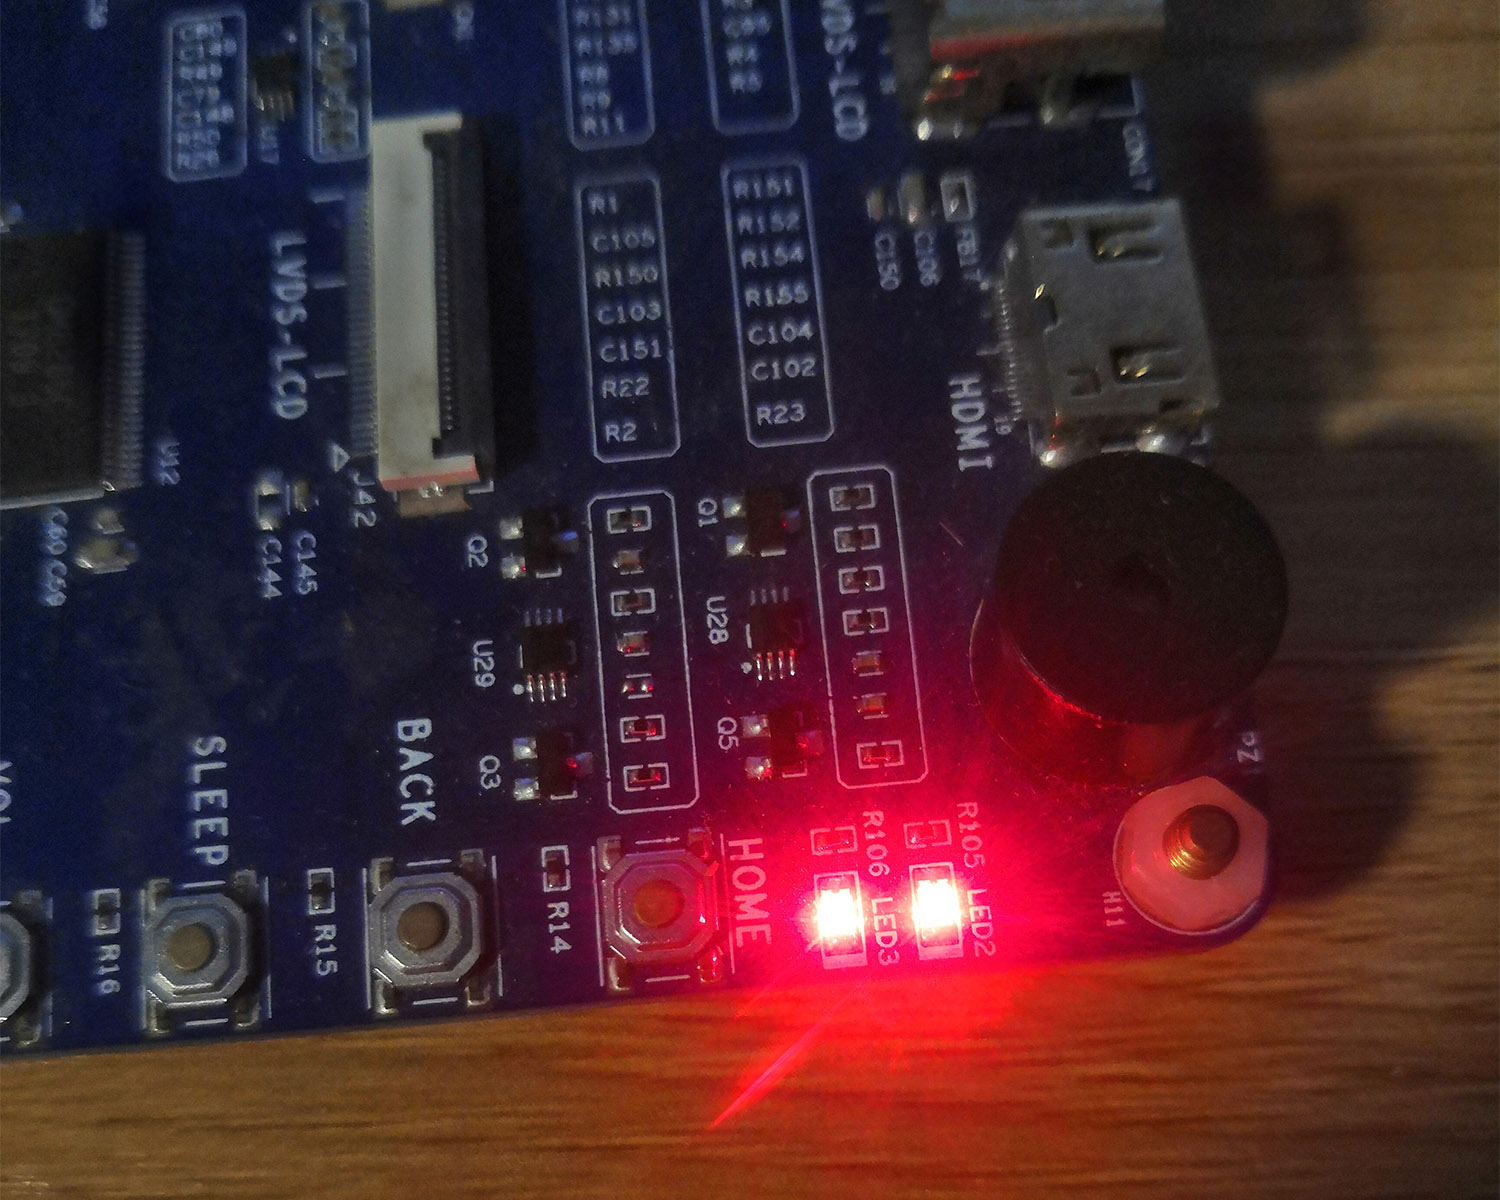
載入驅動,可以看到開發板上的LED燈亮了起來。

同時可以在終端看到兩個LED的GPIO編號。

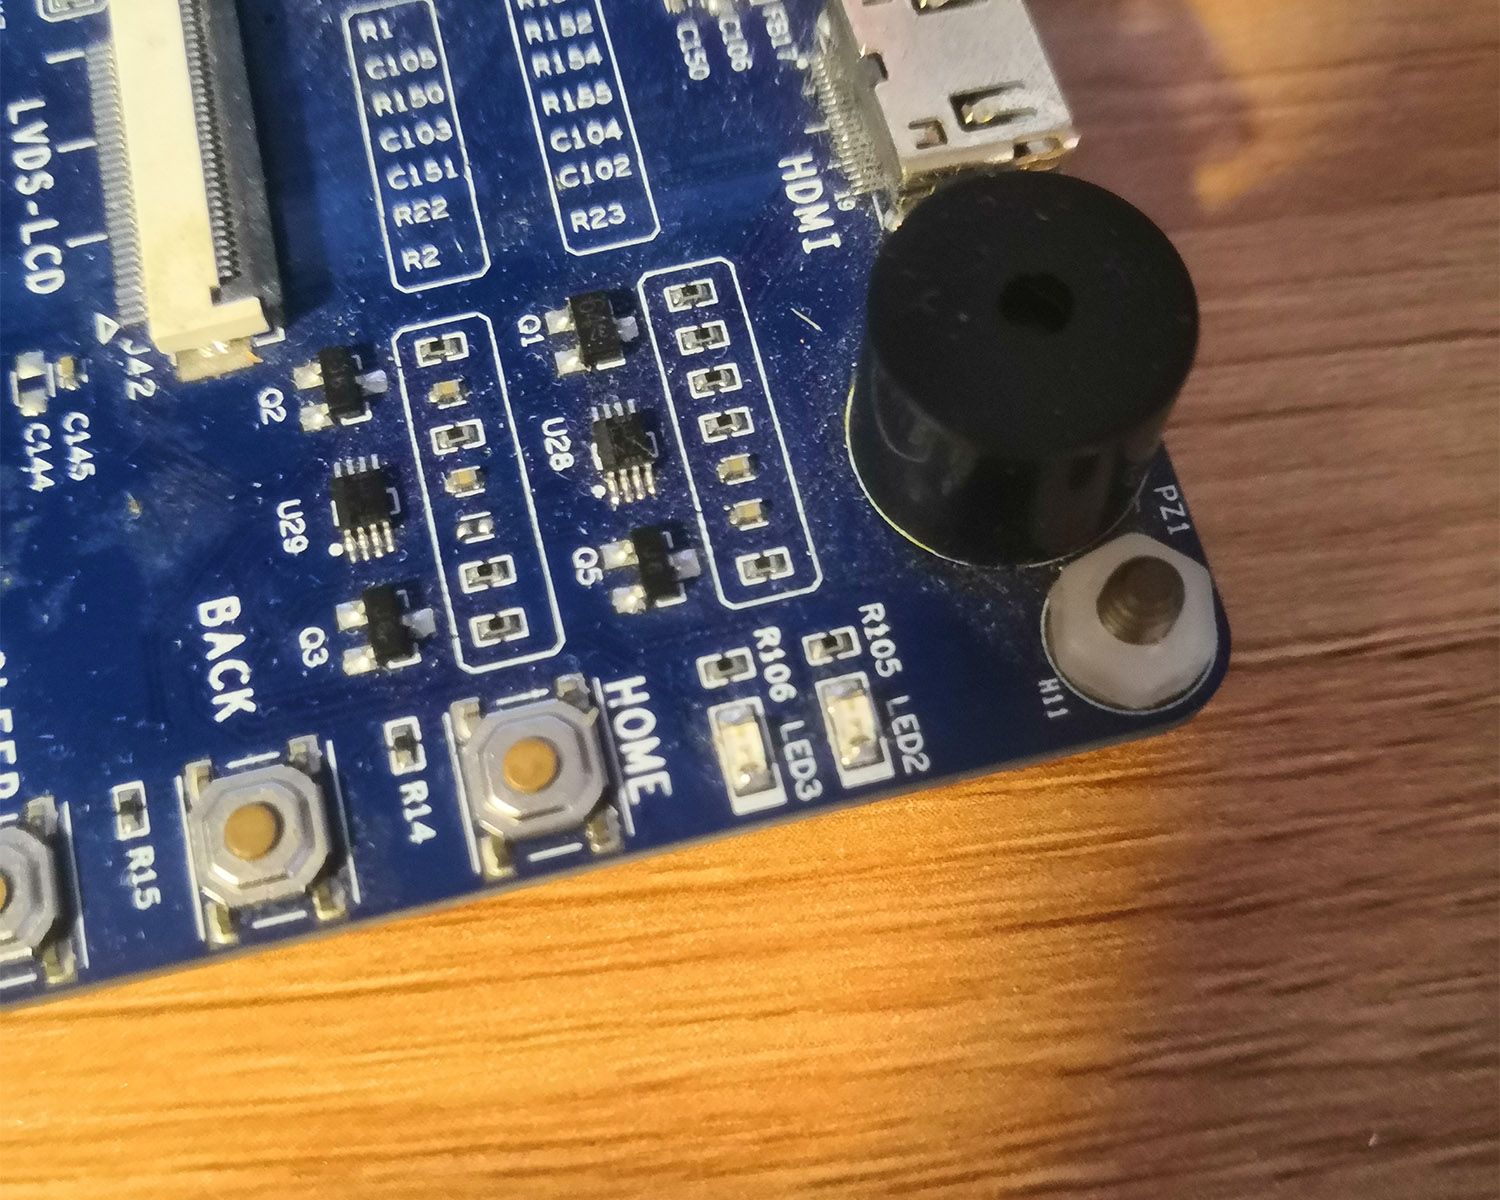
在終端輸入命令`./shanwuyanAPP /dev/shanwuyan_leds 0`,可以看到兩個LED燈滅掉。

再在終端輸入命令`./shanwuyanAPP /dev/shanwuyan_leds 0`,可以看到兩個LED燈又亮起來。

本文全部程式碼在[這裡](https://github.com/shanwuyan/Linux-Drivers-Learning/tree/master/5.Linux%E9%A9%B1%E5%8A%A8%E4%B9%8BGPIO%E5%AD%90%E7%B3%BB%E7%BB%9F%E5%92%8Cpinctrl%E5%AD%90%E7%B3%BB%E7
Values for gpio specifier: - Pin number: is a value between 0 to 7. - Flags: 0 - Active High 1 - Active Low 這段內容舉例瞭如何使能某個GPIO。以`<&gpx2 6 0>`為例,第一個引數`&gpx2`是對應的gpio controller節點,第二個引數`6`是gpio controller的pin腳編號,第三個引數`0`是標誌位(0表示高電平有效,1表示低電平有效)。 再看文件中的這一段內容。 > \- Pin mux/config groups as child nodes: The pin mux (selecting pin function mode) and pin config (pull up/down, driver strength) settings are represented as child nodes of the pin-controller node. There should be atleast one child node and there is no limit on the count of these child nodes. It is also possible for a child node to consist of several further child nodes to allow grouping multiple pinctrl groups into one. The format of second level child nodes is exactly the same as for first level ones and is described below.
\- samsung,pin-val: Initial value of pin output buffer. \- samsung,pin-pud: Pull up/down configuration. \- samsung,pin-drv: Drive strength configuration. \- samsung,pin-pud-pdn: Pull up/down configuration in power down mode. \- samsung,pin-drv-pdn: Drive strength configuration in power down mode. 這部分內容較長,簡而言之就是描述了`引用pin腳的寫法`、`pin腳的功能複用屬性`、`pin腳的配置屬性`。 1. `引用pin腳`的屬性名為`samsung,pins`,它的值寫法是`[pin bank name]-[pin number within the bank]`,如`samsung.pins = gpa0-1;`。 2. `pin腳功能複用屬性`的屬性名為`samsung,pin-function`,它的值的寫法可以在`dt-bindings/pinctrl/samsung.h`檔案中找到,如`samsung,pin-function = EXYNOS_PIN_FUNC_OUTPUT;`。 3. `pin腳的配置屬性`比較多,這裡只選兩個本章用得到的:`samsung.pin-val`是pin腳的預設輸出值(高電平還是低電平),如`samsung.pin-val = <1>;`,而`samsung.pin-pud`是設定上拉或者下拉,如`samsung.pin-pud =
