
Jmeter & TICK
阿新 • • 發佈:2017-09-13
phi roo x server .com .cn height ron ont nsis 背景:
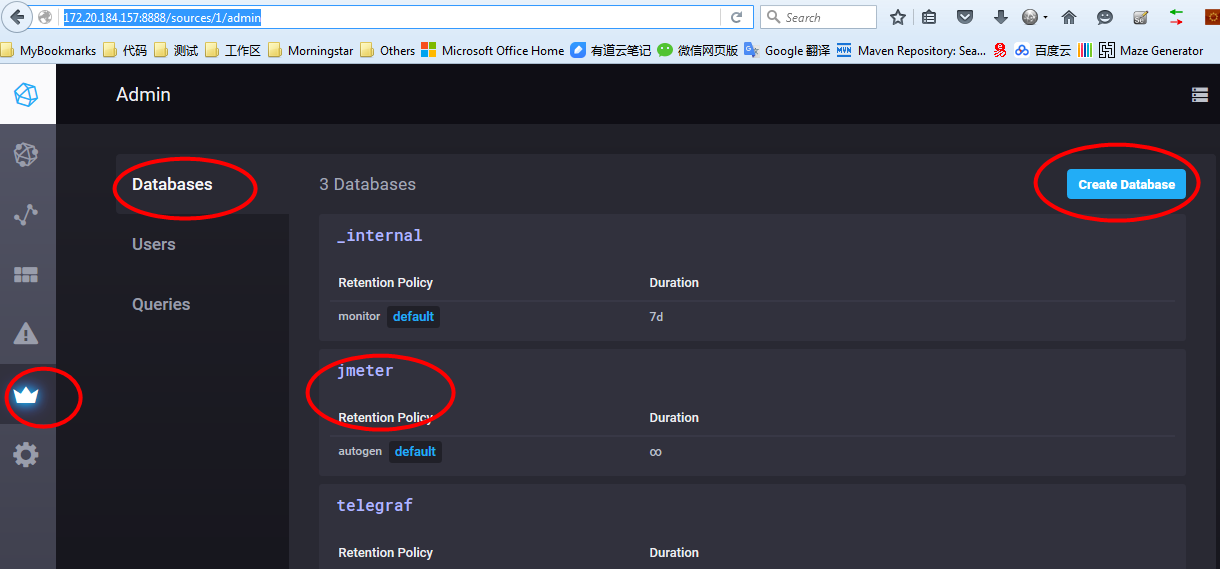
本來只是想在將Jmeter的測試結果寫入InfluxDB, 但發現從InfluxDB V1.3後開始, 已經不支持Web Admin interface, 才發現InfluxData 搞了一個整體產品棧,名字叫做TICK
 8. 在Jmeter 項目中加入Backend Listen, 並指向TICK
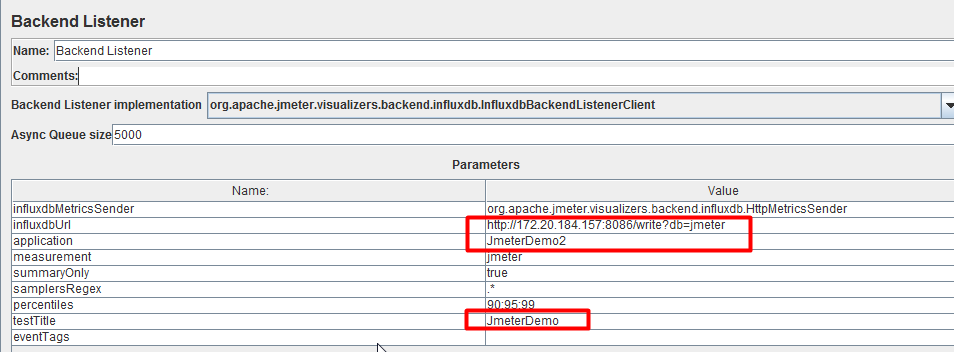 關於BackendListen 相關知識,請參見
https://docs.influxdata.com/influxdb/v1.1/query_language/database_management/
http://jmeter.apache.org/usermanual/component_reference.html#Backend_Listener
關於BackendListen 相關知識,請參見
https://docs.influxdata.com/influxdb/v1.1/query_language/database_management/
http://jmeter.apache.org/usermanual/component_reference.html#Backend_Listener
- Telegraf
- InfluxDB
- Chronograf
- Kapacitor
8. 在Jmeter 項目中加入Backend Listen, 並指向TICK
關於BackendListen 相關知識,請參見
https://docs.influxdata.com/influxdb/v1.1/query_language/database_management/
http://jmeter.apache.org/usermanual/component_reference.html#Backend_Listener
Jmeter & TICK