
小程式與後臺介面封裝
阿新 • • 發佈:2018-11-05
小程式的程式碼結構和app很相似,基本操作都是前端js邏輯就能搞定,然後就是和後臺進行資料交換。
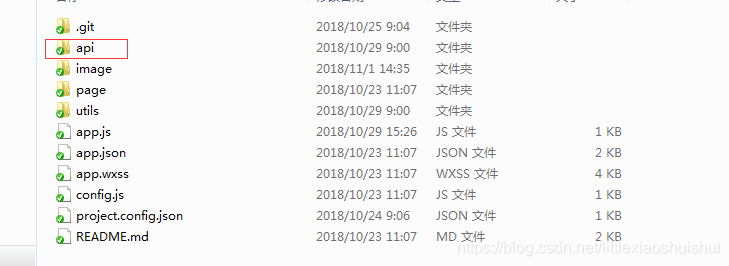
新建一個api目錄,建一個index.js專門處理介面的檔案
2.封裝一個fetch函式
import config from '../config';

let apiPath = config.api_path;

export function fetch(url, params) {
  return new Promise((resolve, reject) => {
    wx.request({
      url: url,
      data: params,
      method: 'POST',
      header: { 'content-type': 'application/x-www-form-urlencoded' },
      success: res => {
        if (res.statusCode == 200) resolve(res.data)
        else typeof reject === 'function' && reject(res);
      },
      error: err => {
        typeof reject === 'function' && reject(err);
      }
    });
  })
}

//請求介面
export default {
  /* ===== 測試用介面 ======= */
  test(params){
    return fetch(`${apiPath}/admin/index.php/Bread/addQuntime`, params)
  },
}
3.page頁面呼叫遠端介面時,直接用api物件就行
import api from '../../../api/index';

Page({
  data:{
    id:1,
    goodsList:[
        {id:1,name:'瓜子 100g',pic:'/image/s4.png',price:'0.11'},
        {id:2,name:'瓜子 100g',pic:'/image/s4.png',price:'0.11'},
        {id:3,name:'瓜子 100g',pic:'/image/s4.png',price:'0.11'},
        {id:4,name:'瓜子 100g',pic:'/image/s4.png',price:'0.11'},
        {id:5,name:'瓜子 100g',pic:'/image/s4.png',price:'0.11'},
    ],
    bannerPic:'/image/list1.png'
  },
    // 頁面初始化 options為頁面跳轉所帶來的引數 類別id
  onLoad:function(options){
        let id = options.id;
        let self = this;
        api.getList({'id':id}).then(res=>{
            self.setData({
                id:id,
                goodsList:res.data.list,
                bannerPic:res.data.type.pic
            })
        })

  },