
3分鐘實現小程式喚起微信支付 Laravel教程
阿新 • • 發佈:2018-11-17
微信支付的接入,如果不使用成熟的開發包,將是巨大的工作量。
依賴 EasyWechat
先在 laravel 專案中依賴 easywechat 這個包
composer require "overtrue/laravel-wechat":"^4.0"
配置
在 .env 中新增微信支付的 key 配置
WECHAT_PAYMENT_SANDBOX=false
WECHAT_PAYMENT_APPID=wx64c***
WECHAT_PAYMENT_MCH_ID=150***
WECHAT_PAYMENT_KEY=ZZDDD***
WECHAT_PAYMENT_CERT_PATH=/home/secret/apiclient_cert.pem
WECHAT_PAYMENT_KEY_PATH=/home/secret/apiclient_key.pem
WECHAT_PAYMENT_NOTIFY_URL=https://www.mysite.com/gateway/wxpay/callback
- 如果你需要額外的配置,可以執行
php artisan vendor:publish --provider="Overtrue\LaravelWeChat\ServiceProvider",然後在 config/wechat.php 中可以看到 easywecaht 可以支援的全部配置。
編寫介面邏輯
新建一個 App/Repositories/PayRepository.php
<?php
namespace App\Repositories;

use App\User;
use function EasyWeChat\Kernel\Support\generate_sign;

class PayRepository
{
    /**
     * 發起微信支付
     *
     * @return Array
     */
    public function pay(User $user)
    {
        $this->wxpay = app('easywechat.payment');

        $unify = $this->wxpay->order->unify([
            'body' => $this->transfer->name . ' ' . $this->tickets->count() . '張票',
            'out_trade_no' => '訂單號',
            'total_fee' => bcmul('價格:單位元', 100),
            'trade_type' => 'JSAPI',
            'openid' => $user->openid, // 使用者的openid
        ]);

        if ($unify['return_code'] === 'SUCCESS' && !isset($unify['err_code'])) {
            $pay = [
                'appId' => config('wechat.payment.default.app_id'),
                'timeStamp' => (string) time(),
                'nonceStr' => $unify['nonce_str'],
                'package' => 'prepay_id=' . $unify['prepay_id'],
                'signType' => 'MD5',
            ];

            $pay['paySign'] = generate_sign($pay, config('wechat.payment.default.key'));

            return $pay;
        } else {
            $unify['return_code'] = 'FAIL';
            return $unify;
        }
    }
}
新建一個 App/Http/Controllers/PayController.php
<?php

namespace App\Http\Controllers;

use Illuminate\Http\Request;
use App\Repositories\PayRepository;
use Illuminate\Support\Facades\Response;

class PayController extends Controller
{
    /**
     * PayRepository
     *
     * @var PayRepository
     */
    protected $pay_repository;

    public function __construct(PayRepository $pay_repository)
    {
        $this->pay_repository = $pay_repository;
    }

    /**
     * 微信支付
     *
     * @return Response
     */
    public function pay()
    {
        $user = auth()->user();

        $pay = $this->pay_repository->pay($user);
        return Response::success(['pay' => $pay]);
    }
}
繫結路由 routes/api.php
<?php
Route::post('/buy/pay', '[email protected]')->name('pay');
編寫JS邏輯
在頁面 JS 裡面編輯支付邏輯
    onPay: function (e) {
        wx.request({
            url: '/api/buy/pay',
            method: 'POST',
            success: (res) => {
                if (res.data.pay.result_code != 'SUCCESS') {
                    return wx.showModal({
                        content: res.data.pay.return_msg + res.data.pay.err_code_des,
                        showCancel: false
                    });
                }
                res.data.pay.success = (res) => {
                    wx.showModal({
                        content: '您已成功支付',
                        showCancel: false
                    });
                };

                res.data.pay.fail = (res) => {
                    if (res.errMsg == 'requestPayment:fail cancel') {
                        return wx.showToast({
                            icon: 'none',
                            title: '使用者取消支付',
                        });
                    }
                };

                wx.requestPayment(res.data.pay);
            }
        });
    },
在頁面按鈕上呼叫
<button ontap="onPay">支付</button>
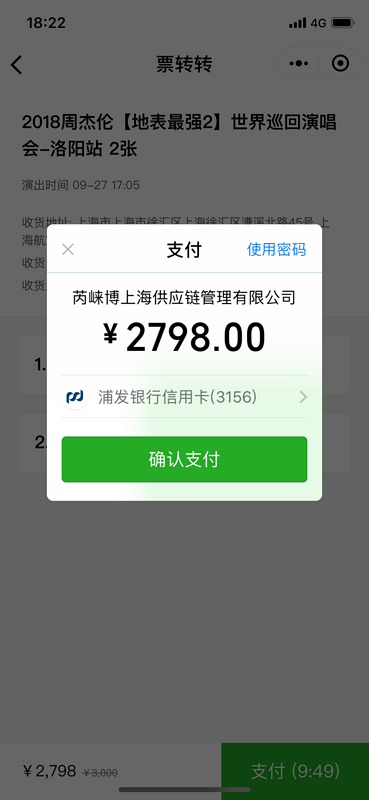
效果
支付成功回撥
關於回撥處理請期待下一篇文章。
原文地址:https://segmentfault.com/a/1190000016177743