
基本繪圖、隨機生成器、字型
阿新 • • 發佈:2018-12-11
文章目錄
官網連結
常用的畫圖函式
- 官網在 imgproc 模組下 -> Drawing Functions
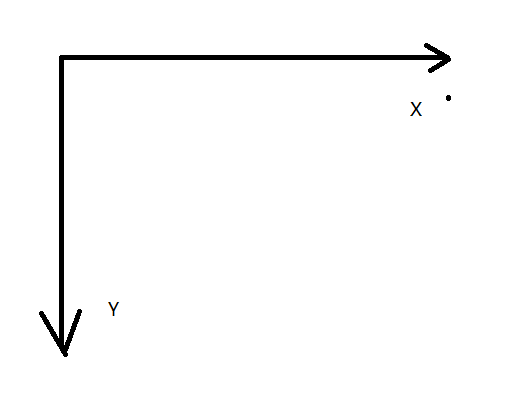
- 畫圖函式預設的座標方向:
線段
- void cv::line
(
InputOutputArray img, // 在哪個圖中畫
Point pt1, //第一個點
Point pt2, // 第二個點
const Scalar & color, // Scalar(255,0,0) 藍色
int thickness = 1, // 寬度,FILLED:填充
int lineType = LINE_8, // 畫線的演算法型別,一般選擇LINE_8就行,
int shift = 0 //端點座標小數的個數,大部分情況 0 即可
)
void MyLine( Mat img, Point start, Point end )
{
  int thickness = 2;
  int lineType = LINE_8;
  line( img,
    start,
    end,
    Scalar( 0, 0, 0 ),
    thickness,
    lineType );
}
橢圓
- void cv::ellipse (
InputOutputArray img, //目標影象
Point center, //橢圓的中心點
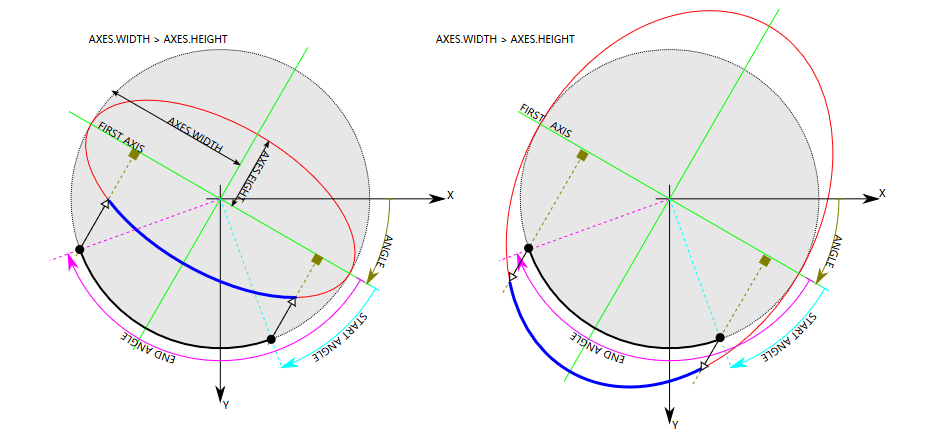
Size axes, //兩個主軸的大小一半,下圖中青色的線,相當於AXES_WIDTH,AXES_HEIGHT
double angle, //橢圓的旋轉角度
double startAngle, // 畫弧用的(藍色),畫弧的起始角度,如果畫橢圓 就是 0
double endAngle, // 畫弧用的(藍色),畫弧的結束角度,如果畫橢圓 就是 360
const Scalar & color, //顏色:Scalar(255,0,0)就是藍色
int thickness = 1, // 線的寬度,FILLED:填充
int lineType = LINE_8, // 畫線的演算法型別:LINE_8就行
int shift = 0 // 中心點座標的小數位個數,大部分是整數,0即可
)
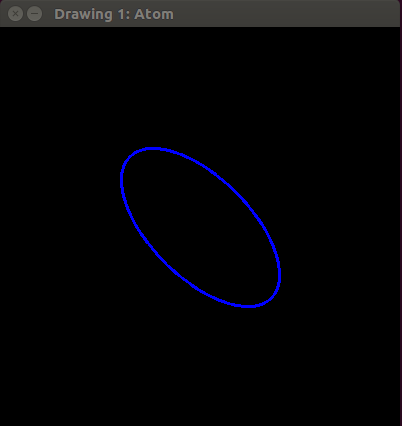
  ellipse( img,
       Point( 200, 200 ),
       Size( 100, 50), 長軸200,短軸100
       45,
       0,
       360,
       Scalar( 255, 0, 0 ),
       2,
       LINE_8);
結果:圖是400*400 大小
矩形
- void cv::rectangle (
InputOutputArray img, // 目標影象
Point pt1, // 矩形定點1,
Point pt2, // 矩形定點2,和1相對(對角線)
const Scalar & color, // 顏色:Scalar(255,0,0)藍色
int thickness = 1, // 線寬度,FILLED:填充
int lineType = LINE_8, // 畫線演算法
int shift = 0 // 定點座標小數點的位數,0即可
)
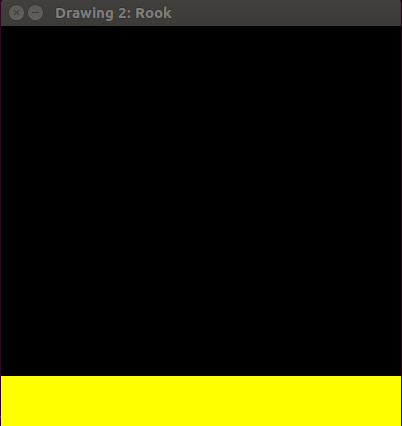
  rectangle( rook_image,
         Point( 0, 350 ),
         Point( 400, 400),
         Scalar( 0, 255, 255 ),
         FILLED,
         LINE_8 );
結果:影象大小:400*400
圓
- void cv::circle (
InputOutputArray img, // 目標影象
Point center, // 圓的中心點
int radius, // 圓的半徑
const Scalar & color, // 顏色
int thickness = 1, // 線寬度,FILLED:填充
int lineType = LINE_8, //線型別
int shift = 0 // 中點,半徑 的小數點個數
)
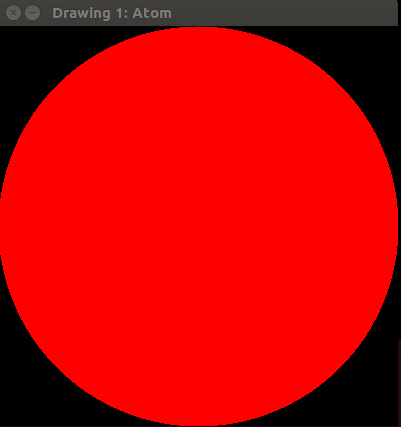
circle(img,Point(200,200),200,Scalar(0,0,255),FILLED,LINE_8);
結果:400*400的圖中畫了半徑200的圓ff
箭頭
- void cv::arrowedLine (
InputOutputArray img, //
Point pt1, // 開始點
Point pt2, // 指向的 點
const Scalar & color, //
int thickness = 1, //
int line_type = 8, //
int shift = 0, //
double tipLength = 0.1 // 箭頭的長度是線段的0.1
)
填充多邊形
- void cv::fillPoly (
InputOutputArray img, //
const Point ** pts, //定點的首地址的二級指標
const int * npts, // 多邊形定點個數
int ncontours, //
const Scalar & color, //
int lineType = LINE_8, //
int shift = 0, //
Point offset = Point() //
)
w=400;
Point rook_points[20];
rook_points[0] = Point( w/4, 7*w/8 );
rook_points[1] = Point( 3*w/4, 7*w/8 );
rook_points[2] = Point( 3*w/4, 13*w/16 );
rook_points[3] = Point( 11*w/16, 13*w/16 );
rook_points[4] = Point( 19*w/32, 3*w/8 );
rook_points[5] = Point( 3*w/4, 3*w/8 );
rook_points[6] = Point( 3*w/4, w/8 );
rook_points[7] = Point( 26*w/40, w/8 );
rook_points[8] = Point( 26*w/40, w/4 );
rook_points[9] = Point( 22*w/40, w/4 );
rook_points[10] = Point( 22*w/40, w/8 );
rook_points[11] = Point( 18*w/40, w/8 );
rook_points[12] = Point( 18*w/40, w/4 );
rook_points[13] = Point( 14*w/40, w/4 );
rook_points[14] = Point( 14*w/40, w/8 );
rook_points[15] = Point( w/4, w/8 );
rook_points[16] = Point( w/4, 3*w/8 );
rook_points[17] = Point( 13*w/32, 3*w/8 );
rook_points[18] = Point( 5*w/16, 13*w/16 );
rook_points[19] = Point( w/4, 13*w/16 );
const Point* ppt = rook_points ;
int npt = 20 ;
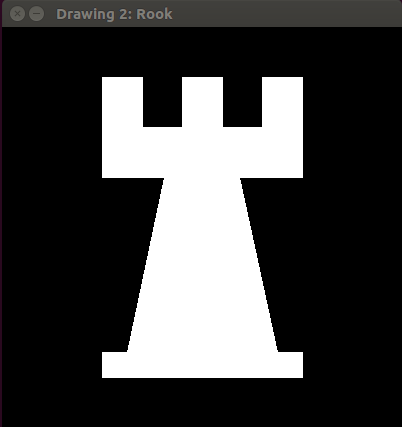
fillPoly( img,
&ppt, //
&npt, //多邊形定點個數
1,
Scalar( 255, 255, 255 ),
LINE_8);
結果:400*400的圖
字型相關函式
寫字
- void cv::putText (
InputOutputArray img, //
const String & text, // 字串
Point org, // 右下角的座標
int fontFace, // 字型
double fontScale, // 字的大小
Scalar color, //
int thickness = 1, //
int lineType = LINE_8, //
bool bottomLeftOrigin = false // 預設false,ture的話,字將是倒的
)
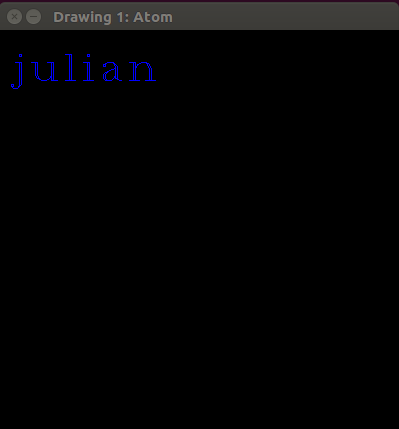
putText(img,"julian",Point(10,50),5,2,Scalar(255,0,0))
結果:
得到字串寬度和高度
- Size cv::getTextSize (
const String & text, // 字串
int fontFace, // 字型
double fontScale, // 字大小
int thickness, //線寬度
int * baseLine //
)
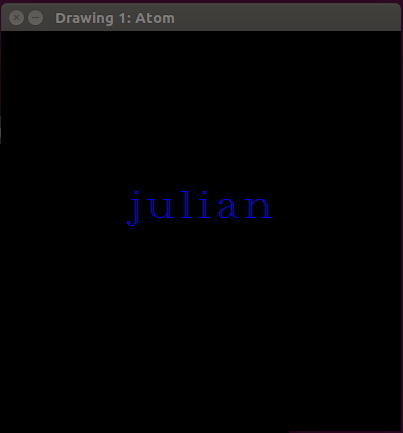
- 可以使用此函式來得到預顯示的字串的文字框大小,進行佈局,比如我想將字串放中間
	int base =0;
	Size textsize = getTextSize("julian",5,2,2,&base);
	Point xx;
	xx.x=(atom_image.cols-textsize.width)/2;
	xx.y=(atom_image.rows-textsize.height)/2;
	putText(atom_image,"julian",xx,5,2,Scalar(255,0,0));
結果:
隨機數生成器:cv:: RNG
- 隨機數生成器都是偽隨機,只要種子不變,生成的隨機演算法不變,每次的執行結果就是一樣的。
建構函式
- cv::RNG::RNG()
- cv::RNG::RNG ( uint64 state)
RNG rng; // 第一種,預設以2^32-1 做種子
RNG rng(1);//第二種,以給定的值做種子
得到隨機數
普通:
- unsigned cv::RNG::next ( ) :使用MWC演算法更新種子,返回32位的隨機數
- cv::RNG::operator double ( ) :返回下一個 double型的數
- cv::RNG::operator float ( ) :返回下一個 float型的數
- cv::RNG::operator schar ( ) :。。。
- cv::RNG::operator short ( ) :。。。
- 。。。。。。。。。()//都差不多
- unsigned cv::RNG::operator() ()://和next一樣
- unsigned cv::RNG::operator() ( unsigned N ) ://返回的數對N取模,等價於返回 [0 N)
均勻分佈:
-
int cv::RNG::uniform (
int a, // 均勻分佈的下限
int b //均勻分佈的上限
) -
float cv::RNG::uniform (
float a,
float b
) -
double cv::RNG::uniform (
double a,
double b
)
返回的值是int 、float、還是double只取決於傳入的引數,和被賦值的左值型別無關。如果你想呼叫浮點數,傳入的是整數,要麼向a1那樣進行型別轉化,要麼在後面加一個點
RNG rng;
// always produces 0
double a = rng.uniform(0, 1);

// produces double from [0, 1)
double a1 = rng.uniform((double)0, (double)1);

// produces float from [0, 1)
float b = rng.uniform(0.f, 1.f);

// produces double from [0, 1)
double c = rng.uniform(0., 1.);
高斯分佈:
- double cv::RNG::gaussian ( double sigma )
:sigma (高斯分佈的標準差 ),返回一個從高斯分佈N(0, )的取樣值
填充特定分佈的資料到矩陣
- void cv::RNG::fill (
InputOutputArray mat, //被填充的矩陣,
int distType, // 分佈型別 RNG::UNIFORM 或者 RNG::NORMAL.
InputArray a, // 是均勻分佈這個值是下限值a,是高斯分佈的話就是均值
InputArray b, //是均勻分佈這個值是上限值b,是高斯分佈的話就是標準差
bool saturateRange = false //只對均勻分佈有效,如果是ture:將會產生[ a, b ]之間的值;如果是false:最終填充的資料將會根據影象資料型別進行截斷,比如傳入影象是CV_C8U1:最終填充資料將是[0,255]
)
如果是多通道的影象,填充資料分別對每個通道單獨進行填充,比如對3通道進行高斯分佈資料填充,並不是直接由3*3的協方差矩陣形成的高斯分佈,然後取樣填充到影象中。而是分別形成3個高斯分佈,再分別進行取樣填充到3個通道。