idea+springboot+Mybatis搭建web專案
使用idea+springboot+Mybatis搭建一個簡單的web專案。
首先新建一個專案;
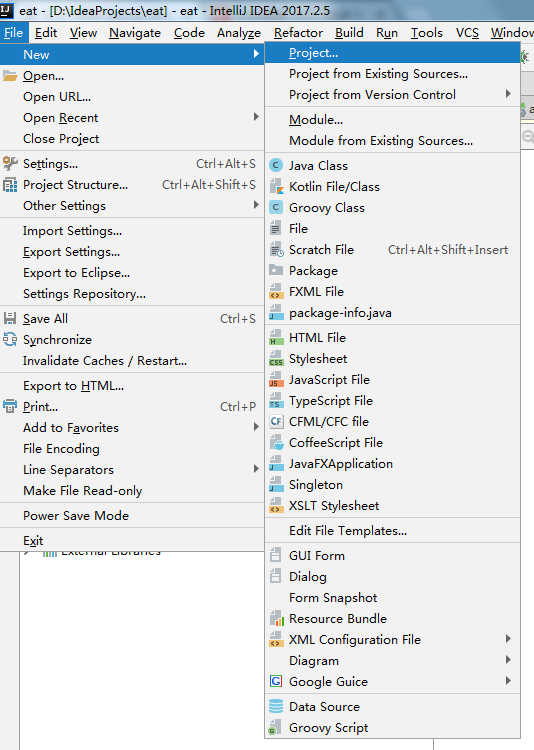
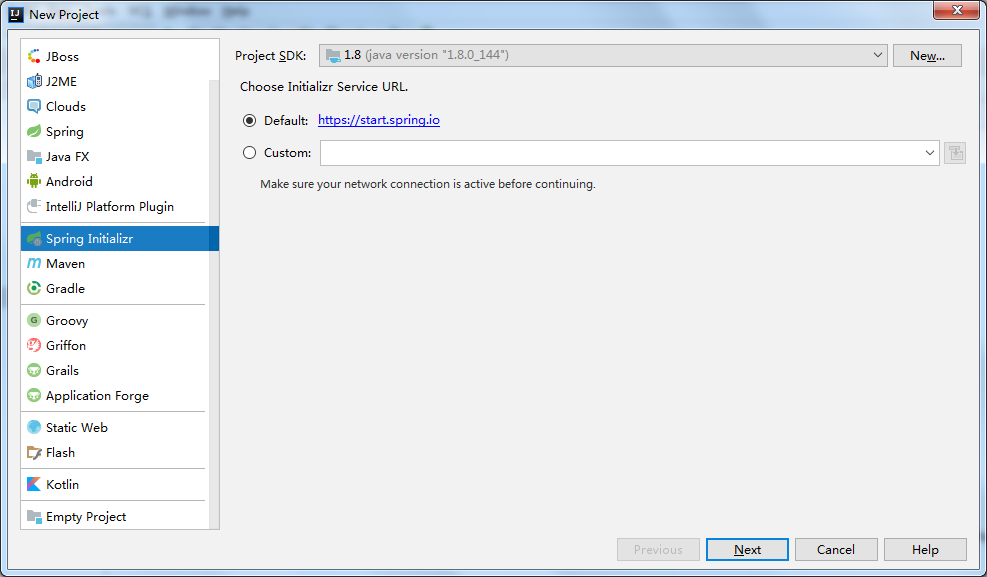
在這裡選擇Maven專案也可以,但是IDEA為我們提供了一種更方便快捷的建立方法,即Spring Initializr。選擇後點擊Next;
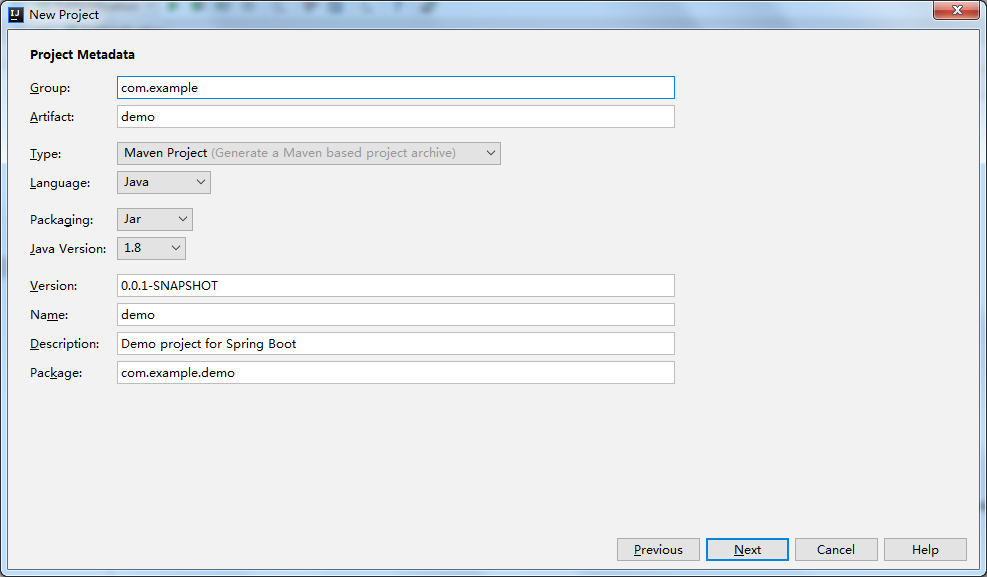
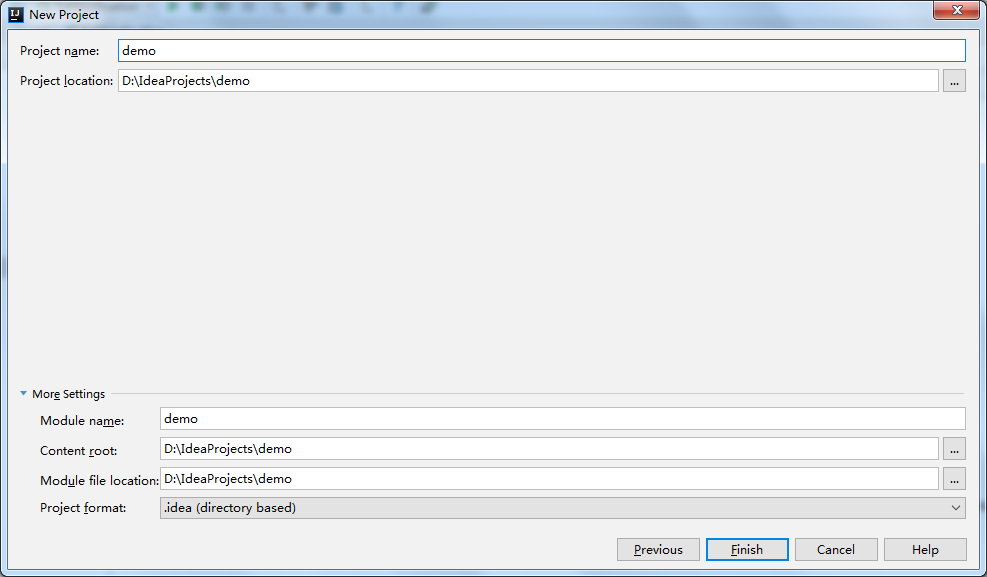
把專案資訊寫好,Next;
按下面三張圖勾選設定;
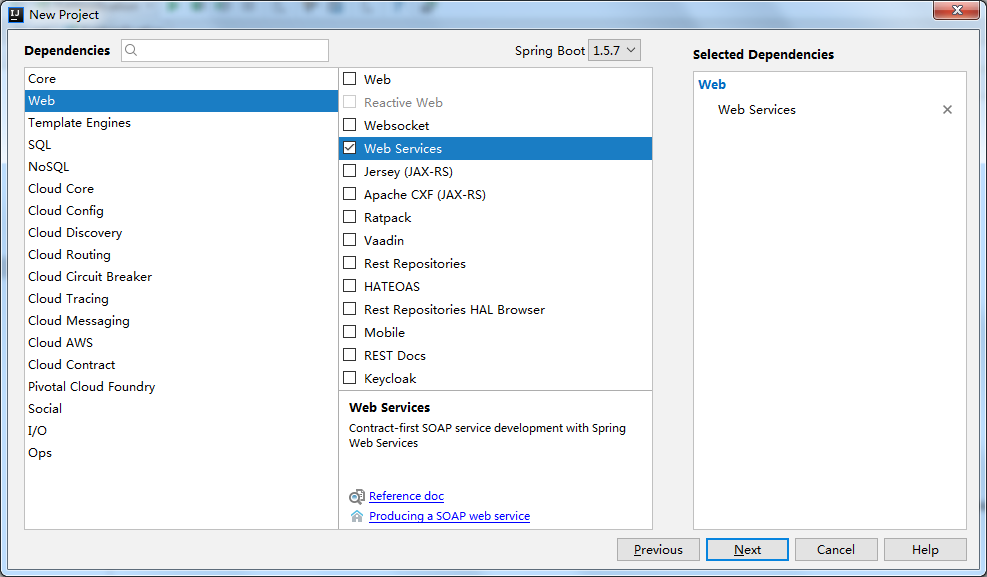
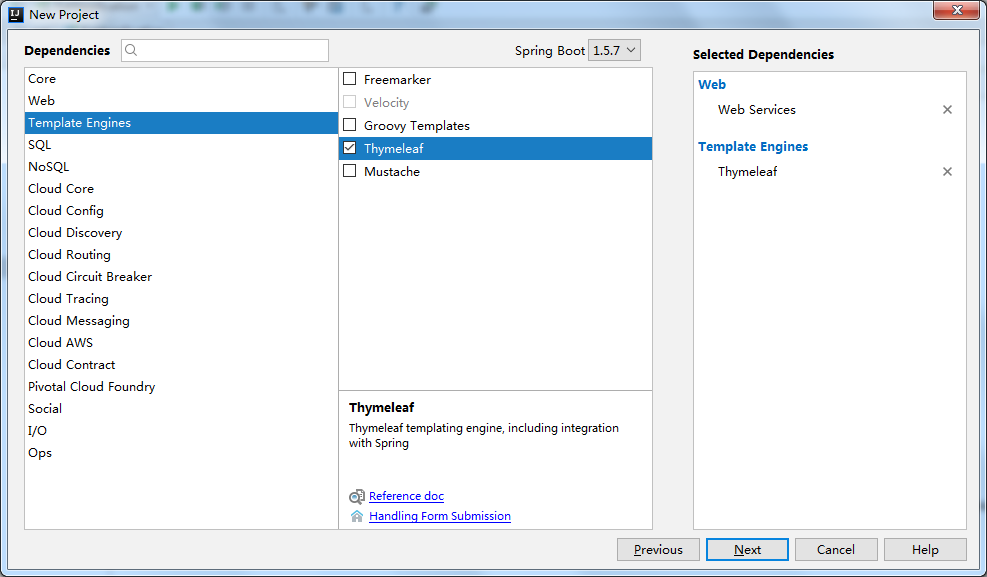
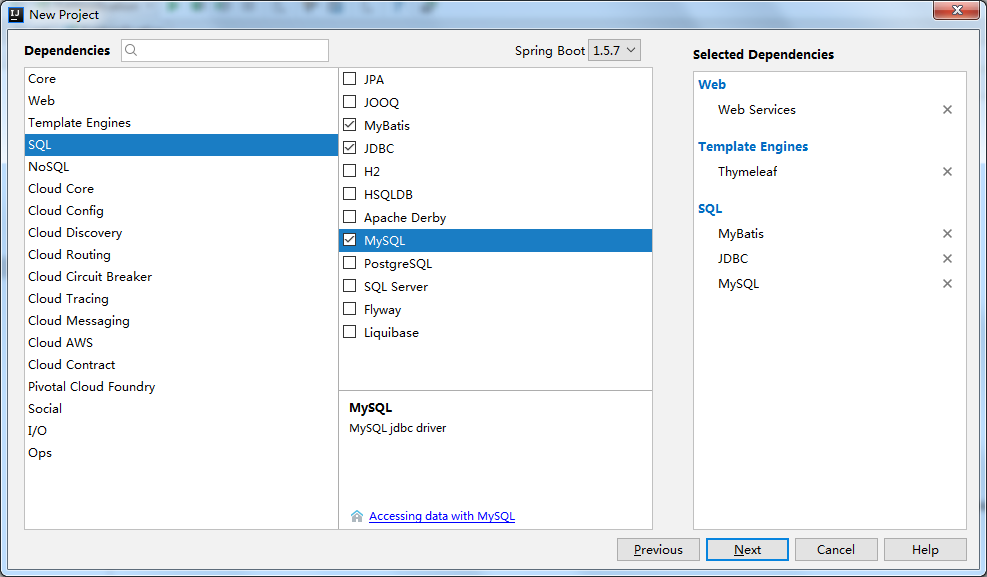
最後Finish。
等待Maven自動載入完成後,最初的專案結構如下圖。在Springboot屬性檔案application.properties中,把資料庫連線屬性加上,同時可以設定服務埠。
|
1 2 3 4 5 6 7 8 |
|
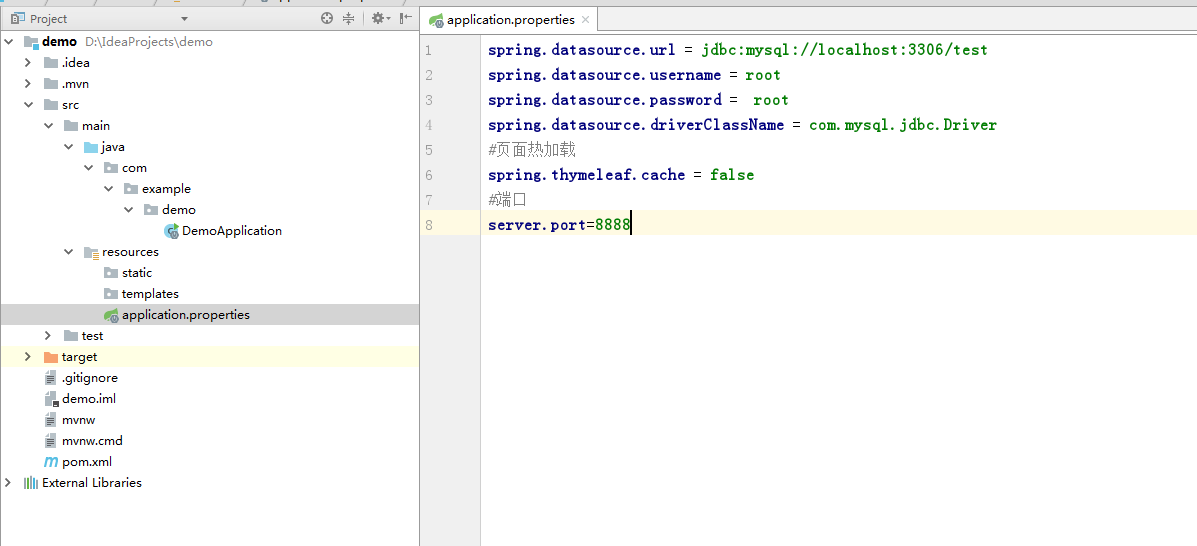
resources目錄下,static資料夾是放置各種靜態資源,如css,js,img等檔案的。templates資料夾則是預設放置網頁的。當然也可以更改。
在static資料夾下新建一個測試css,test.css。
|
1 2 3 |
|
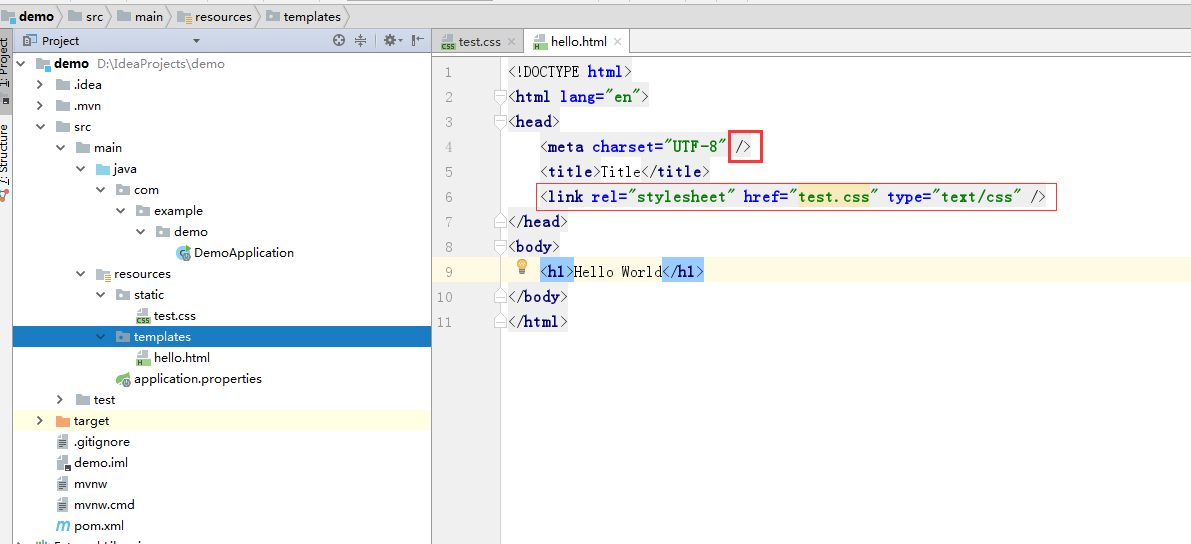
在templates資料夾下新建一個html,要注意的是meta這個標籤的結束符軟體並沒有自動加上,需要手動加上,否則訪問網頁時會報錯。並引入test.css
<!DOCTYPE html>
<html lang="en">
<head>
    <meta charset="UTF-8" />
    <title>Title</title>
    <link rel="stylesheet" href="test.css" type="text/css" />
</head>
<body>
    <h1>Hello World</h1>
</body>
</html>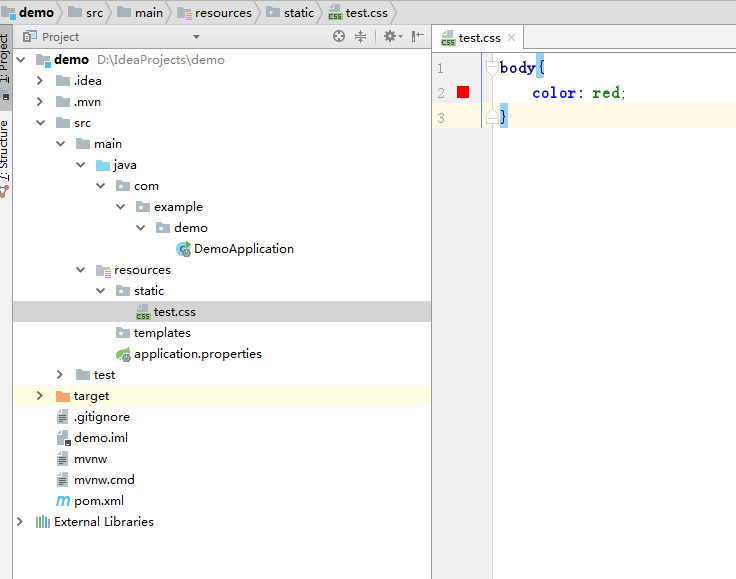
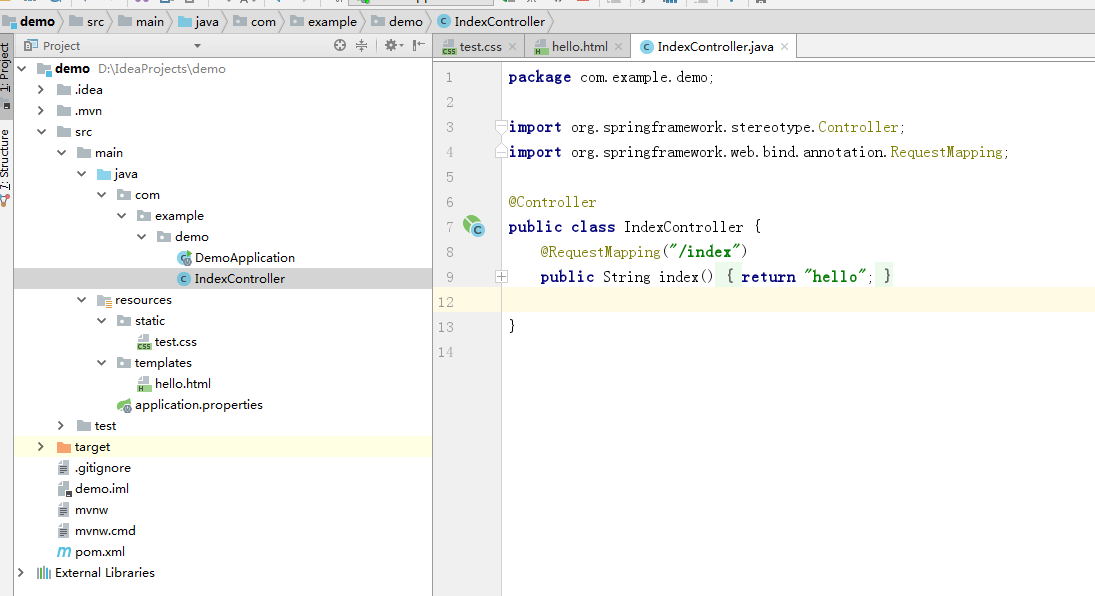
接下來可以寫一個controller了
|
1 2 3 4 5 6 7 8 9 10 11 12 13 |
|
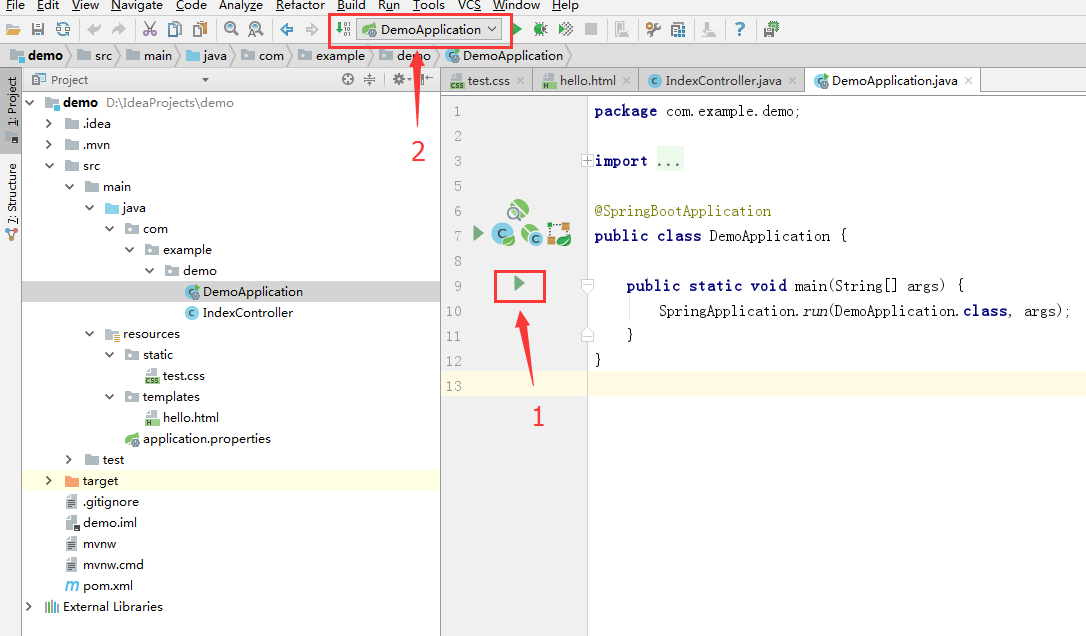
完成之後,通過方式1和方式2都可以啟動專案
接下來可以在瀏覽器中測試了
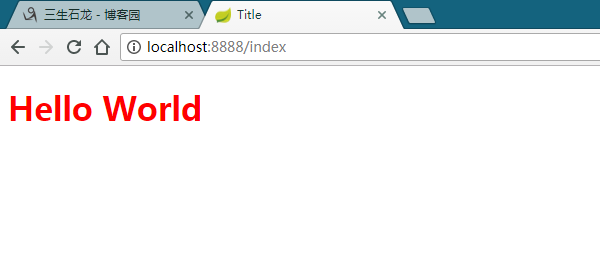
到此,一個簡單的專案搭建完成。
