Android Material Design動畫
最近在看一些關於Material Design的東西,還記得在部落格《你所不知道的Activity轉場動畫——ActivityOptions》中,我們介紹了一種優雅的activity過度動畫。如果大家看了最後給出的參考連結,會發現還有很多內容是值得我們學習的,所以這篇部落格,我們來學習一下這一頁上剩下的東西。
一、觸控反饋
大家都知道,在Material Design中,觸控反饋的效果非常絢麗,是一種漣漪的效果,令我們高興的是,這種效果也是可以自定義的。
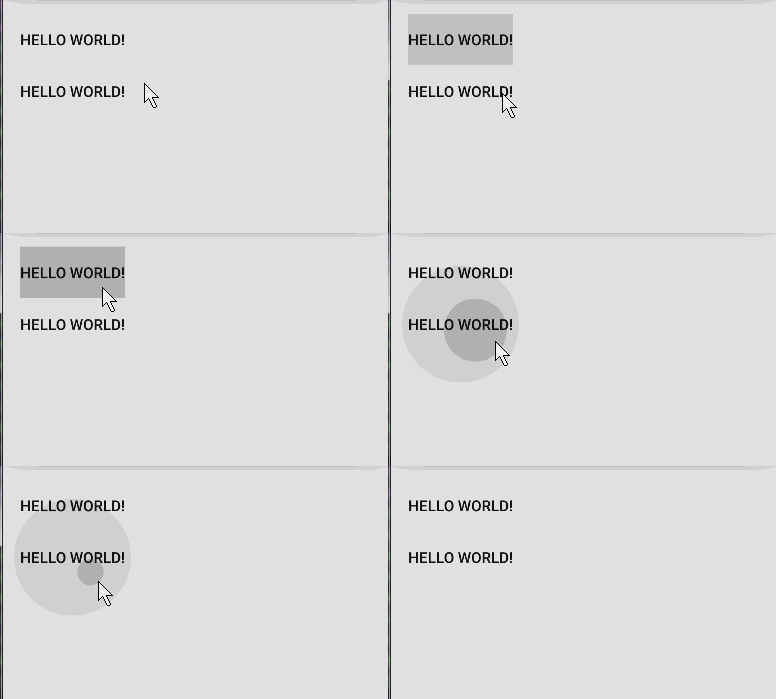
<LinearLayout xmlns:android="http://schemas.android.com/apk/res/android" 上面的程式碼,我們定義了兩個Button,不同的是它們的background屬性,selectableItemBackground代表了當點選後會在當前Button區域發生一個漣漪效果,而selectableItemBackgroundBorderless的效果不會侷限於Button本身的大小。當然,雖然是大白話,但是還是不容易理解,我們來看看效果就一目瞭然了。
恩,效果很贊,但是這個背景能不能自定義呢?答案是當然能了,那麼這裡要引進一個新的Drawable-RippleDrawable了。RippleDrawable是android5新增加的一種Drawable,它的效果就是我們一直在提及的漣漪效果,下面我們來學習一下RippleDrawable的時候。既然RippleDrawable也是一種Drawable,那麼它肯定也是可以在xml中定義的,來看程式碼,
<?xml version="1.0" encoding="utf-8"?>
<!-- drawable/ripple_no_mask.xml-->
<ripple xmlns:android="http://schemas.android.com/apk/res/android"
    android:color="#FF00FF00">
    <item android:drawable="@mipmap/ic_launcher" />
</ripple>

<?xml version="1.0" encoding="utf-8"?>
<!-- drawable/ripple_mask.xml-->
<ripple xmlns:android="http://schemas.android.com/apk/res/android"
    android:color="#FF00FF00">
    <item android:id="@android:id/mask" android:drawable="@mipmap/ic_launcher" />
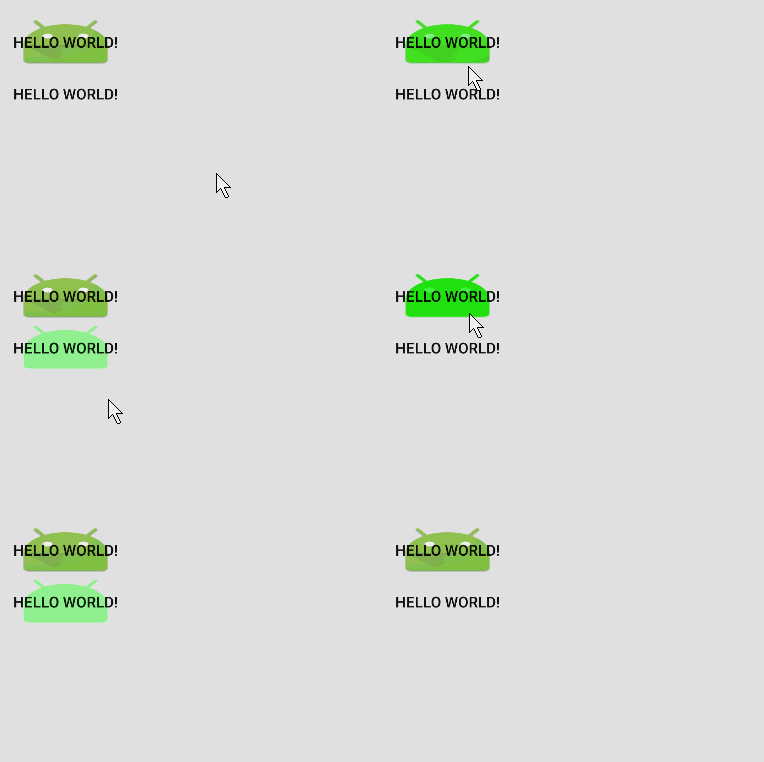
</ripple>我們在drawable目錄中建立兩個xml檔案,這兩個drawable都是ripple型別的,可以看到他們的根節點都是一個ripple。這兩個檔案唯一的區別在於第二個的id指定了一個id是@android:id/mask,這兩者的區別在於,
如果不指定id為
@android:id/mask,那麼在顯示的時候會首頁顯示出item指定的drawable。
如果指定id為@android:id/mask,那麼預設是不會顯示該drawable,而是在點選的時候出現。
如何使用呢? 只需要指定控制元件的background就ok.
<Button
    android:background="@drawable/ripple_no_mask"
    android:layout_width="wrap_content"
    android:layout_height="wrap_content"
    android:text="@string/hello_world" />

<Button
    android:background="@drawable/ripple_mask"
    android:layout_width="wrap_content"
    android:layout_height="wrap_content"
    android:text="@string/hello_world" />
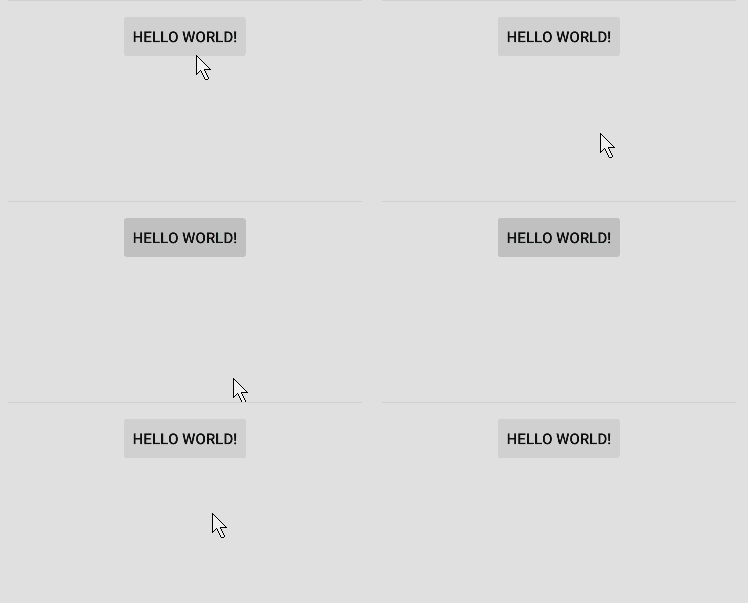
看一下效果怎麼樣,
通過觀察效果,我們可以發現,
- 漣漪的效果是在我們給item的drawable的非透明區域發生的。
- 當我們指定item的id為
@android:id/mask時,預設背景是不顯示的。
ok,到這裡,我們已經學會自定義點選的漣漪效果了。我們繼續學習,接下來就來到了一個更讚的效果。
二、Reveal Effect 顯示效果
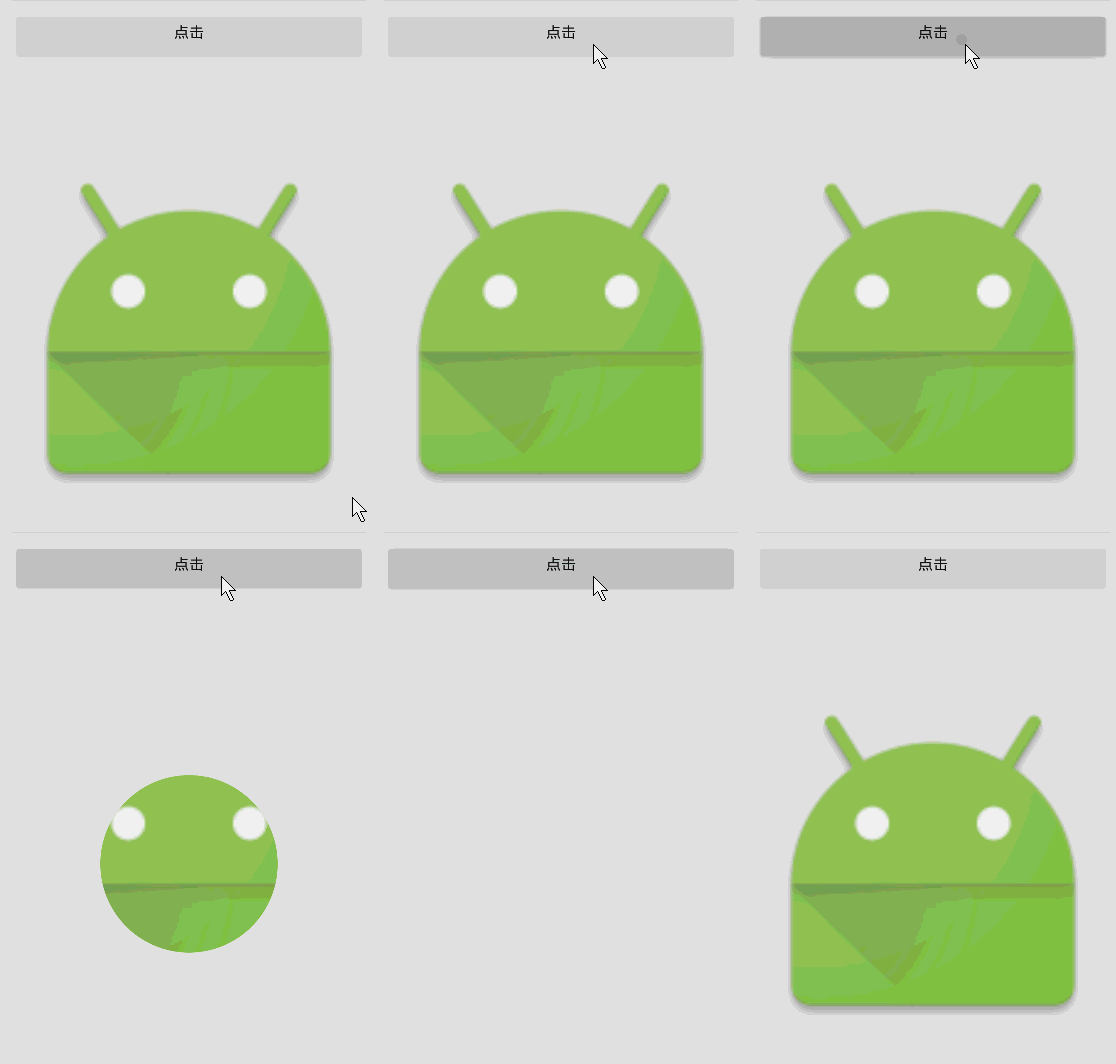
新的sdk給我們提供了一個類-ViewAnimationUtils,該類就提供了一個靜態的方法createCircularReveal,通過這個方法,我們可以給任何一個layout或者view一個漣漪的顯示或者消失過程。首先我們來看看要實現的效果,
效果確實很贊,程式碼應該怎麼寫呢? 其實也很簡單,主要還是我們將要學習的ViewAnimationUtils和它唯一的方法createCircularReveal,
public void change(View view) {
    int centerX = mImageView.getWidth() / 2;
    int centerY = mImageView.getHeight() / 2;
    int maxRadius = Math.max(mImageView.getWidth(), mImageView.getHeight());

    if(mImageView.getVisibility() == View.VISIBLE) {
        Animator anim = ViewAnimationUtils.createCircularReveal(mImageView,
                centerX, centerY, maxRadius, 0);
        anim.setDuration(1000);
        anim.addListener(new AnimatorListenerAdapter() {
            @Override
            public void onAnimationEnd(Animator animation) {
                super.onAnimationEnd(animation);
                mImageView.setVisibility(View.GONE);
            }
        });
        anim.start();
    }else {
        Animator anim = ViewAnimationUtils.createCircularReveal(mImageView,
                centerX, centerY, 0, maxRadius);
        anim.setDuration(1000);
        mImageView.setVisibility(View.VISIBLE);
        anim.start();
    }
}
在解釋程式碼之前,我們來看看這個方法的詳細說明:
public static Animator createCircularReveal (View view, int centerX, int centerY, float startRadius, float endRadius)
引數部分,
- View view, 指定了為哪個View執行動畫
- int centerX, 漣漪效果的中心x軸位置
- int centerY, 漣漪效果的中心y軸位置
- float startRadius, 開始的半徑
- float endRadius, 結束的半徑
在解釋完了引數之後,發現也不難,那麼下面我們就來看上面的程式碼了。
首先,我們計算了centerX、centerY,還有一個最大的半徑,最小的半徑就不需要計算了,因為我們知道我們需要的效果就是到0.
接下來一個判斷是判斷ImageView的顯示狀態,如果為顯示狀態,那麼肯定就是一個從有到無的動畫,如果是隱藏狀態,那麼就是一個從無到有的動畫。
第一個狀態中,我們首先呼叫ViewAnimationUtils.createCircularReveal()方法建立了一個Animator,半徑是從maxRadius到0的變化。
然後就是對Animator的操作了,並且監聽了動畫的結束,在動畫結束後,我們會將該View的狀態設定為隱藏,最後啟動動畫,這裡就是我們剛才看到的那個隱藏的效果了。
那麼顯示呢?其實和隱藏是一樣的,只不過顯示半徑是從0到maxRadius。
三、Activity過度動畫
四、路徑動畫
什麼是路徑動畫? 其實在官方文件上,這一節叫自作Curved Motion,我把它叫做路徑動畫,是因為這一節的內容的核心是基於Path實現的。
Android 5 的sdk中給我們提供了一個新的插值器PathInterpolator, 利用該插值器,我們可以輕鬆的定義出路徑動畫,
<pathInterpolator xmlns:android="http://schemas.android.com/apk/res/android"
    android:controlX1="0.4"
    android:controlY1="0"
    android:controlX2="1"
    android:controlY2="1"/>
這段程式碼定義了一個x和y分別從0.4和0到1的動畫,不過我認為這種方式侷限性太大,所以這裡不過多介紹,重點我們放在在java程式碼中如果利用Path去構建一個路徑動畫。
在新的sdk中,ObjectAnimator多了很多帶有Path引數的方法,這些方法中我們可以傳遞一個Path物件,然後我們就可以在動畫中獲取基於這個Path的值。
public static ObjectAnimator ofFloat(Object target, String xPropertyName, String yPropertyName, Path path);
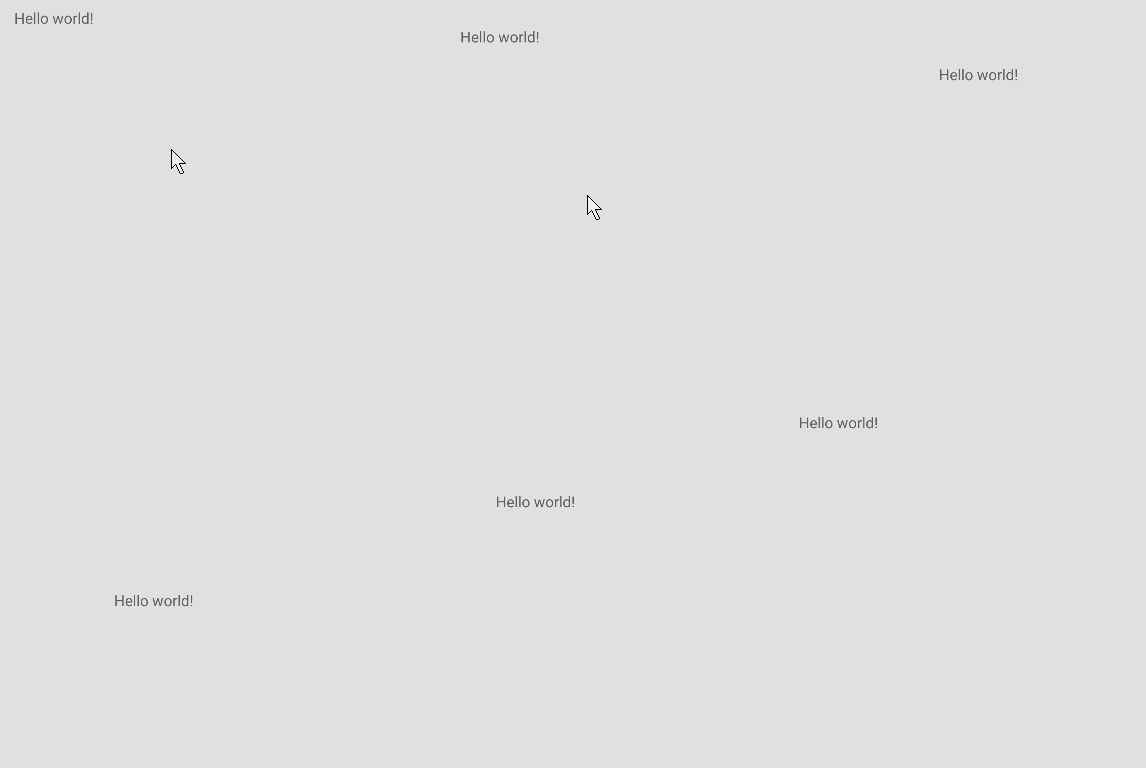
這個構造中需要我們傳遞兩個屬性值,這裡物件這Path中x和y, 最後一個引數就是最重要的那個路徑了。來看看我們的demo,這個demo,我們想讓一段文字沿著一個Z的路徑移動,最後還原到原來的位置。
TextView tv = (TextView) findViewById(R.id.tv);
tv.setOnClickListener(new View.OnClickListener() {
    @Override
    public void onClick(View v) {
        Path path = new Path();
        path.moveTo(100, 100);
        path.lineTo(600, 100);
        path.lineTo(100, 600);
        path.lineTo(600, 600);
        path.close();

        ObjectAnimator anim = ObjectAnimator.ofFloat(v, View.X, View.Y, path);
        anim.setDuration(5000);
        anim.start();
    }
});程式碼很簡單,首先我們構建了一個簡單的Path,然後利用ObjectAnimator的新的ofFloat方法為為該View的x和y指定了沿path移動,最後讓動畫跑起來。
五、View狀態動畫
在之前,我們在使用selector定義狀態時,僅僅只能提供一個生硬的狀態變化,在新的sdk中這裡發生了改變,我們完全可以定義一個帶動畫效果的狀態!
首先我們定義一個drawable檔案,
<?xml version="1.0" encoding="utf-8"?>
<selector xmlns:android="http://schemas.android.com/apk/res/android">
    <item android:state_pressed="true">
        <set>
            <objectAnimator
                android:propertyName="translationZ"
                android:duration="@android:integer/config_shortAnimTime"
                android:valueFrom="0"
                android:valueTo="20dp"
                android:valueType="floatType"/>
        </set>
    </item>

    <item>
        <set>
            <objectAnimator
                android:propertyName="translationZ"
                android:duration="100"
                android:valueTo="0"
                android:valueType="floatType"/>
        </set>
    </item>
</selector>還是我們熟悉的selector,不過它的item是一個objectAnimator, 這裡我們指定了translationZ的變化,然後我們在佈局中使用它,
<Button
    android:layout_width="wrap_content"
    android:layout_height="wrap_content"
    android:stateListAnimator="@drawable/view_state"
android:text="@string/hello_world" />這裡我們引入了一個新的屬性android:stateListAnimator,我們通過這個屬性來設定我們剛才定義的selector, 來看看效果,
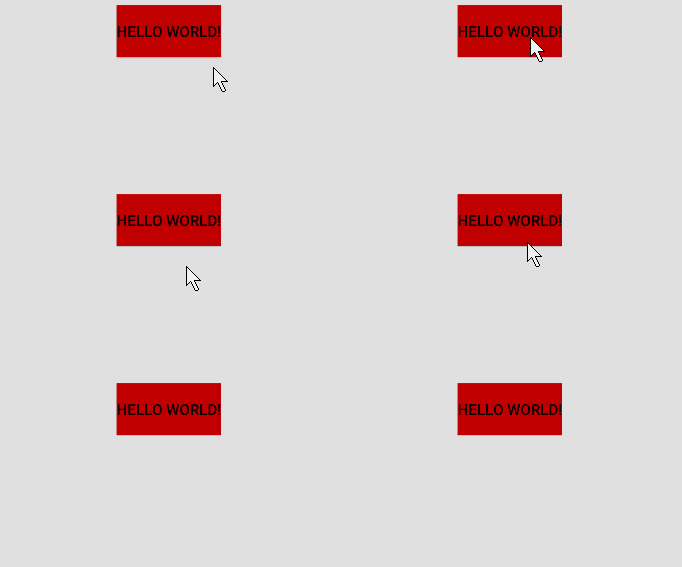
仔細觀察效果,我們在點選的過程中Button的translationZ有一個動畫的效果。
說到這裡,如果我們可以給它的背景一個動畫就更爽了, 當然這也是可以辦到的!首先還是定義一個drawablew檔案,不過這裡的檔案是一個AnimatedStateListDrawable,我們在xml中使用animated-selector。
<?xml version="1.0" encoding="utf-8"?>
<animated-selector xmlns:android="http://schemas.android.com/apk/res/android">
    <item
        android:id="@+id/press"
        android:state_pressed="true"
        android:drawable="@android:color/holo_blue_dark" />
    <item
        android:id="@+id/focus"
        android:state_focused="true"
        android:drawable="@android:color/holo_purple" />
    <item
        android:id="@+id/normal"
        android:drawable="@android:color/holo_red_dark" />

    <transition
        android:fromId="@id/normal"
        android:toId="@id/press">
        <animation-list>
            <item android:duration="200" android:drawable="@android:color/holo_red_dark" />
            <item android:duration="200" android:drawable="@android:color/holo_blue_dark" />
        </animation-list>
    </transition>
</animated-selector>
在這裡,我們首先定義了三個item, 對應了三種狀態,並且都制定了id, 接下來是一個transition節點,這個節點下我們制定了fromId和toId,這裡代表了動畫從哪個狀態到哪個狀態執行,這個節點下又是一個animation-list節點,我們指定了兩個item,這裡要注意一下這兩個item的執行順序,如果是從fromId到toId,這裡是從正常狀態到按下,則會正序執行,如果從toId到fromId,這裡是從按下狀態到正常,則會反序執行。這裡我們給每個item 200ms的停留時間。
從效果中可能看不出我何時點選何時鬆開的,這裡每個顏色都會有一段停留時間的。
六、 SVG向量動畫
在新的sdk中, Google終於提供了原生的對SVG的支援,而這一切都是一個VectorDrawable的功勞, 當然, VectorDrawable也是一個Drawable,
所以我們還是可以在xml中定義它,
<?xml version="1.0" encoding="utf-8"?>
<vector xmlns:android="http://schemas.android.com/apk/res/android"
    android:width="64dp"
    android:height="64dp"
    android:viewportHeight="600"
    android:viewportWidth="600">

    <group
        android:name="group"
        android:pivotX="300"
        android:pivotY="300"
        android:rotation="0">

        <path
            android:name="path"
            android:fillColor="#FFFF0000"
            android:pathData="M300,70 l 0,-70 70,70 0,0 -70,70z"/>
    </group>
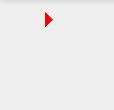
</vector>這裡我們定義了一個drawable檔案,它的根節點是一個vector,代表著它是一個VectorDrawable,看看它的內容,又一個group和多個path組成,一個group可以包含多個path,當然這裡我們僅僅寫了一個,值得注意的是path的android:pathData屬性,這裡定義了我們圖形的形狀。怎麼使用呢? 就像正常的圖片一樣,給ImageView的src屬性賦值就ok。 這是一個什麼形狀呢?
當然,我們可以藉助一些工具很輕鬆的實現一些pathData。
好了, 現在僅僅是一個簡單的圖形,並沒有動畫效果, 現在我們想讓這個圖形動起來,而且顏色也要不斷變化,該怎麼做?這裡又要引入一個新的東西-animated-vector。
利用它,我們可以根據上面書寫的name值指定不同的動畫了。
首先,我們定義兩個動畫,一個是旋轉的動畫,一個是顏色值變化的動畫。
<?xml version="1.0" encoding="utf-8"?>
<objectAnimator xmlns:android="http://schemas.android.com/apk/res/android"
    android:duration="5000"
    android:propertyName="rotation"
    android:valueFrom="0"
    android:valueTo="360"
    android:valueType="floatType"/>

<?xml version="1.0" encoding="utf-8"?>
<objectAnimator xmlns:android="http://schemas.android.com/apk/res/android"
    android:duration="5000"
    android:propertyName="fillColor"
    android:valueFrom="#FFFF0000"
    android:valueTo="#FF000000"
android:valueType="intType"/>這裡我們定義了兩個Animator,需要注意的是他的android:propertyName的值, 仔細觀察一下,他們分別就是上面我們定義的那個vector的group
和path標籤的其中一個屬性,這兩個動畫分別是一個旋轉和顏色變化的動畫, 那怎麼用呢? 我們還需要一個animated-vector的drawable檔案。
<?xml version="1.0" encoding="utf-8"?>
<animated-vector xmlns:android="http://schemas.android.com/apk/res/android"
    android:drawable="@drawable/svg">

    <target
        android:animation="@animator/rotation"
        android:name="group" />
    <target
        android:animation="@animator/color"
        android:name="path" />
</animated-vector>在這個檔案中,我們指定了drawable為我們先前定義的那個vector檔案, 並且寫了兩個target標籤,這裡很簡單,只有兩個屬性,他們分別指定了所用的動畫和這個動畫該給誰(還記得我們之前給group和path指定的name屬性嗎)! ok, 現在將ImageView的src指定為這個animated-vector檔案, 執行一下,你可能會感到沮喪,因為沒有任何動畫! 那怎麼讓動畫跑起來呢? 很簡單。
final ImageView iv = (ImageView) findViewById(R.id.iv);
iv.setOnClickListener(new View.OnClickListener() {
    @Override
    public void onClick(View v) {
        Drawable d = iv.getDrawable();
        if(d instanceof Animatable) ((Animatable) d).start();
    }
});我們在點選ImageView的時候,去獲取這個ImageView的圖片資源,然後判斷它是不是Animatable型別的,如果是,直接呼叫它的start方法!
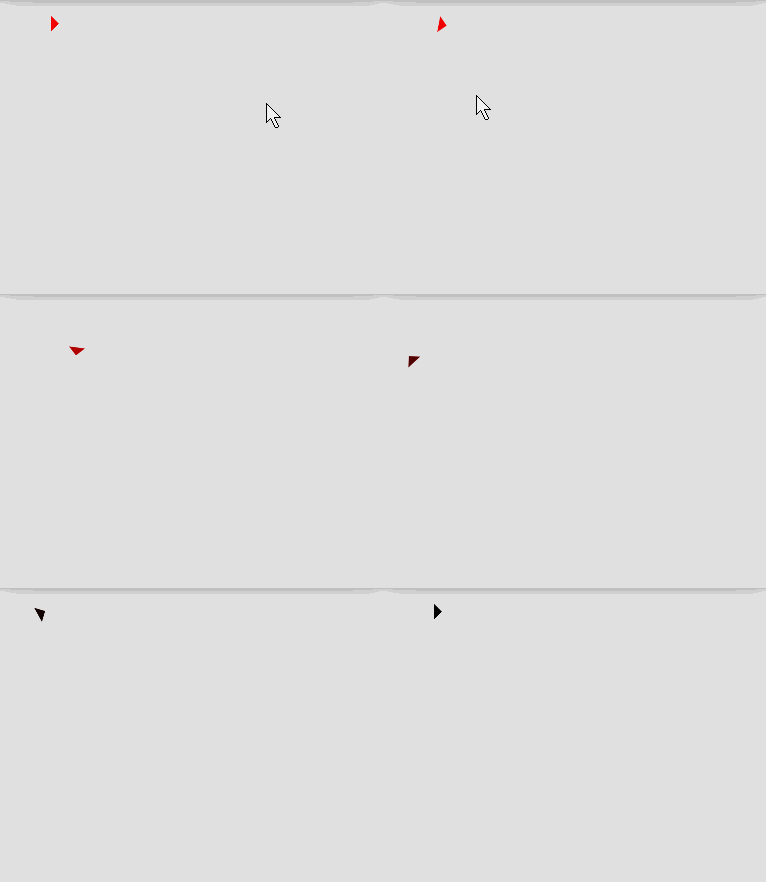
最後,我們來看看這時候的效果。
有一個旋轉的動畫, 在旋轉的過程中還伴隨著顏色的變化,棒棒噠。 ok, 到這裡,Material Design動畫,我們就學習完了
最後是demo的程式碼下載和參考資料。

