
Face Recognition with Celebrities

Preprocessing
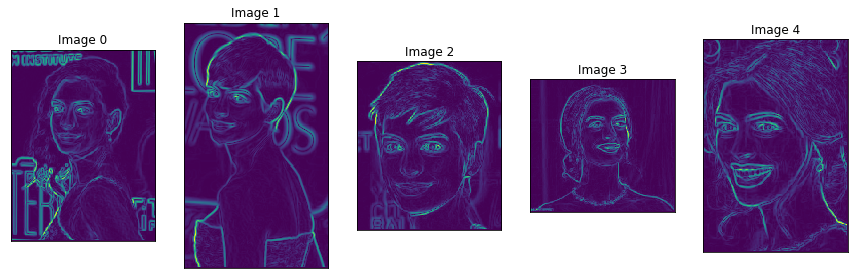
The next step was to install the library OpenCV because it has a prebuilt face detector that will help in cropping each of the faces. I would like to use the Dlib library to capture the facial landmarks myself in the future, however, for the sake of time I used OpenCV’s face cascades. The face detector required some fine tuning to find the optimal setting for cropping as many faces. At this point you have to resize the cropped images to the width and height of your choice so that all the data dimensions will be the same, unless they are already. This is important for when you are feeding the data into your model. Below is a copy of my function that crops the faces.
#create a function to grab each image, detect the face, crop the face, save the face imagedef crop_faces(path, scale): #grabs all image directory paths img_list = glob.glob(path + '/*.jpg') #face cascade from OpenCV haar_face_cascade = cv2.CascadeClassifier('./haarcascade_frontalface_alt.xml') for img_name in img_list: img = cv2.imread(img_name) faces = haar_face_cascade.detectMultiScale(img, scaleFactor=scale, minNeighbors=5) #resize cropped images for (x, y, w, h) in faces: face_cropped = img[y:y+h, x:x+w] face_resized_img = cv2.resize(img[y:y+h, x:x+w], (175,175), interpolation = cv2.INTER_AREA) #save cropped face images new_img_name = img_name.replace('.jpg', '') cv2.imwrite(new_img_name + '.jpg', face_resized_img)Once the pictures are cropped, resized and saved, the dataset should be complete at this point and ready to be separated into your X (i.e. image arrays) and y (i.e. image labels).
I labeled my image folders this way so that I can use the class name and class label for predictions. This is how I set up my data folders:
images---Anne_Hathaway1------1.jpg------2.jpg------... .jpg---Dave_Chappelle2------1.jpg------2.jpg------... .jpg...
Model
This was my first time working with image classification, especially with faces, so I wasn’t sure how complex my model needed to be. However, this model turned out to work the best with the small dataset that I had.
def build_model(): model = Sequential() model.add(Conv2D(32, kernel_size=(5,5), activation='relu', input_shape=(175, 175, 3), padding='same')) model.add(Conv2D(32, kernel_size=(3,3), activation='relu', padding='same')) model.add(MaxPooling2D(pool_size=(3,3), strides=(2,2))) model.add(Dropout(0.25)) model.add(Conv2D(64, kernel_size=(5,5), activation='relu', padding='same')) model.add(Conv2D(64, kernel_size=(3,3), activation='relu', padding='same')) model.add(MaxPooling2D(pool_size=(3,3), strides=(2,2))) model.add(Dropout(0.25)) model.add(Flatten()) model.add(Dense(512, activation='relu')) model.add(Dropout(0.5)) model.add(Dense(7, activation='softmax')) return model
There were additional parameters in Keras that you can play around with to get better results, such as adjusting the adam optimizer’s learning rate. Also, it definitely helped to use image data generator to augment or “oversample” on the images I currently had, basically another way to increase my dataset. Finally, I had to find the right number of epochs to do early stopping and the optimal batch size to use. All this got me an accuracy of 98%.