Developing a web app from scratch — Part 1
System Setup
Back-end — PostgreSQL Setup
We will be using PostgreSQL as our database. Setting it up is a fairly straightforward process.
Download the bash script here and execute it, providing the root password when prompted.
Now that PostgreSQL with pgAdmin4 has been installed, let’s start off our configuration by working with PostgreSQL. With PostgreSQL we need to create a database, create a user, and grant the user we created access to the database we created. Start off by running the following command:
$ sudo su postgresYour terminal prompt should now say “[email protected]”. If this is the case, then run this command to enter the SQL shell
$ psql
Once we’re in the psql shell, let’s create a user who will connect to the database.
CREATE USER sample_user WITH PASSWORD 'password';
ALTER ROLE sample_user SET client_encoding TO 'utf8';ALTER ROLE sample_user SET default_transaction_isolation TO 'read committed';ALTER ROLE sample_user SET timezone TO 'UTC';
Now let’s create a database, say ‘sample_database’
CREATE DATABASE SAMPLE_DB;
Let’s grant the user we’ve created all permissions to access the database.
GRANT ALL PRIVILEGES ON DATABASE SAMPLE_DB TO sample_user;


Setting up pgAdmin4 for DB administration
Let’s confirm that the database we’ve created is up and running. While this can be done using the command line, I would like to take this as an opportunity to introduce the pgAdmin4 utility, which has a GUI for administering the PostgreSQL database.
- Open pgAdmin4 by typing the same on the shell
$ pgadmin4
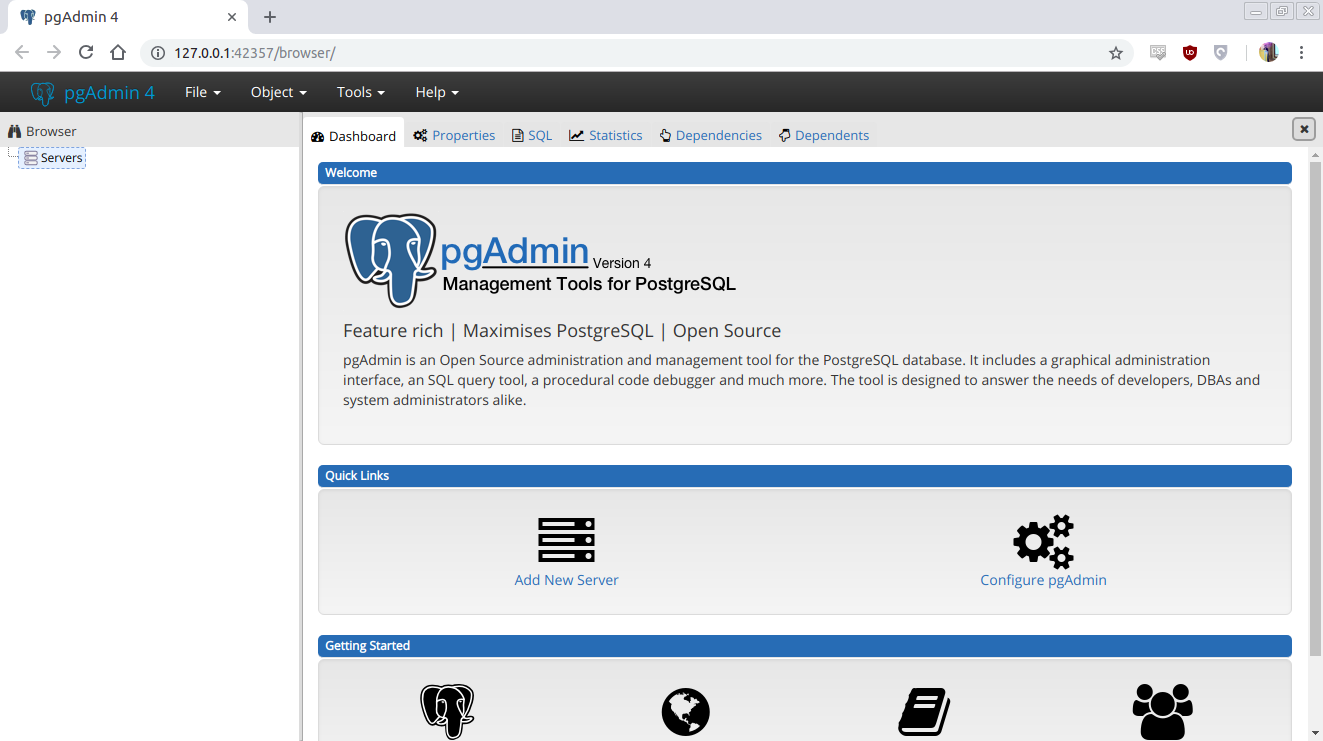
You should see a screen as shown below


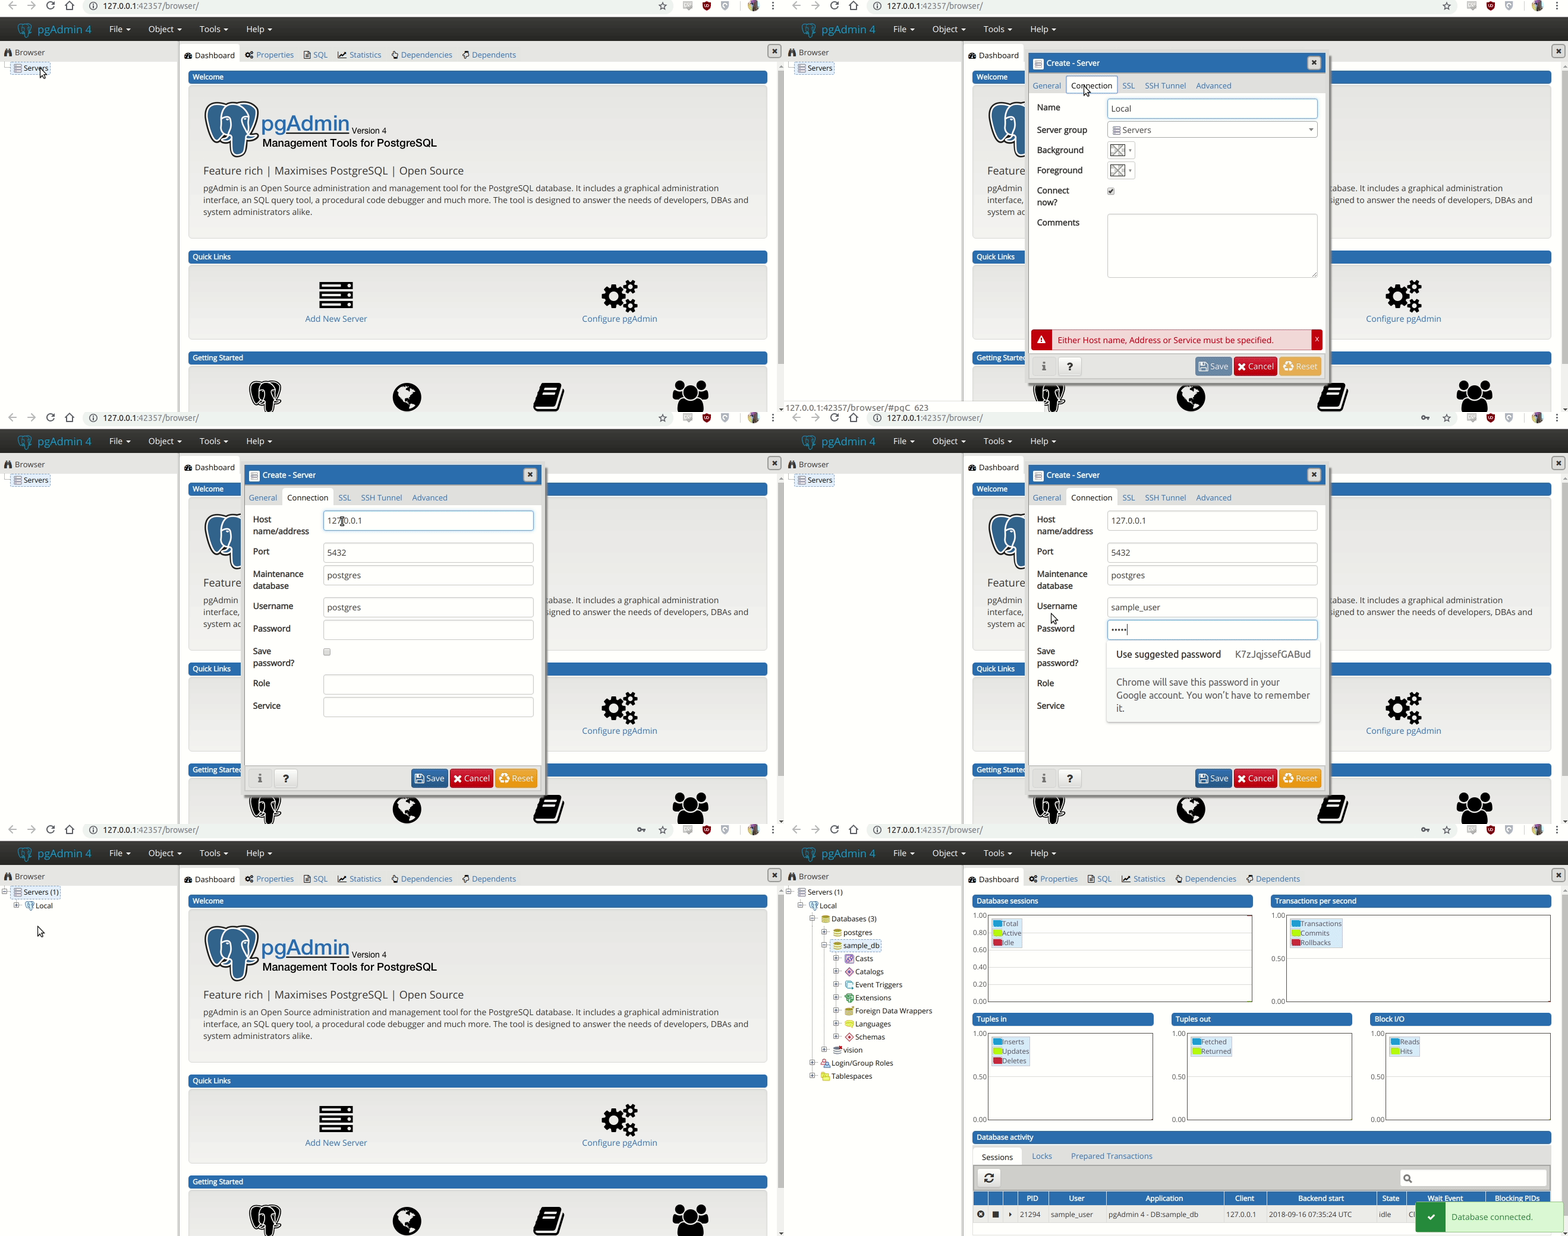
The database server that’s running on your machine hasn’t been added yet. Let’s do that now.


As we can see, the user has been created and the database has been added.
However, the database that you created will not be accessible to other users on the LAN/Internet unless you explicitly allow PostgreSQL to do so. Let’s fix this then.
- Open the pg_hba file with root permissions
$ cd ../../.. | sudo gedit etc/postgresql/10/main/pg_hba.conf
Add the following line to it and save. What we’re doing here is opening up access to the database from all IP addresses and ports.
#Add to pg_hba confhost all all 0.0.0.0/0 md5
- We will also have to make a slight change to the postgresql.conf; basically asking it to listen from all IPs and ports.
#Add to postgreSQL.conflisten_addresses = '*'
Now we’re all set in terms of the database. Let’s start with the back-end design and development.
Django — Introduction
Django is a free and open source web application framework, written in Python. A web framework is a set of components that helps you to develop websites faster and easier.
When building websites, you will realize that most of them use very similar components like user authentication etc. Django makes these commonly required ready made components available to use so that you don’t waste time in these things.
We will be using Django to write the middle-ware layer of our application. The primary use will be to write APIs in Django which are then called by front-end. Let’s get started!
Installing Django and setting up the development environment
For developing in Django, we will need:
- PyCharm Community Edition — Install it by running the below command
$ sudo snap install pycharm-community --classic- A python virtual environment with some packages installed
This is slightly tricky, and if not done correctly, will lead to multiple issues down the line.
A virtual environment isolates all the packages needed for your Django project inside a folder so that they do mess with the global installations of those packages.
Let’s start by creating a project directory called ‘DjangoExample’. We will also create a new virtual environment called ‘venv’.


A gentle intro to Django
We will be using Django to develop the back-end of our web application. Specifically, we will write APIs in Django which will take some input from the front-end, fetch and process the required data from the database and return it to front-end.
To work with the database, Django uses models. Models are the schema of your database. You define the schema of the database in models.py and migrate(transfer) it to the actual database. Here’s an example of a model.


Although we can create a django project manually using the django admin command, we will be using this link to create the project and app files automatically. Head to the link and fill in the Project name, app name and the schema of the tables that you want.


As we can see, the name of the project is Sample_project and the name of this app is sample_app_1. Each project can have multiple apps running under it, for e.g. your e-commerce project could have multiple apps like product_page, shopping_cart, help_page etc. running inside it.
The Django Model Builder will create all the required files for the project. Click on the “Download as project” button as unzip it inside the DjangoExample folder we created earlier using PyCharm.
Open PyCharm and you should now have a directory structure similar to the one show below.


- The outer level contains three items— venv folder(your virtual environment files), Sample_project(the outer most directory for your project and apps) and the requirements.txt file(contains the list of python packages necessary to run the app).
- Inside the sample_project directory, we have
- manage.py file — this file is used to run a emulated server on your local computer and perform a few other important functions. We will be covering it in detail later on.
- sample_app_1 folder — contains app specific files like models.py etc.
- sample_project folder — contains settings and project level files which are common across all apps
