
Learning Xcode 5 As a Designer
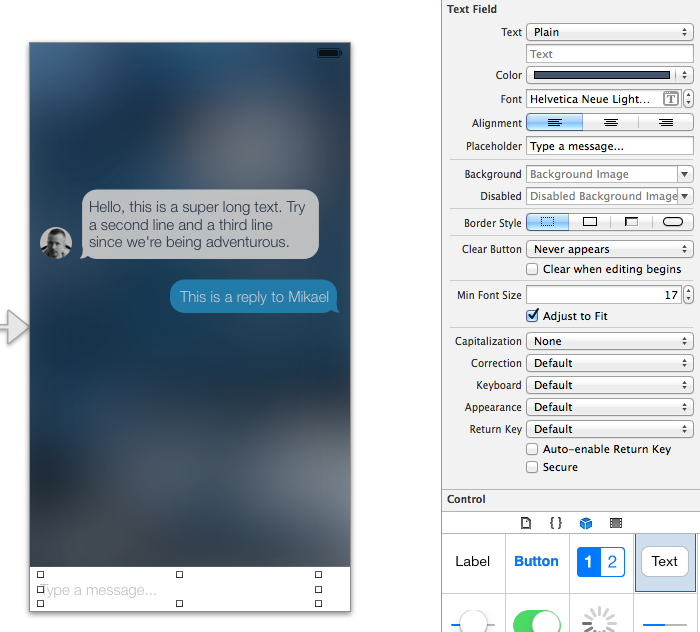
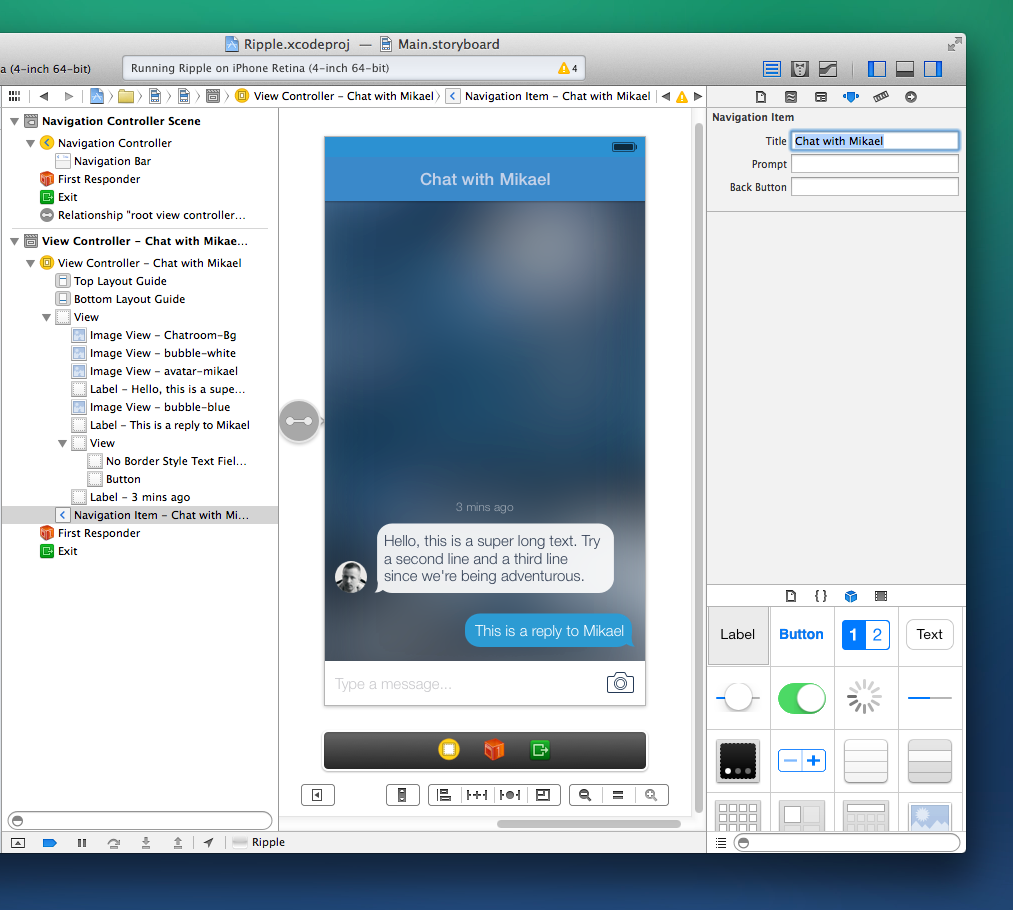
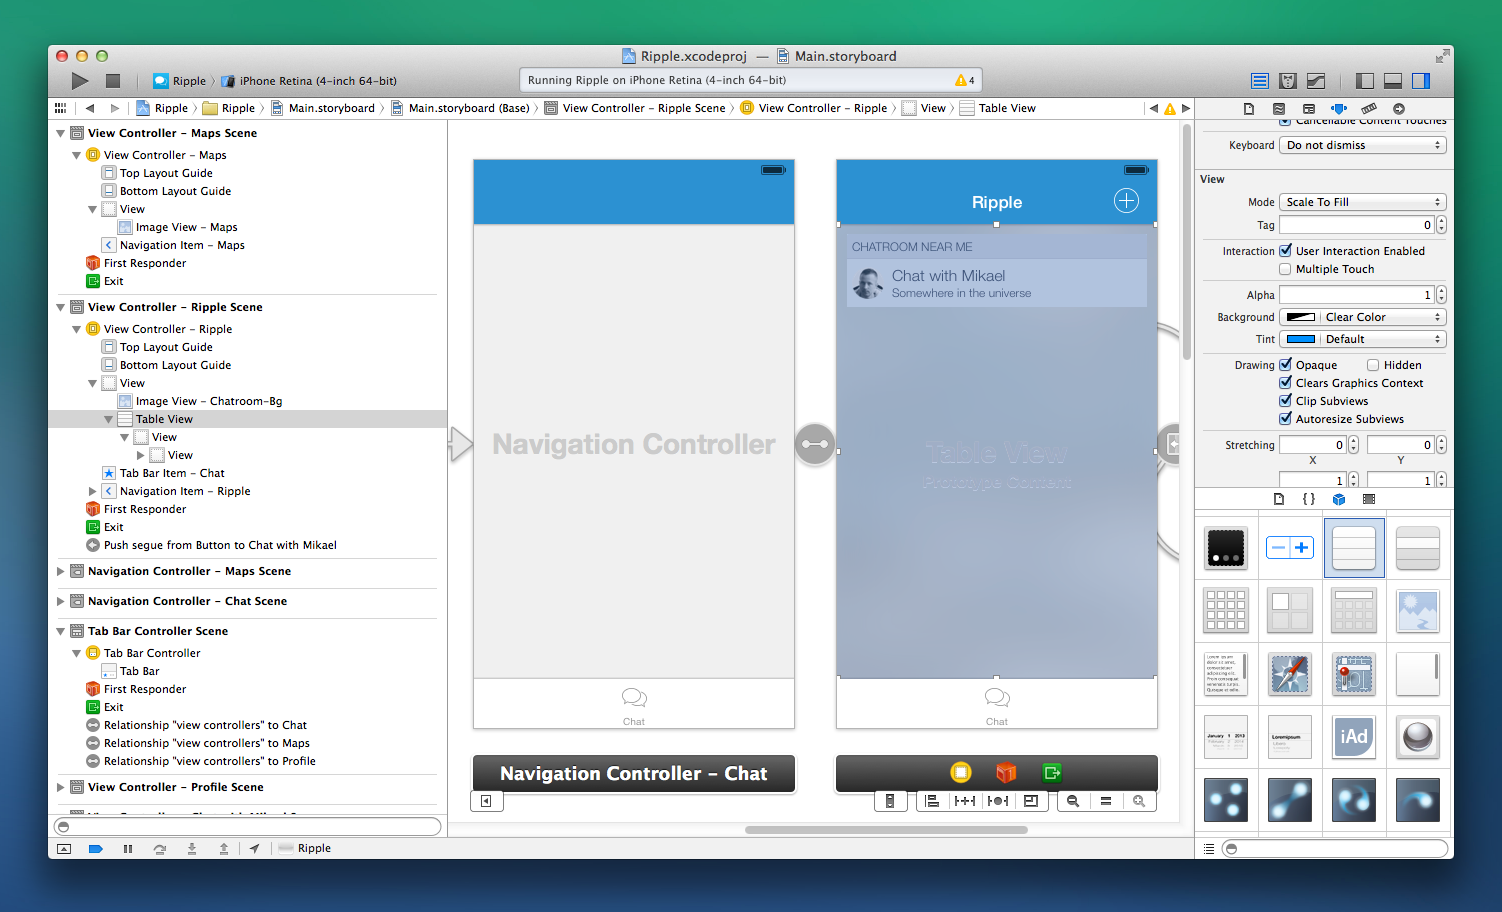
Your First Screen

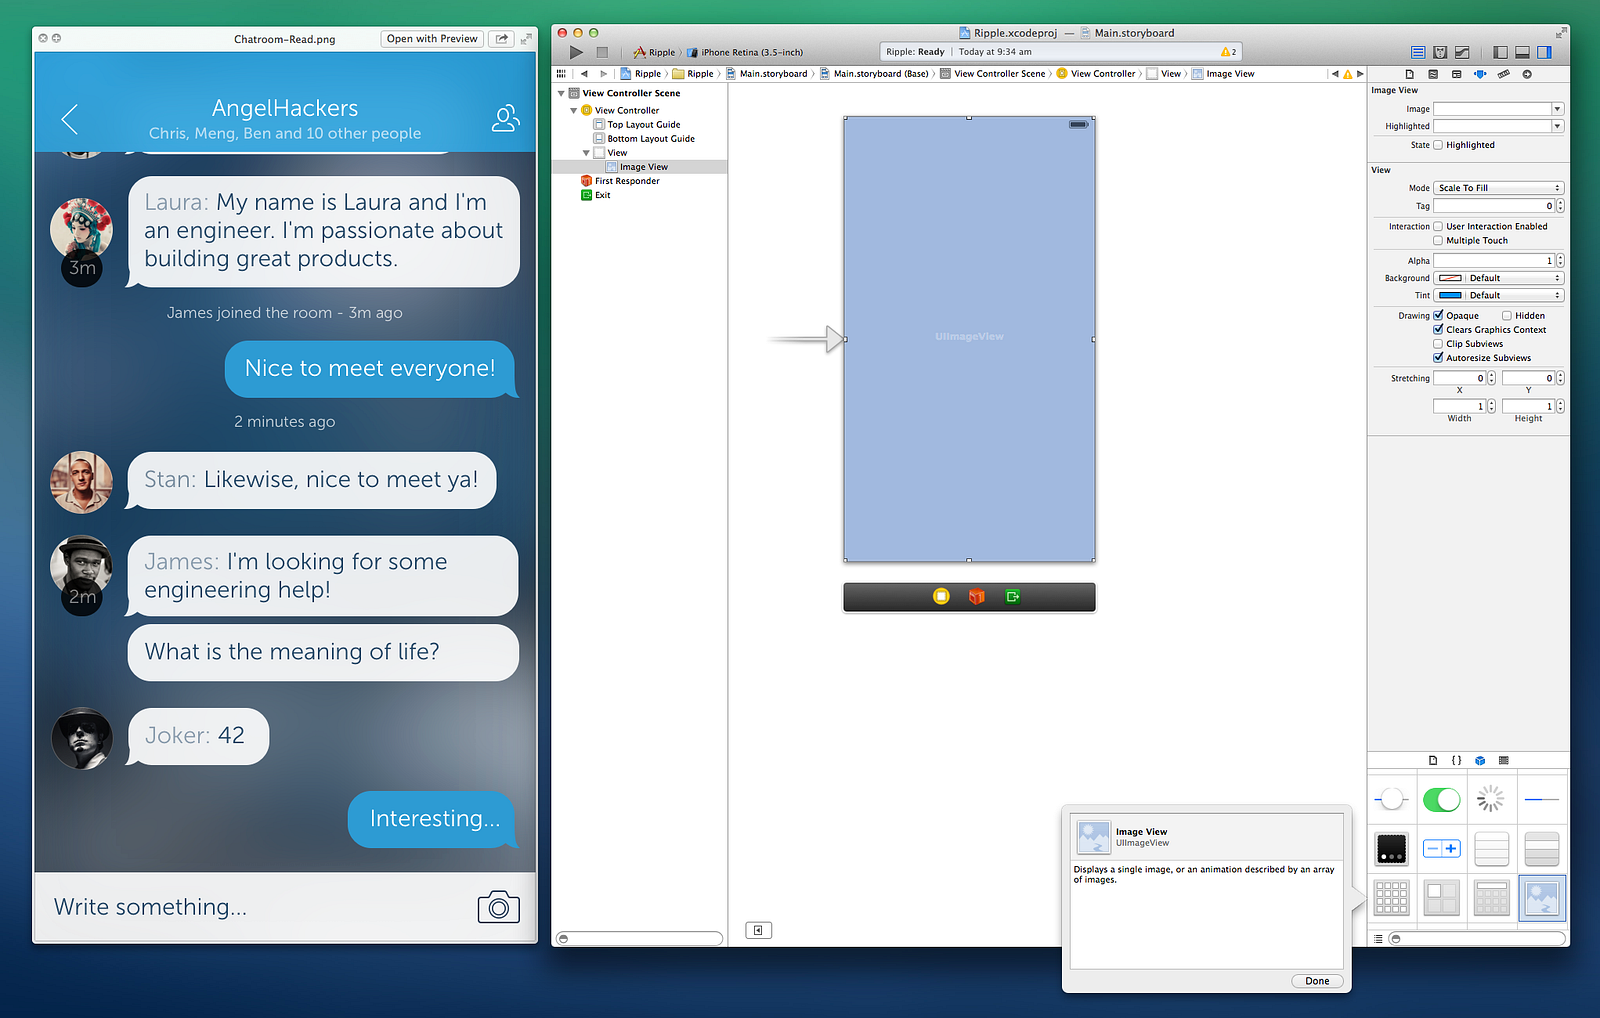

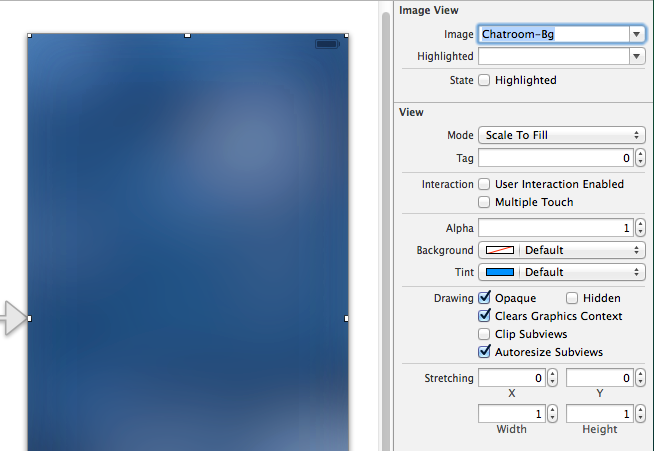

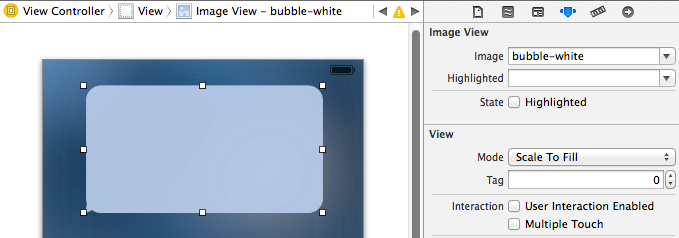


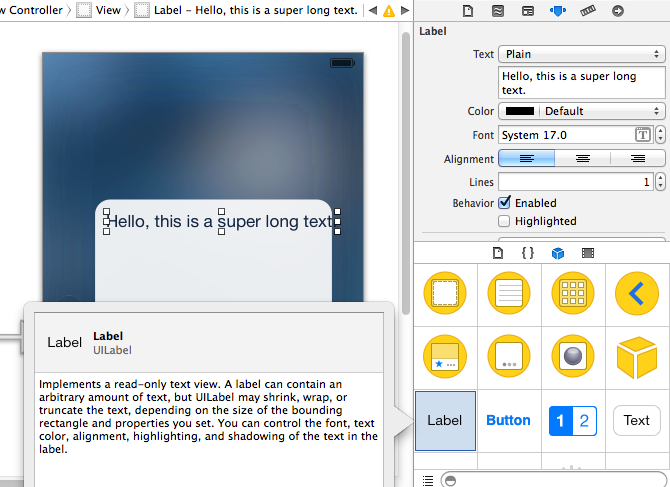


Type a Message UI


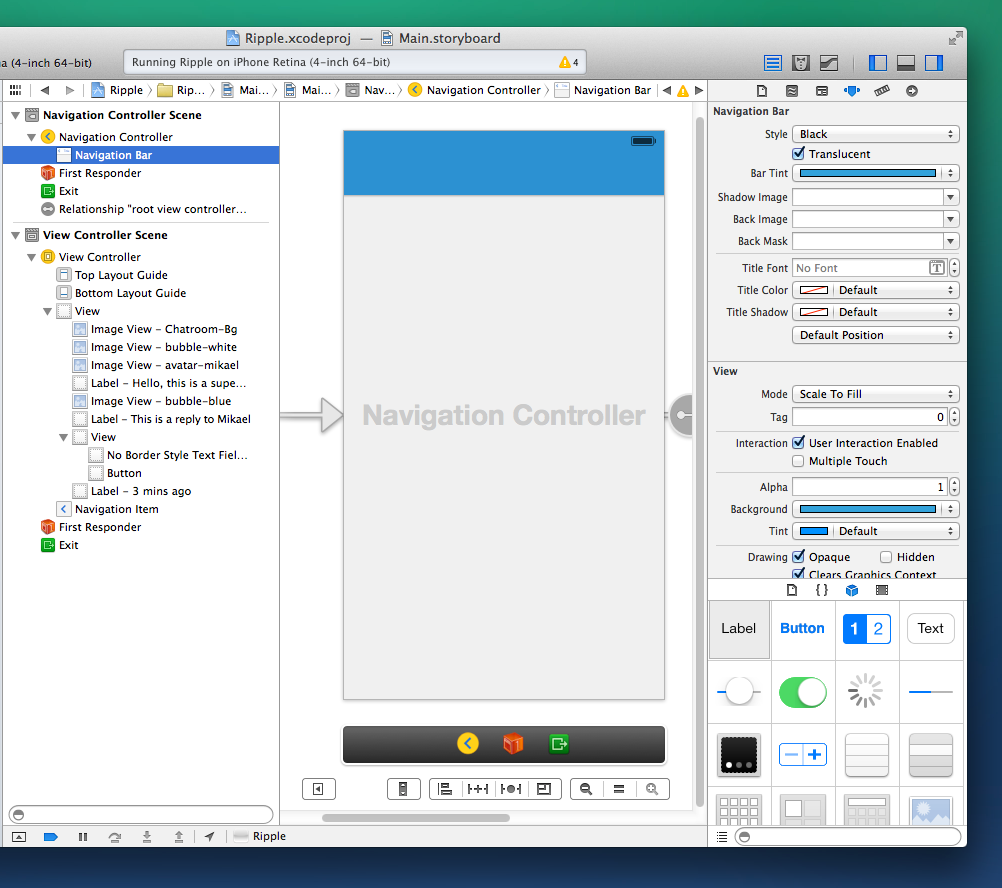
Navigation Bar


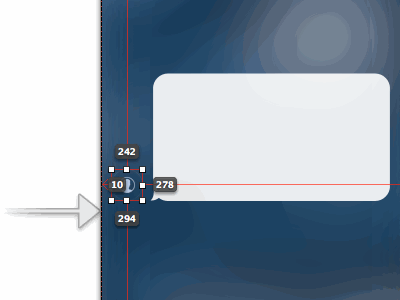
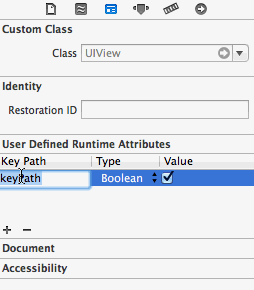
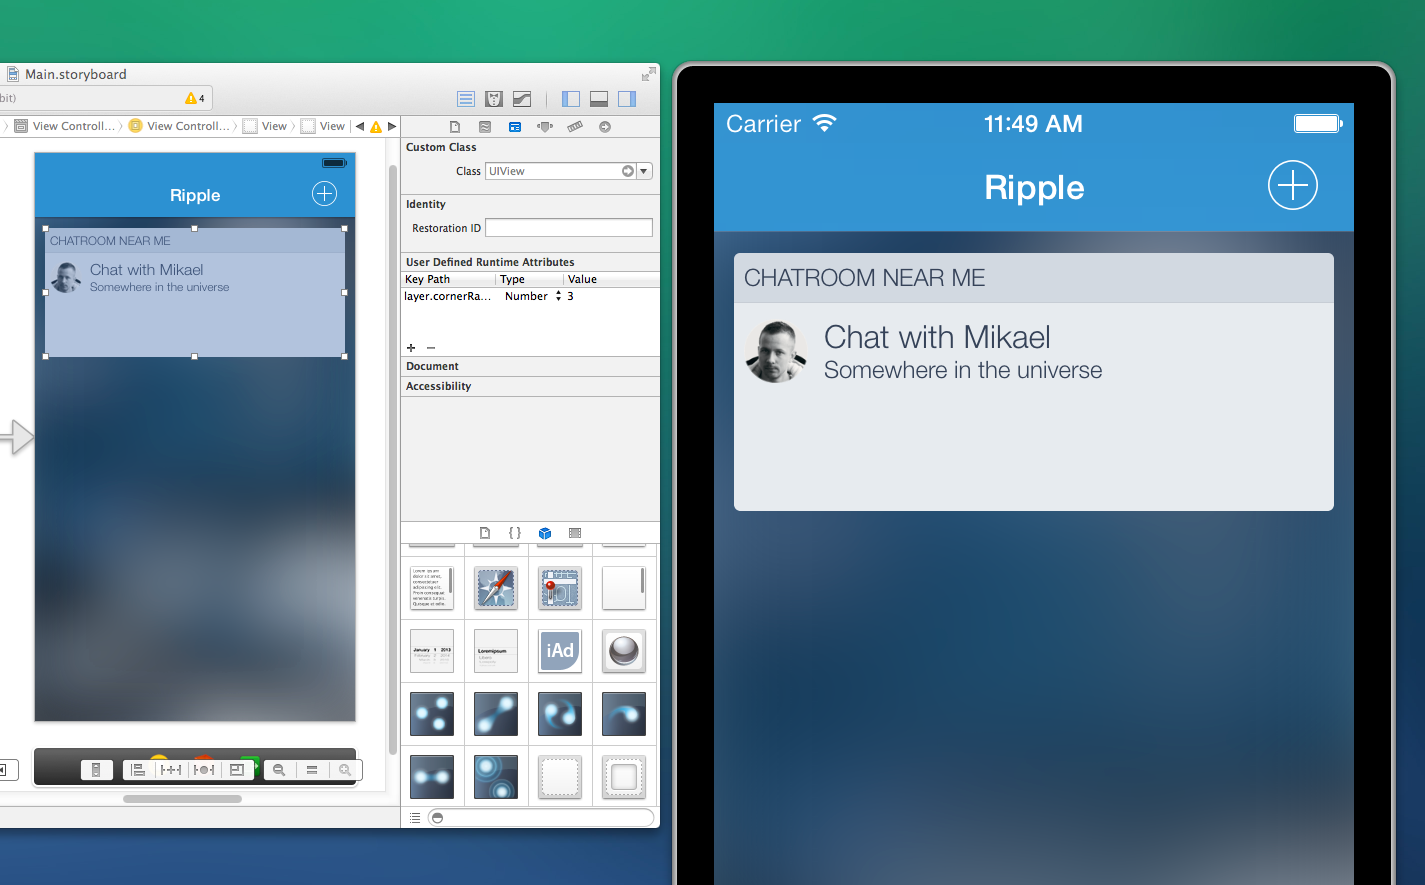
Rounded Corners
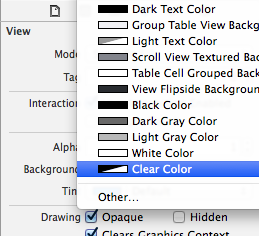
Often in CSS, you don’t want to use images for basic things like rounded corners. Well, in Xcode 5, you can programmatically set the rounded corners. It’s super useful!

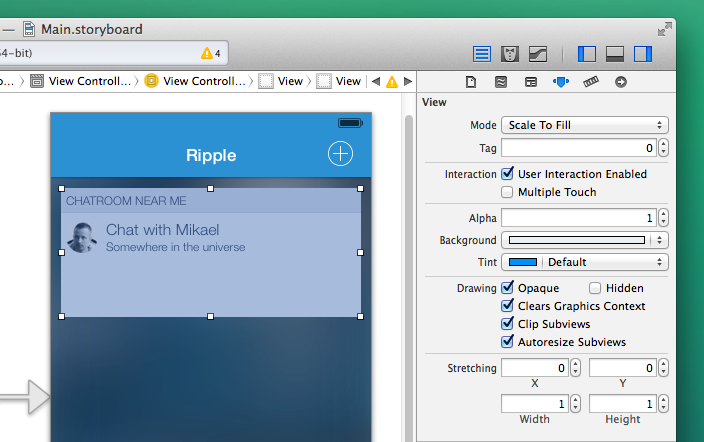


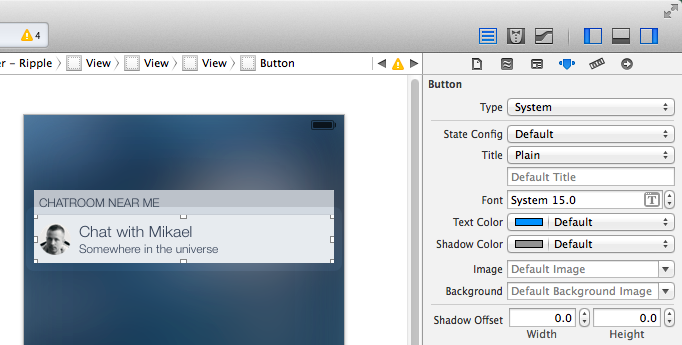
Linking To Another Screen


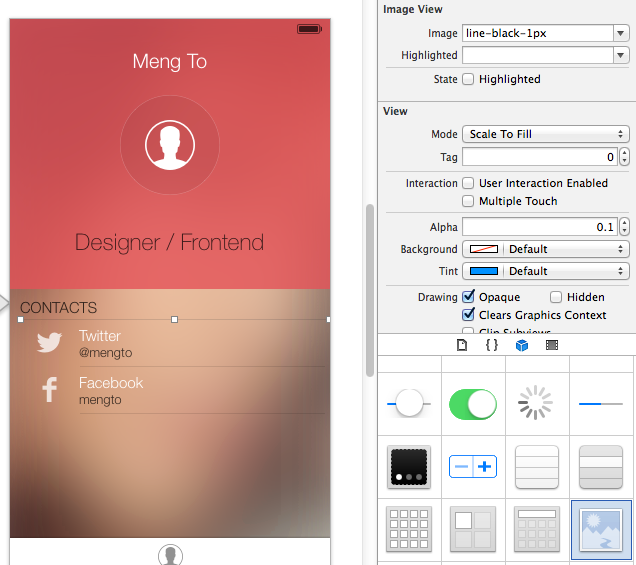
1px Lines

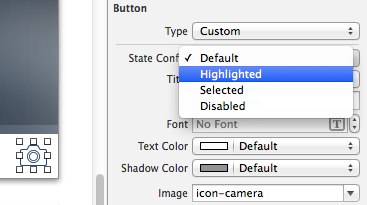
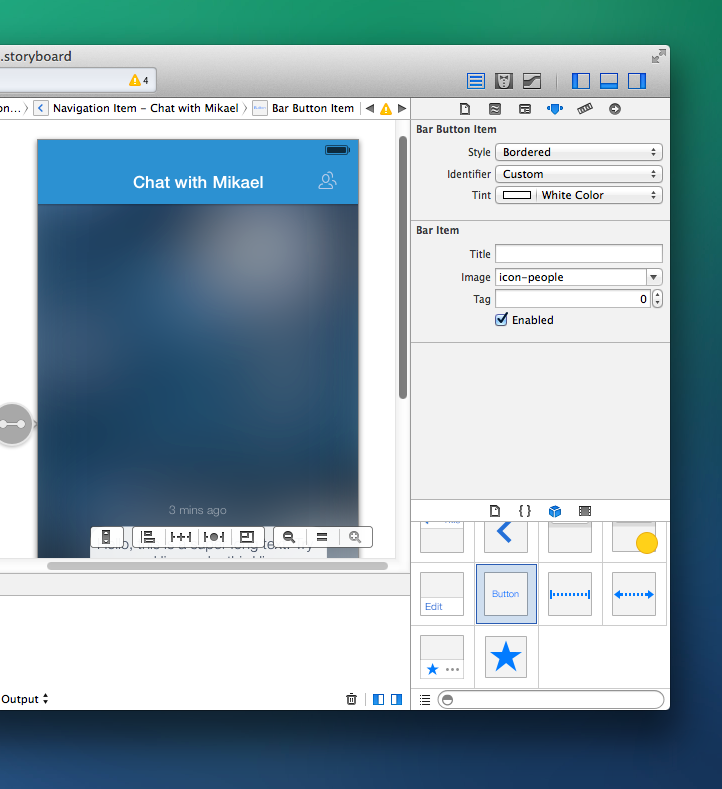
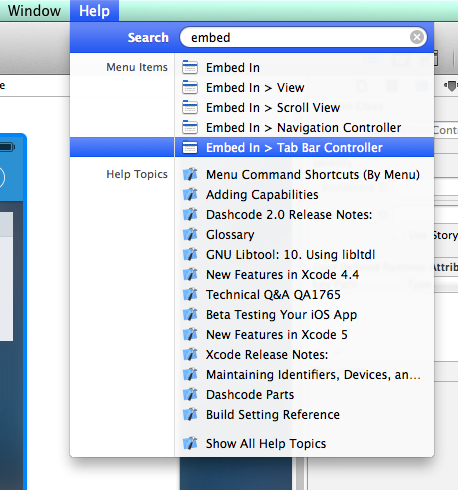
Toolbar Navigation
iOS’s stock toolbar is pretty customizable, allowing you to change the colors, texts and icons.


Scrolling


Download the Xcode Project
Go ahead, play with the Ripple Xcode functional prototype and edit the styling as you wish: http://cl.ly/2A0m0j0i0g1K
No Codes
If you look past the complex parts, Xcode is way friendly than HTML/CSS/SCSS/Javascript. It has a powerful UI that allows you to edit most of the visual elements of your App. In a way, it’s what WYSIWYG should have been. Next time, I will discuss the use of third-party Libraries using CocoaPods and enabling custom Fonts, sounds and animations with as little coding as possible. If you’d like to follow the development of these Xcode tutorials or Ripple, feel free to follow me: @mengto on Twitter. :)