
Java實現GitHub第三方登入詳解
GitHub第三方登入實現效果如下:

實現流程如下:
1.註冊一個GitHub賬號
2.註冊一個授權的網站
    儲存一個你的Client ID和Client Secret
3.準備一個頁面,有一個連結跳轉到授權的頁面
    <a href="https://github.com/login/oauth/authorize?client_id=xx&state=STATE&redirect_uri=xx">GitHub登入</a>
4.準備controller去處理callback回撥的請求
    ① 獲取到請求引數中的code
    ② 拿到code去傳送請求請求token
    ③ 拿到token傳送請求請求使用者資訊
    ④ 將使用者資訊做持久化處理(放到請求範圍中)
    ⑤ 在主頁面通過el表單獲取到前面取到的使用者資訊...
OAuth2.0的認證原理
OAUTH協議為使用者資源的授權提供了一個安全的、開放而又簡易的標準。與以往的授權方式不同之處是OAUTH的授權不會使第三方觸及到使用者的帳號資訊(如使用者名稱與密碼),即第三方無需使用使用者的使用者名稱與密碼就可以申請獲得該使用者資源的授權,因此OAUTH是安全的。oAuth是Open Authorization的簡寫,目前的版本是2.0版。 https://oauth.net/2/
GitHub第三方登入的認證授權流程
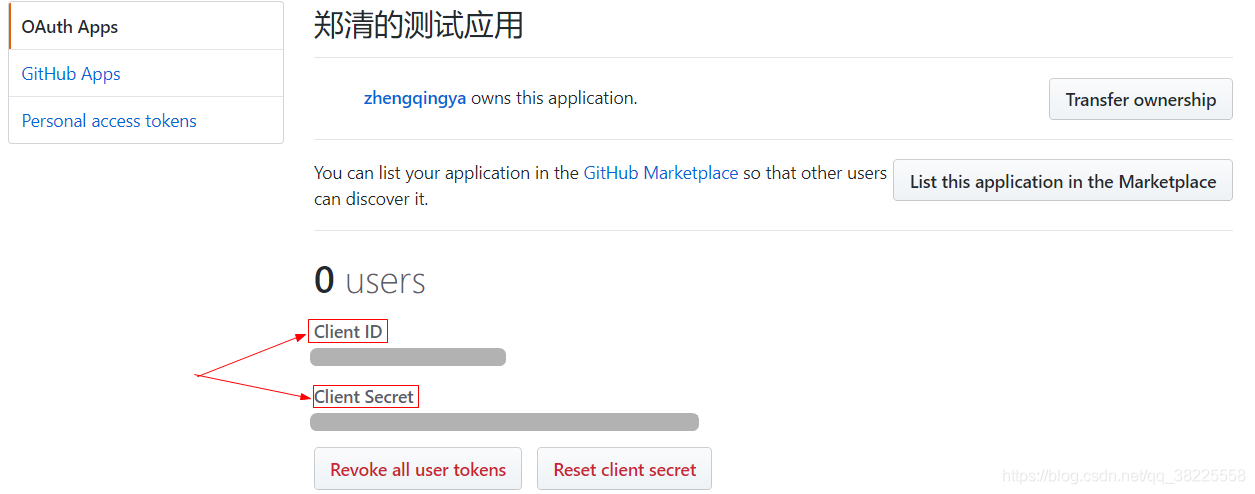
申請 Client ID 和 ClientSecret
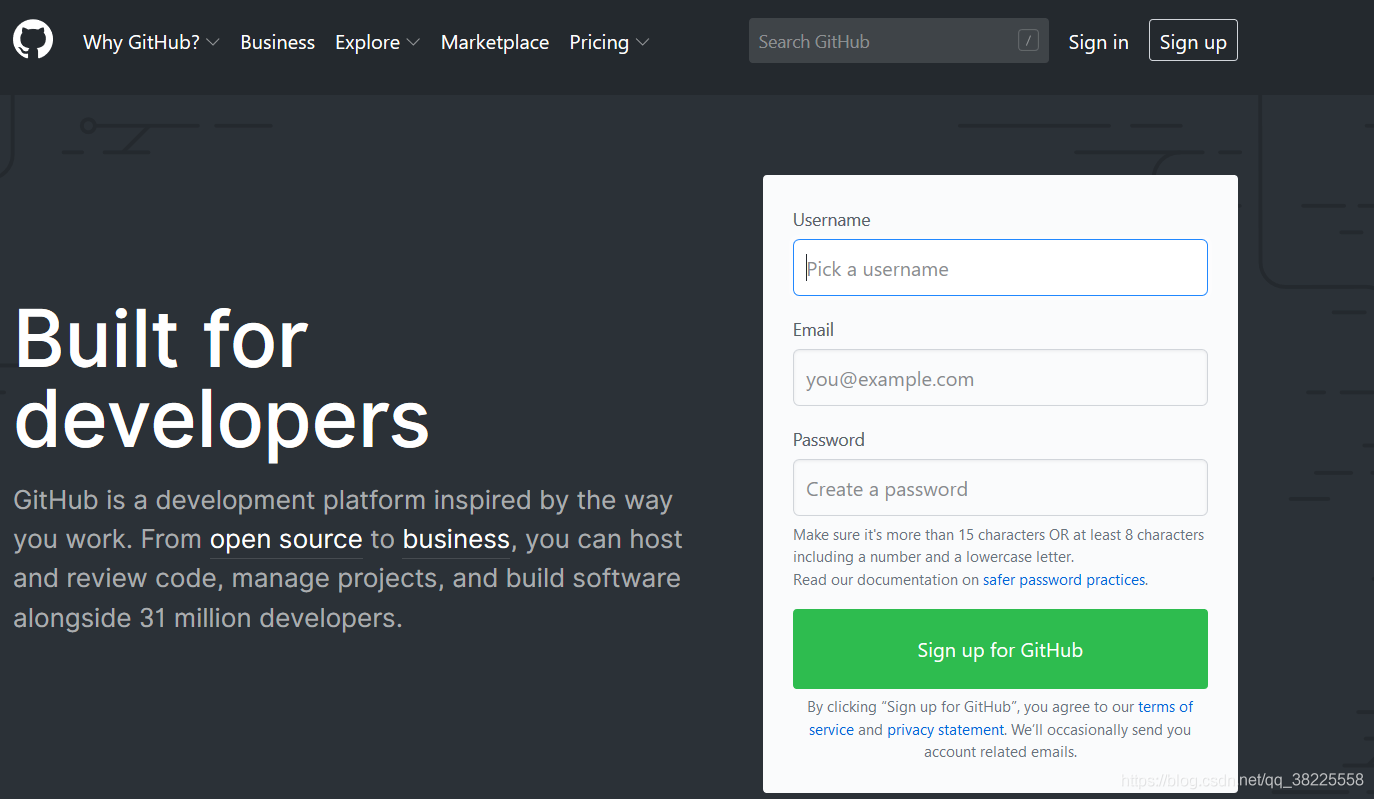
首先到GitHub官網註冊賬號:
登入進去之後點選你的頭像,選擇Settings
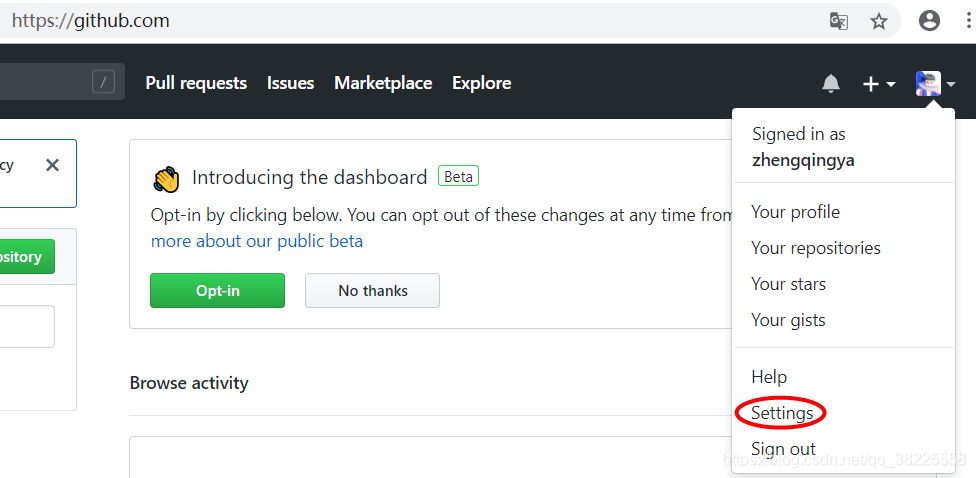
選擇左下方的Developer settings建立一個應用


註冊應用之後,可以獲取到 Client ID 和 Client Secret
申請clientID和clientSecret的用途???
clientID:應用的唯一標識。
clientSecret:clientID對應的金鑰,訪問使用者資源時用來驗證應用的合法性。
申請地址: https://github.com/settings/developers
注意:對clientID和clientSecret資訊進行保密,不要隨意洩漏。
GitHub的登入授權實現
第三方登入流程是:先獲取code --> 然後獲取access_token --> 根據token獲取使用者資訊。
前臺頁面實現步驟:點選登入按鈕 --> 開啟一個視窗,進行授權 --> 授權完成,跳轉到首頁或上次瀏覽的頁面。
前臺準備一個頁面,有一個連結跳轉到GitHub的授權頁面
https://github.com/login/oauth/authorize?client_id=xx&state=xx&redirect_uri=xx;
點選跳轉到GitHub第三方登入頁面

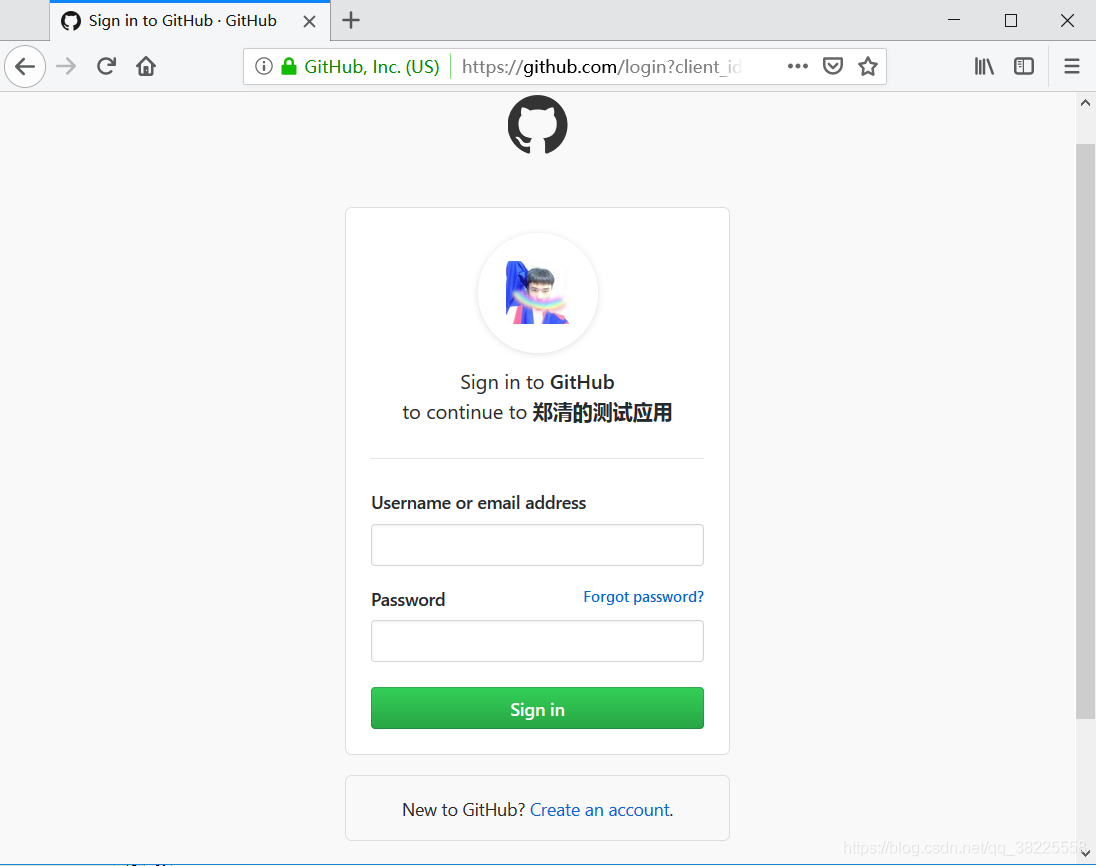
登入賬號進行授權

授權之後就會跳轉到自己之前建立應用時設定的回撥路徑
溫馨小提示:如果是本地測試可將回調地址修改成本地路徑


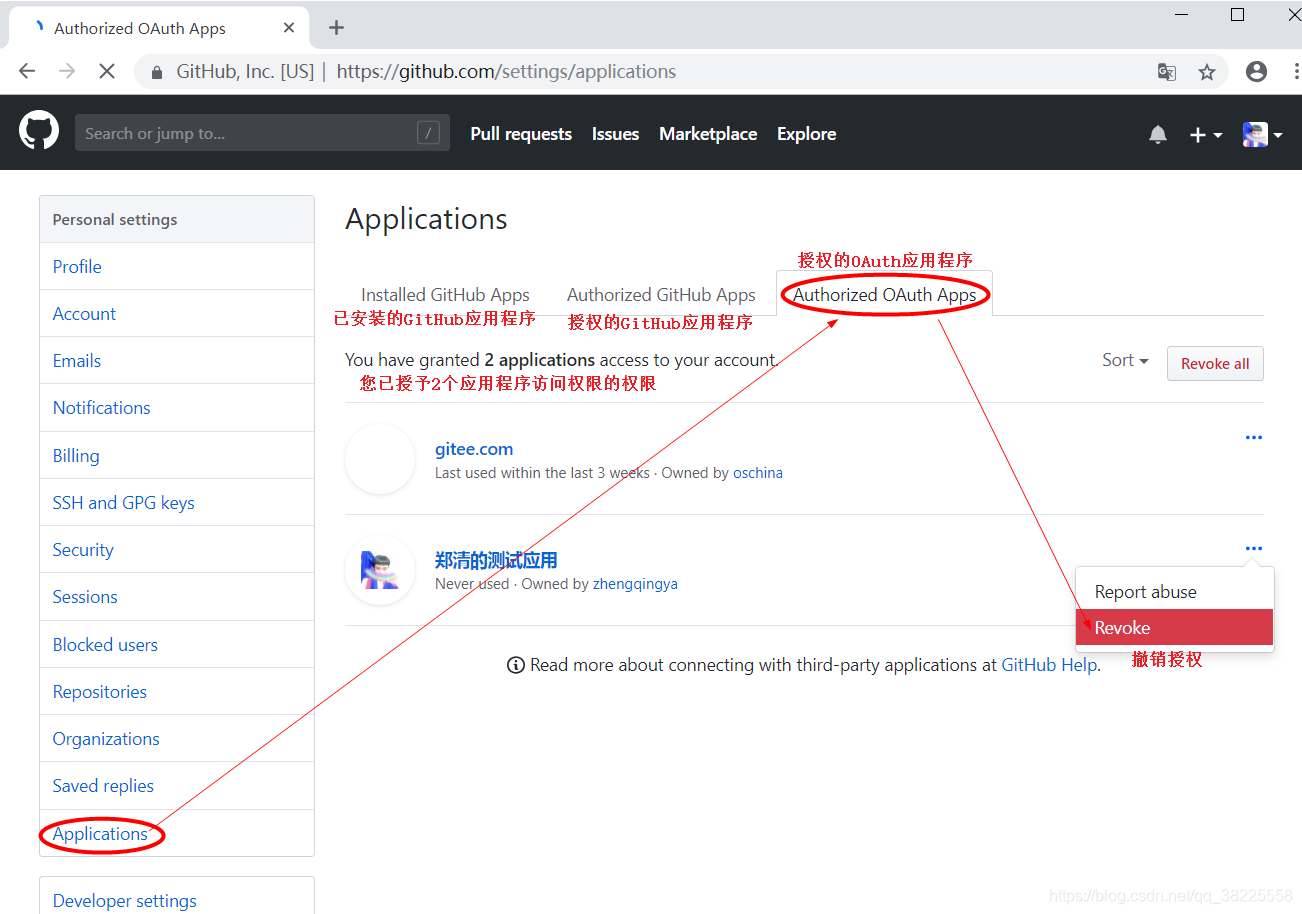
溫馨小提示:可在GitHub上 https://github.com/settings/applications 取消授權的應用
登入就算完成了,那麼我們怎麼去獲取使用者資訊來實現我們的其他功能呢??比如獲取使用者賬號,頭像等資訊繫結到自己系統的資料庫裡面
程式碼實現 (溫馨小提示:這裡我將程式碼都一個檔案了,有3個類,需要自己弄出來哦)
package com.zhengqing.web.controller;

import com.alibaba.fastjson.JSONObject;
import org.apache.commons.lang.StringUtils;
import org.apache.http.HttpEntity;
import org.apache.http.client.methods.CloseableHttpResponse;
import org.apache.http.client.methods.HttpGet;
import org.apache.http.impl.client.CloseableHttpClient;
import org.apache.http.impl.client.HttpClients;
import org.apache.http.util.EntityUtils;
import org.springframework.stereotype.Controller;
import org.springframework.web.bind.annotation.RequestMapping;
import java.util.HashMap;
import java.util.Map;
import java.util.Set;

@Controller
public class GitHubCallBackController {
    //授權成功後的回撥,我們需要在這個方法中拿到code去請求token
    @RequestMapping("/callback")
    public String callback(String code, String state) throws Exception{
        //獲取到code和state
        System.out.println("code:"+code);
        System.out.println("state:"+state);

        if(!StringUtils.isEmpty(code)&&!StringUtils.isEmpty(state)){
            //拿到我們的code,去請求token
            //傳送一個請求到
            String token_url = GitHubConstants.TOKEN_URL.replace("CLIENT_ID", GitHubConstants.CLIENT_ID)
                    .replace("CLIENT_SECRET", GitHubConstants.CLIENT_SECRET)
                    .replace("CALLBACK", GitHubConstants.CALLBACK)
                    .replace("CODE", code);
//           System.out.println("使用者資訊資料"+token_url);//這個裡面有我們想要的使用者資訊資料
            String responseStr = HttpClientUtils.doGet(token_url);
            String token = HttpClientUtils.parseResponseEntity(responseStr).get("access_token");

            //根據token傳送請求獲取登入人的資訊
            String userinfo_url = GitHubConstants.USER_INFO_URL.replace("TOKEN", token);
            responseStr = HttpClientUtils.doGet(userinfo_url);//json

            Map<String, String> responseMap = HttpClientUtils.parseResponseEntityJSON(responseStr);
            System.out.println("登入使用者資訊:"+responseMap);//responseMap裡面儲存著使用者登入資訊
            System.out.println("獲取登入使用者的使用者名稱:"+responseMap.get("login"));
        }
        return "main";// TODO 修改成自己需要返回的頁面...
    }
}
//抽取出來的引數【程式碼拷貝下來只需要修改成自己的CLIENT_ID,Client CLIENT_SECRET,CALLBACK即可】
class GitHubConstants {
    public static final String CLIENT_ID = "xx"; // TODO 修改成自己的
    public static final String CLIENT_SECRET = "xx";  // TODO 修改成自己的
    public static final String CALLBACK = "xx";  // TODO 修改成自己的  [注意:callback要和註冊的回撥路徑保持一致  否則登入授權之後會報NullPointerException]

    //獲取code的url
    public static final String CODE_URL = "https://github.com/login/oauth/authorize?client_id=CLIENT_ID&state=STATE&redirect_uri=CALLBACK";
    //獲取token的url
    public static final String TOKEN_URL = "https://github.com/login/oauth/access_token?client_id=CLIENT_ID&client_secret=CLIENT_SECRET&code=CODE&redirect_uri=CALLBACK";
    //獲取使用者資訊的url
    public static final String USER_INFO_URL = "https://api.github.com/user?access_token=TOKEN";
}
//工具類
class HttpClientUtils {
    /**
     * 使用HttpClient傳送一個Get方式的請求
     * @param url 請求的路徑 請求引數拼接到url後面
     * @return 響應的資料
     * @throws Exception
     */
    public static String doGet(String url)throws Exception{
        CloseableHttpClient httpclient = HttpClients.createDefault();
        HttpGet httpGet = new HttpGet(url);
        CloseableHttpResponse response = httpclient.execute(httpGet); //傳送一個http請求
        //如果響應成功,解析響應結果
        if(response.getStatusLine().getStatusCode()==200){
            HttpEntity responseEntity = response.getEntity(); //獲取響應的內容
            return EntityUtils.toString(responseEntity);
        }
        return null;
    }

    // 引數的封裝
    public static Map<String,String> parseResponseEntity(String responseEntityStr){
        Map<String,String> map = new HashMap<>();
        String[] strs = responseEntityStr.split("\\&");
        for (String str : strs) {
            String[] mapStrs = str.split("=");
            String value = null;
            String key = mapStrs[0];
            if(mapStrs.length>1){
                value = mapStrs[1];
            }
            map.put(key, value);
        }
        return map;
    }

    //json字串轉map
    public static Map<String,String> parseResponseEntityJSON(String responseEntityStr){
        Map<String,String> map = new HashMap<>();
        JSONObject jsonObject = JSONObject.parseObject(responseEntityStr); //解析json格式的字串
        Set<Map.Entry<String, Object>> entries = jsonObject.entrySet();
        for (Map.Entry<String, Object> entry : entries) {
            String key = entry.getKey();
            String value = String.valueOf(entry.getValue());
            map.put(key, value);
        }
        return map;
    }

}
maven專案中還需要額外引入如下,其餘的就是自己專案的配置,比如上面的程式碼是springmvc配置通過 @Controller 進行跳轉...
    <!-- GitHub第三方登入所需 -->
    <dependency>
      <groupId>org.apache.httpcomponents</groupId>
      <artifactId>httpclient</artifactId>
      <version>4.5.6</version>
    </dependency>
    <dependency>
      <groupId>com.alibaba</groupId>
      <artifactId>fastjson</artifactId>
      <version>1.2.47</version>
    </dependency>
可直接拷貝到自己的專案中使用哦,注意修改以下部分哦
以及注意這個 responseMap 裡面封裝了我們想要的使用者資訊資料哦
ex:repos_url裡面有很多我們想要的資料


程式碼最後執行結果: 可根據自己的需求去拿資料
