
[Next] Next.js+Nest.js實現GitHub第三方登入
GitHub OAuth 第三方登入
第三方登入的關鍵知識點就是 OAuth2.0 . 第三方登入,實質就是 OAuth 授權 . OAuth 是一個開放標準,允許使用者讓第三方應用訪問某一個網站的資源,而不需要提供賬號和密碼.
總體就是:myapp <===> user <===> github
授權的總體流程
- 使用者進入到我的網站,我想要獲取到使用者的 GitHub 資訊
- 跳轉到 GitHub 授權頁面,然後問使用者是否允許我獲得他的資訊,授予許可權
- 同意,我的網站會獲得 GitHub 發回的一個授權碼,使用該授權碼向 GitHub 申請一個令牌
- GitHub 授權碼進行驗證,沒問題就會返回一個令牌(這個令牌只在短時間內有效)
- 我的網站獲得令牌,然後向 GitHub 的 user 發起請求
- GitHub 驗證令牌,沒問題使用者資訊就返回過來了
- 我們通過返回的使用者資訊然後建立一個使用者,並生成 token 返回給 client
- 然後根據 token 進行登入驗證,來保持登入
授權登入一次之後就不用再次授權了,除非在 github app 中清除授權記錄
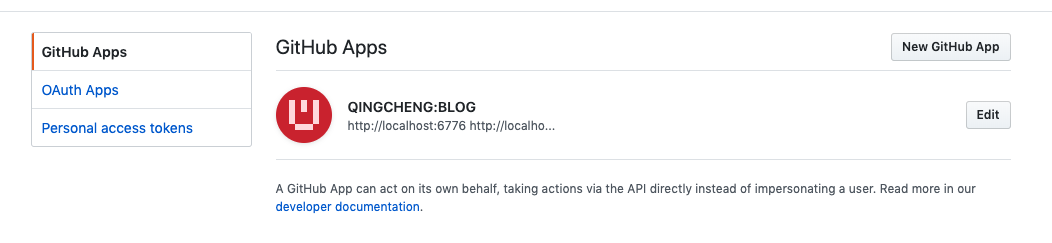
應用登記
一個應用要求 OAuth 授權,必須先到對方網站登記,讓對方知道是誰在請求。
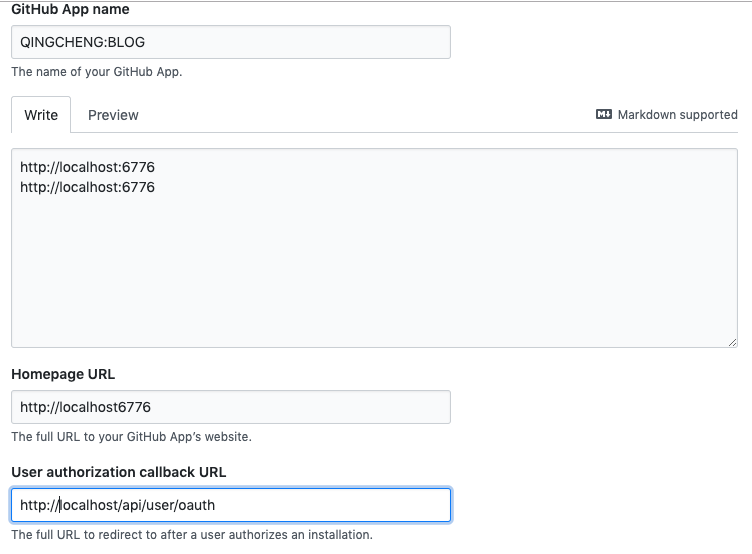
所以,你要先去 GitHub 登記一下。當然,我已經登記過了,你使用我的登記資訊也可以,但為了完整走一遍流程,還是建議大家自己登記。這是免費的。
user => settings => Developer settings
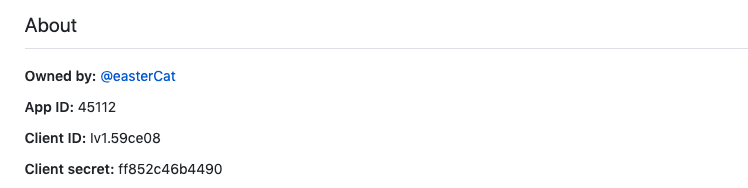
提交表單以後,GitHub 應該會返回客戶端 ID(client ID)和客戶端金鑰(client secret),這就是應用的身份識別碼。
webhook 通知
現在進行 oauth 應用建立的時候需要新增一個 webhook,這個就是 github 的一個通知系統,有更改的時候就會進行介面請求.現在建立 github app 強制要配置這個.

頁面請求
首先在網站上加一個按鈕
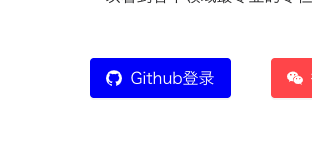
<Button type="primary" icon="github" size="large" onClick={this.login}>
    Github登入
</Button>


//handle
  public login() {
    const CLIENT_ID = "Iv1.59ce080xxxxx";
    const REDIRECT_URL = "ff852c46bxxxxx";
    const url = "https://github.com/login/oauth/authorize?client_id=" + CLIENT_ID + `&client_secret=${REDIRECT_URL}`;
    window.location.href = url;
  }
點選按鈕進入到授權頁面
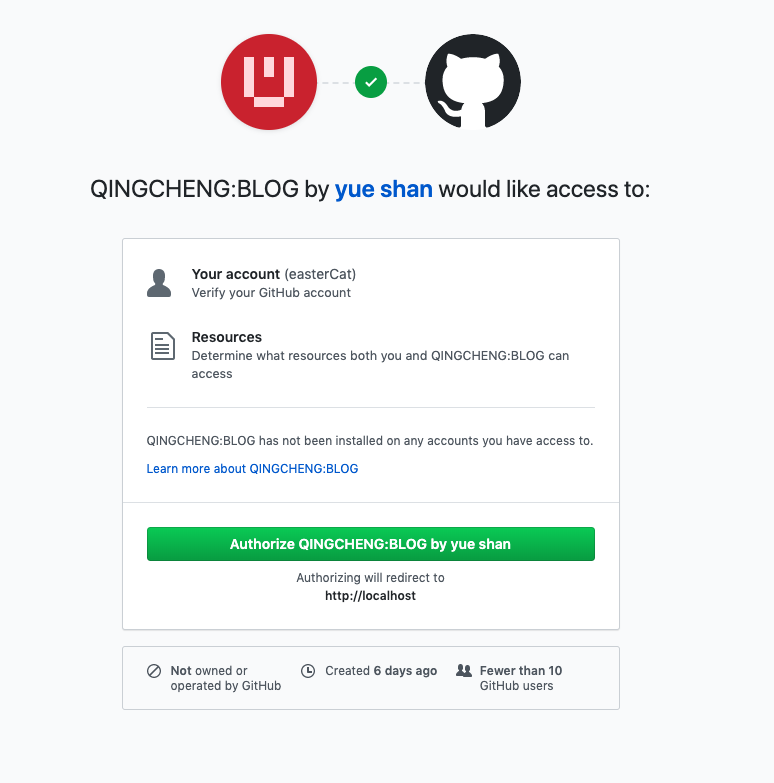
授權之後就去去請求當前應用在 github 儲存的回撥介面 ===> User authorization callback URL: http://localhost:6776/api/user/oauth
實現 oauth 介面
使用者同意授權,GitHub 就會跳轉到 User authorization callback URL 指定的跳轉網址,並且帶上授權碼,跳轉回來的 URL 就是下面的樣子。
http://localhost:6776/api/user/oauth?code=df9da5bfca34bff19f2e
通過 query 拿到 code,這個就是授權碼.
後端使用的是 nest.js 實現 , 之後的請求都使用後端實現.
  @Get('/oauth')
  @Redirect('/', 301)
  async githubOauth(@Query() queryData: { code: string }) {
    const ClientID = 'Iv1.59ce08xxxx';
    const ClientSecret = 'ff852c46bxxxxx';
    const config = {
      method: 'post',
      uri:
        'http://github.com/login/oauth/access_token?' +
        `client_id=${ClientID}&` +
        `client_secret=${ClientSecret}&` +
        `code=${queryData.code}`,
      headers: {
        'Content-Type': 'application/json',
        accept: 'application/json',
      },
    };
    const result: string = (await asyncRequest(config)) as string; //發起請求,拿到token
    }
  }


function asyncRequest(config) {
  return new Promise((resolve, reject) => {
    request(config)
      .then(response => {
        resolve(response);
      })
      .catch(error => {
        reject(error);
      });
  });
}
拿到 token 之後我們可以通過 token 獲取使用者資訊
    const parseResult = JSON.parse(result);
    const githubConfig = {
      method: 'get',
      uri: `https://api.github.com/user`,
      headers: {
        Authorization: `token ${parseResult.access_token}`,
        'User-Agent': 'easterCat',
      },
    };
    const user: string = (await asyncRequest(githubConfig)) as string; //獲取使用者資訊
const parseUser = JSON.parse(user);獲取到使用者資訊{"login":"easterCat"....."created_at":"2016-07-13T07:24:06Z","updated_at":"2019-10-25T05:26:34Z"}之後,處理使用者資訊
我們將需要的資料建立一個新使用者
      await this.userService.create({
        login: parseUser.login,
        avatarUrl: parseUser.avatar_url,
        name: parseUser.name,
        createdAt: parseUser.created_at,
        updatedAt: parseUser.updated_at,
      }); // 建立新使用者

      await this.sessionService.create({
        token: loginStatus,
        createAt: +Date.now(),
        name: parseUser.name,
      }); //建立session
然後之前 get 請求下添加了跳轉 redirect,此時傳入跳轉介面
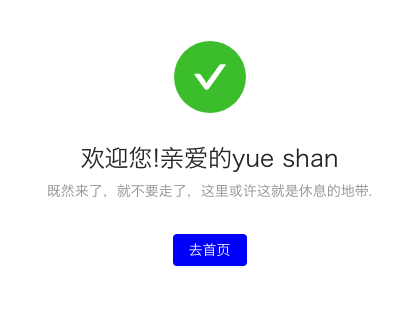
return { url: `/logged?name=${parseUser.name}` };驗證登入
前端進行的 ajax 請求開啟 withCredentials , 將 cookie 進行攜帶.
前端使用的使用 next.js 進行的 react 開發.後端會將頁面跳轉到 logged 頁面.
  public async componentDidMount() {
    const parsed = queryString.parse(window.location.search);
    const result: any = await this.props.login({ name: parsed.name });
    Cookies.set("ptg-token", result.token);

    this.setState({
      loginStatus: true,
      loading: true
    });
  }
當前頁面進行登入介面請求,並將 token 儲存到 cookie 中.
之後的持久化登入就在應用初始階段請求後端/logged 介面,後端會從請求中的 cookie 中拿到 token,然後對 session 進行判斷.
doc
- GitHub OAuth 第三方登入示例教程
- 授權 OAuth 應用
- REST API 第 3 版
- webhook 小試水(無需外網伺服器)