
Ubuntu 安裝Clion和執行使用總結
1、Clion的簡單介紹
CLion是以IntelliJ為基礎,專為開發C及C++所設計的跨平臺IDE,可以在Windows、Linux及MacOS使用,這裡我是在ubuntu 16.0.4基礎上安裝。
2、linux平臺Clion的安裝
1)、得到Linux版Clion的.tar.gz的壓縮包
方法二:使用 wget命令, wget https://download.jetbrains.8686c.com/cpp/CLion-2016.2.2.tar.gz
2)、解壓CLion-2016.2.2.tar.gz到當前資料夾
- tar -zxvf CLion-2016.2.2.tar.gz
3)執行clion.sh指令碼
[html] view plain copy print?- cd clion-2016.2.2/bin/
- ./clion.sh
4)、開啟workspace
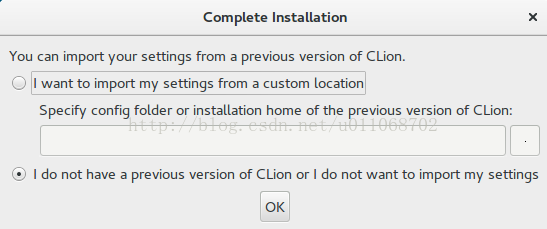
第一次開啟點選ok
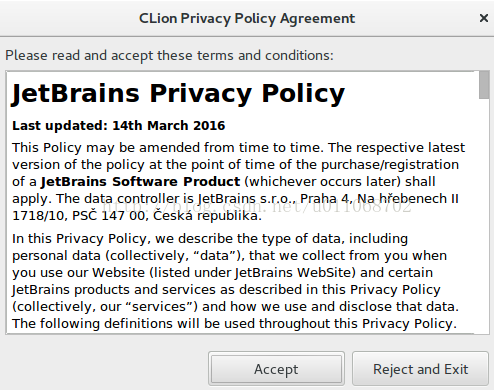
然後同意就行
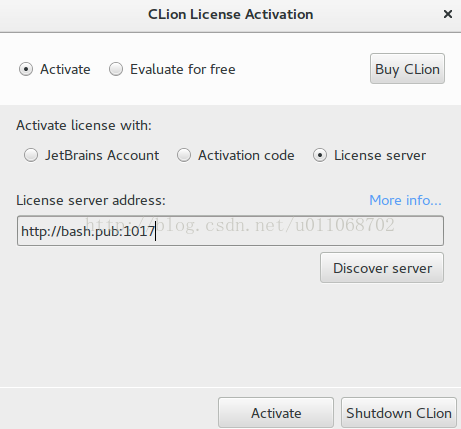
CLion是收費的,可以選擇試用30天,搭建了一個破解的伺服器,地址是:http://bash.pub:1017
選擇自己喜歡的主題。
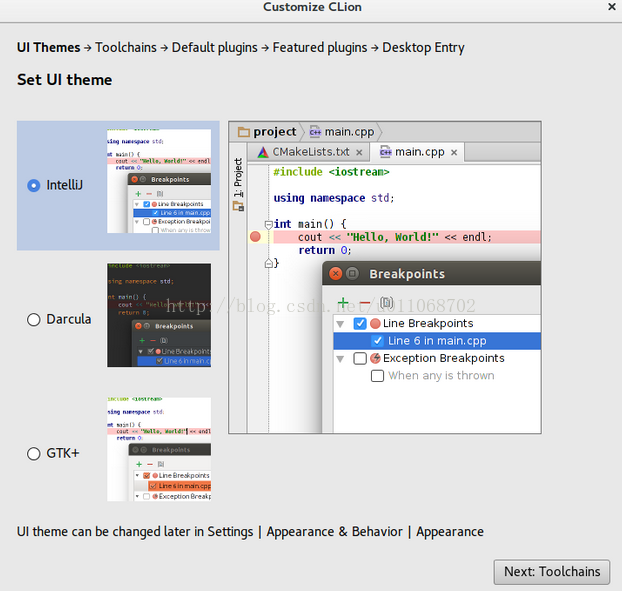
然後一直往下走,外掛先不安裝。
然後新建一個C專案
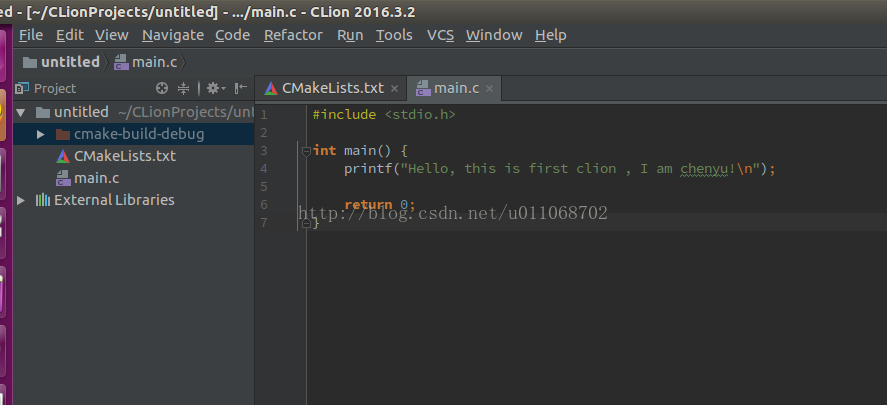
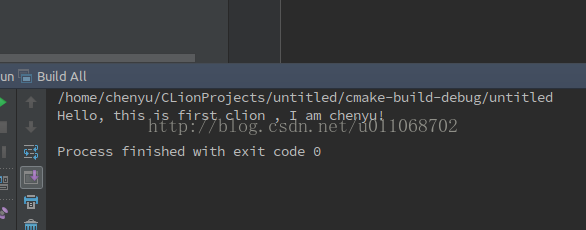
3、簡單測試一個例子結果
以後開啟就這樣開啟

opencv cmakelist:
# cmake needs this line cmake_minimum_required(VERSION 2.8) # Define project name project(opencvTest) # Find OpenCV, you may need to set OpenCV_DIR variable # to the absolute path to the directory containing OpenCVConfig.cmake file # via the command line or GUI find_package(OpenCV REQUIRED) # If the package has been found, several variables will # be set, you can find the full list with descriptions # in the OpenCVConfig.cmake file. # Print some message showing some of them message(STATUS "OpenCV library status:") message(STATUS " version: ${OpenCV_VERSION}") message(STATUS " libraries: ${OpenCV_LIBS}") message(STATUS " include path: ${OpenCV_INCLUDE_DIRS}") # Add OpenCV headers location to your include paths include_directories(${OpenCV_INCLUDE_DIRS}) # Declare the executable target built from your sources add_executable(main main.cpp) # Link your application with OpenCV libraries target_link_libraries(main ${OpenCV_LIBS})
【注意事項】
1、find_package(OpenCV REQUIRED)中的opencv一定要遵循該大小寫。
因為該句話是根據OpenCV作為字首自動去/usr/local/share/OpenCV(如果你的opencv安裝時,預設字首設定為:/usr/local時)資料夾中去找OpenCVConfig.cmake,OpenCV-config.cmake 兩個檔案,進而確定你要引入的opencv標頭檔案和庫函式在哪裡。
2、自定義引入相應opencv版本
如果你有很多的opencv版本,尤其是一個是opencv2.x.x一個是opencv3.x.x,因為2和3在資料結構上有相對較大的變化,所以如果引入錯誤的版本可能導致程式的無法執行。因為find_package找預設路徑下的OpenCV,但是很多時候安裝多個版本的庫的時候都會make
install在opt目錄下。、
安裝在opt的檔案中會有share資料夾,這裡面就有咱們需要的OpenCV資料夾,所以如果要自己有選擇的控制版本,則在find_package這句話前面去設定opencv的OpenCV資料夾在哪裡,新增set(OpenCV_DIR /opt/opencv-2.4.11/share/OpenCV)這句話。因為我的opencv2.4.11版本install在/opt/opencv-2.4.11資料夾下。這個可以根據你install的位置去變化。