
Android控制元件--側邊欄SideBar
說明
很多應用中我們都能看到關於側邊欄的使用,比如微信啊,QQ啊,美團啊等等,最常見的應該就是通訊錄裡面對聯絡人進行A~Z的排序。側邊欄主要是方便使用者進行字母索引。資料連結:http://blog.csdn.net/xiaanming/article/details/12684155
今天實現的控制元件效果如下圖所示:
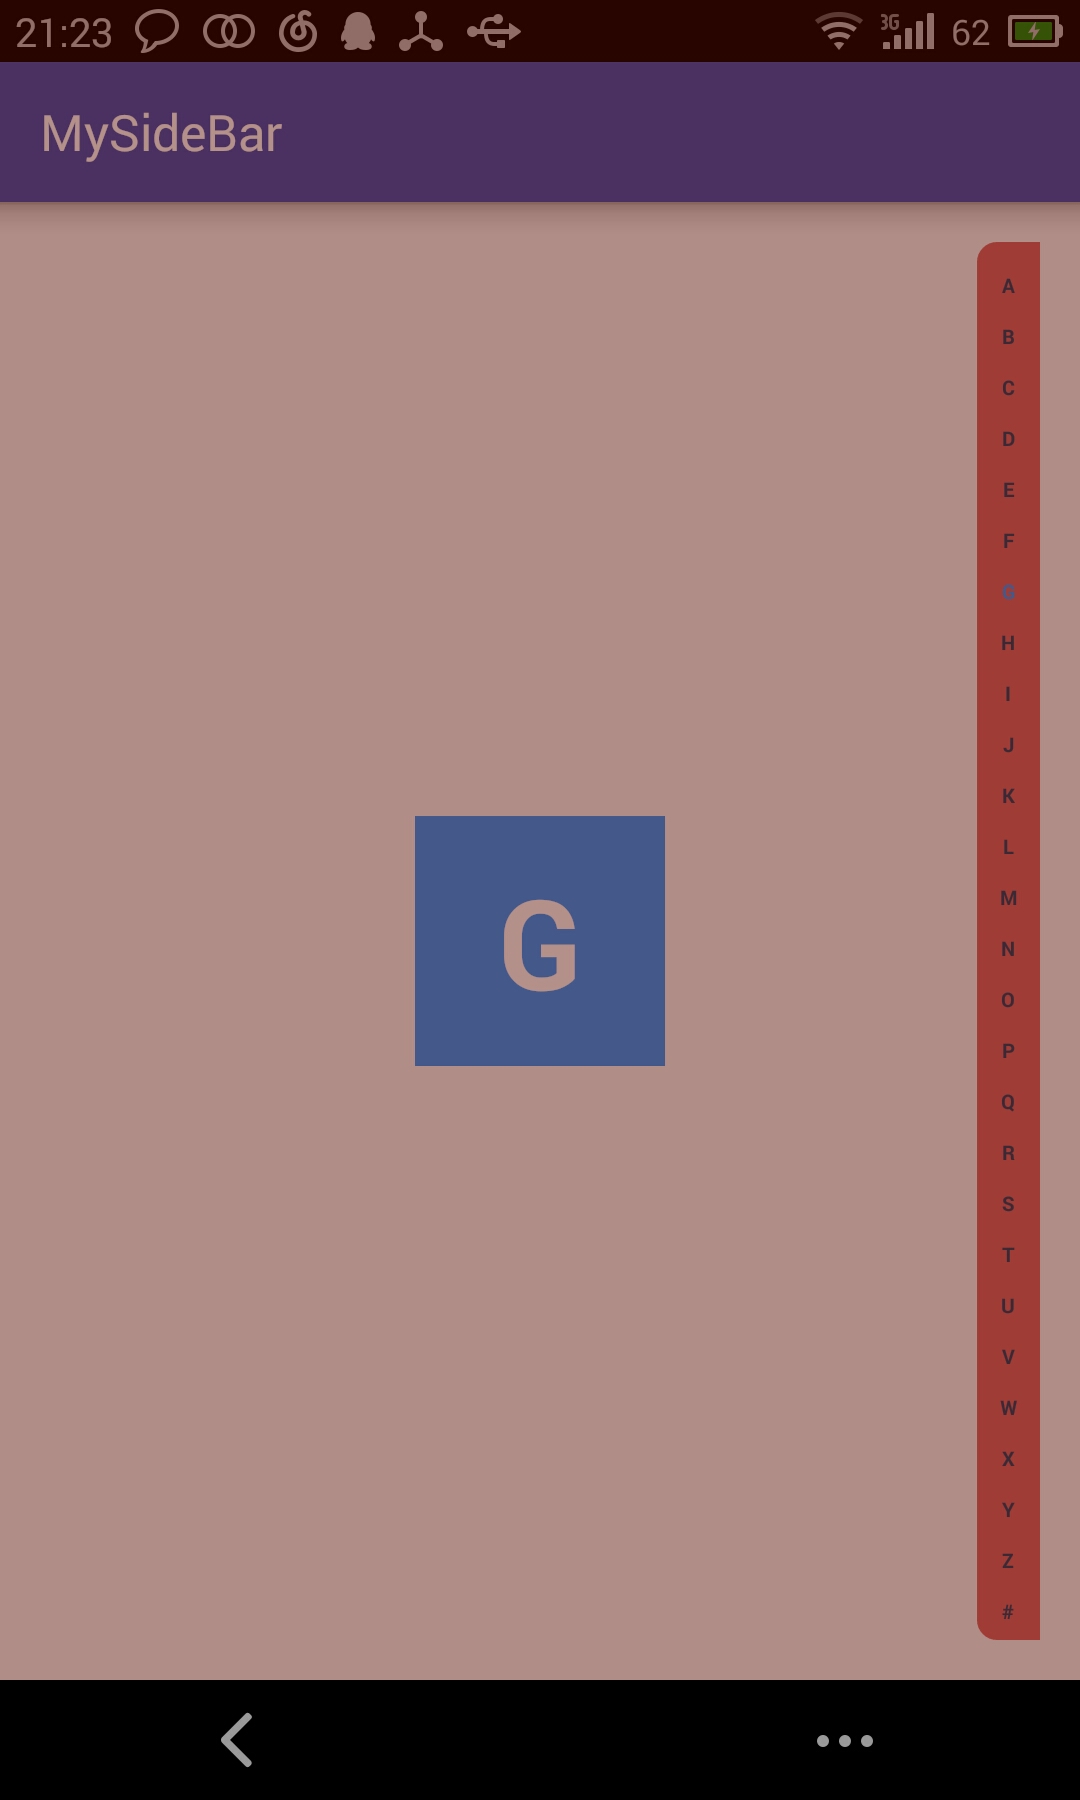
工程結構圖:
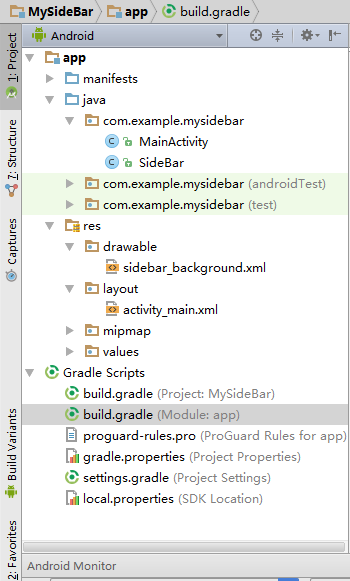
1.Sidebar的JAVA類檔案
package com.example.mysidebar;
import android.annotation.TargetApi;
import android.content.Context;
import android.graphics.Canvas;
import SideBar類就是ListView右側的字母索引View,我們需要使用setTextView(TextView textViewDialog)來設定用來顯示當前按下的字母的TextView,以及使用setOnLetterTouchedChangeListener方法來設定回撥介面,在回撥方法onLetterTouchedChangeListener(String s)中來處理不同的操作
2.引用SideBar的XML檔案(activity_main.xml)
<?xml version="1.0" encoding="utf-8"?>
<RelativeLayout xmlns:android="http://schemas.android.com/apk/res/android"
    xmlns:tools="http://schemas.android.com/tools"
    android:layout_width="match_parent"
    android:layout_height="match_parent"
    android:paddingBottom="@dimen/activity_vertical_margin"
    android:paddingLeft="@dimen/activity_horizontal_margin"
    android:paddingRight="@dimen/activity_horizontal_margin"
    android:paddingTop="@dimen/activity_vertical_margin"
    tools:context="com.example.mysidebar.MainActivity">

    <TextView
        android:id="@+id/textViewDialog"
        android:layout_width="100dp"
        android:layout_height="100dp"
        android:layout_centerInParent="true"
        android:background="#3399ff"
        android:gravity="center"
        android:padding="10dp"
        android:text="1"
        android:textColor="@android:color/white"
        android:textSize="50dp"
        android:textStyle="bold"
        android:visibility="invisible" >
    </TextView>

    <com.example.mysidebar.SideBar
        android:id="@+id/sideBar"
        android:layout_width="25dp"
        android:layout_height="wrap_content"
        android:layout_alignParentRight="true" />
</RelativeLayout>
背景自定義
<?xml version="1.0" encoding="utf-8"?>
<shape android:shape="rectangle"
  xmlns:android="http://schemas.android.com/apk/res/android">
    <gradient
    android:startColor="#99C60000"
    android:endColor="#99C60000"
    android:angle="90.0" />

    <corners
        android:topLeftRadius="8dip"
        android:bottomLeftRadius="8dip"/>

</shape>
shape是用來定義形狀的,gradient定義該形狀裡面為漸變色填充,startColor起始顏色,endColor結束顏色,angle表示方向角度。當angle=0時,漸變色是從左向右。 然後逆時針方向轉,當angle=90時為從下往上
corner是用來定義圓角的,radius為角的弧度,值越大角越圓。
我們還可以把四個角設定成不同的角度,
同時設定五個屬性,則Radius屬性無效
android:Radius=”20dp” 設定四個角的半徑
android:topLeftRadius=”20dp” 設定左上角的半徑
android:topRightRadius=”20dp” 設定右上角的半徑
android:bottomLeftRadius=”20dp” 設定右下角的半徑
android:bottomRightRadius=”20dp” 設定左下角的半徑
3.MainActivity的JAVA類檔案
package com.example.mysidebar;

import android.support.v7.app.AppCompatActivity;
import android.os.Bundle;
import android.widget.TextView;

public class MainActivity extends AppCompatActivity {
    private SideBar indexBar;
    /**
     * 顯示字母的TextView
     */
    private TextView textViewDialog;

    @Override
    protected void onCreate(Bundle savedInstanceState) {
        super.onCreate(savedInstanceState);
        setContentView(R.layout.activity_main);
        indexBar = (SideBar) findViewById(R.id.sideBar);
        textViewDialog = (TextView) findViewById(R.id.textViewDialog);
        indexBar.setTextViewDialog(textViewDialog);
    }
}
以上就是全部程式碼了。希望自己能多多練習更加熟練的掌握。