
機器學習Tensorflow基於MNIST資料集識別自己的手寫數字(讀取和測試自己的模型)
更新:
以下為原博:
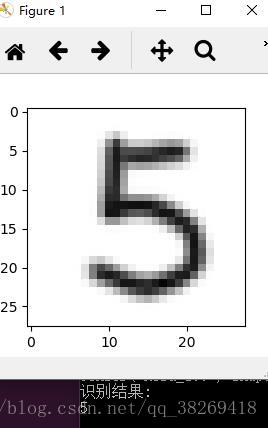
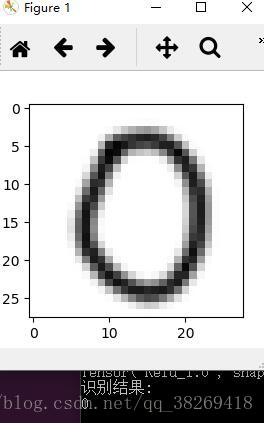
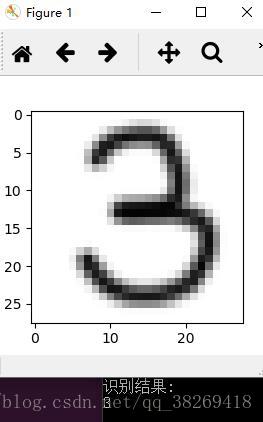
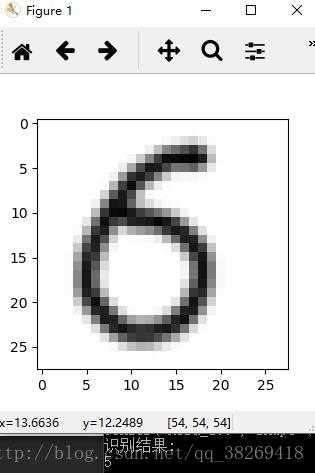
廢話不多說,先上效果圖
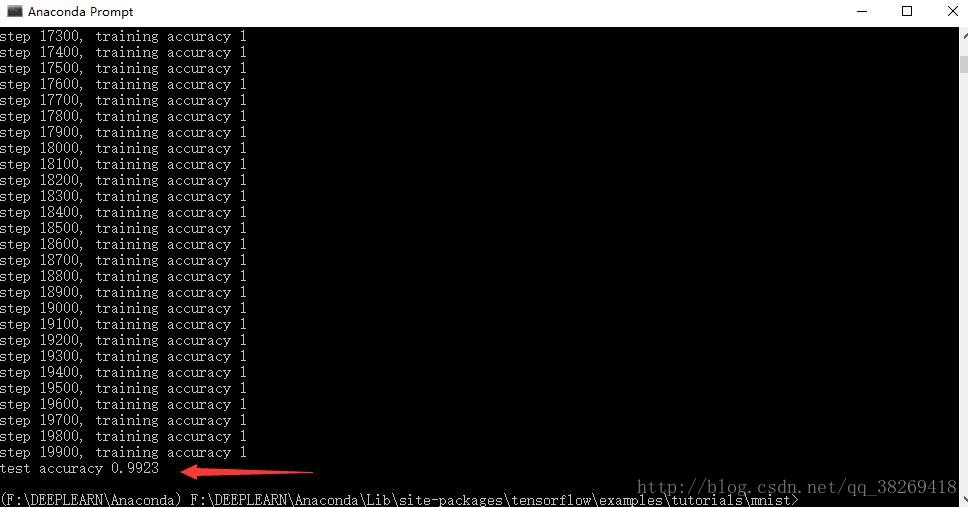
整體來看,效果是非常不錯的,模型的訓練,參照官方程式碼mnist_deep.py,準確率是高達99.2%

那麼,我是怎麼實現的呢?
一.讀懂卷積神經網路程式碼(至少得把程式跑通)
首先參照Tensorflow中文社群教程傳送門:
http://www.tensorfly.cn/tfdoc/tutorials/mnist_pros.html
能在自己的環境中成功執行程式碼,具體程式碼的實現我就不在這裡具體贅述了,因為關於程式碼的文章太多了,百度都能一大堆。博主是參照了Tensorflow中社群教程如圖:
(注意一點:關於教程的print函式)
在博主用的Python3.6版本中,print已經成為了一個函式,而在Python2.7當中print不是一個函式,這裡博主是需要加上括號。
所以根據自己所用的版本,更改這裡,例如

print("Hello")  python3.6
print "Hello"   python2.7
如果你按照教程,將程式碼跑通之後,可以進行下一步了。那就是將模型儲存,只需呼叫一個簡單的函式,以下就是博主根據教程敲得完整程式碼:
from tensorflow.examples.tutorials.mnist import input_data
import tensorflow as tf
mnist = input_data.read_data_sets('F:/DEEPLEARN/Anaconda/Lib/site-packages/tensorflow/examples/tutorials/mnist/MNIST_data' 以上,是我的mnistdeep.py程式碼,用於匯入MNIST資料集-建立模型-儲存模型到指定路徑。
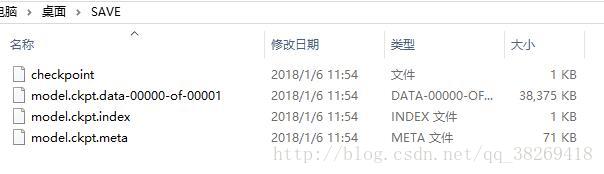
儲存的路徑會出現四個檔案,具體每個檔案是幹嘛的,自己百度吧,我不在這裡贅述了:
二.測試自己的剛才儲存的模型
from PIL import Image, ImageFilter
import tensorflow as tf
import matplotlib.pyplot as plt
def imageprepare():
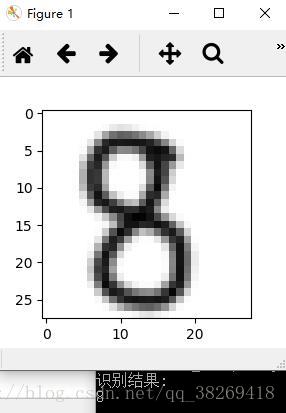
im = Image.open('C:/Users/考拉拉/Desktop/4.png') #讀取的圖片所在路徑,注意是28*28畫素
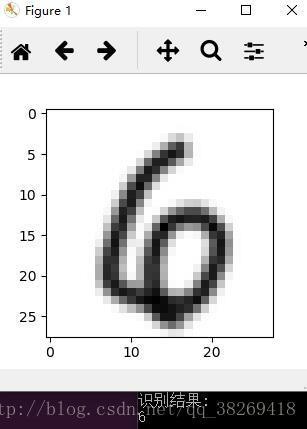
plt.imshow(im) #顯示需要識別的圖片
plt.show()
im = im.convert('L')
tv = list(im.getdata())
tva = [(255-x)*1.0/255.0 for x in tv]
return tva
result=imageprepare()
x = tf.placeholder(tf.float32, [None, 784])
y_ = tf.placeholder(tf.float32, [None, 10])
def weight_variable(shape):
initial = tf.truncated_normal(shape,stddev = 0.1)
return tf.Variable(initial)
def bias_variable(shape):
initial = tf.constant(0.1,shape = shape)
return tf.Variable(initial)
def conv2d(x,W):
return tf.nn.conv2d(x, W, strides = [1,1,1,1], padding = 'SAME')
def max_pool_2x2(x):
return tf.nn.max_pool(x, ksize=[1,2,2,1], strides=[1,2,2,1], padding='SAME')
W_conv1 = weight_variable([5, 5, 1, 32])
b_conv1 = bias_variable([32])
x_image = tf.reshape(x,[-1,28,28,1])
h_conv1 = tf.nn.relu(conv2d(x_image,W_conv1) + b_conv1)
h_pool1 = max_pool_2x2(h_conv1)
W_conv2 = weight_variable([5, 5, 32, 64])
b_conv2 = bias_variable([64])
h_conv2 = tf.nn.relu(conv2d(h_pool1, W_conv2) + b_conv2)
h_pool2 = max_pool_2x2(h_conv2)
W_fc1 = weight_variable([7 * 7 * 64, 1024])
b_fc1 = bias_variable([1024])
h_pool2_flat = tf.reshape(h_pool2, [-1, 7*7*64])
h_fc1 = tf.nn.relu(tf.matmul(h_pool2_flat, W_fc1) + b_fc1)
keep_prob = tf.placeholder("float")
h_fc1_drop = tf.nn.dropout(h_fc1, keep_prob)
W_fc2 = weight_variable([1024, 10])
b_fc2 = bias_variable([10])
y_conv=tf.nn.softmax(tf.matmul(h_fc1_drop, W_fc2) + b_fc2)
cross_entropy = -tf.reduce_sum(y_*tf.log(y_conv))
train_step = tf.train.AdamOptimizer(1e-4).minimize(cross_entropy)
correct_prediction = tf.equal(tf.argmax(y_conv,1), tf.argmax(y_,1))
accuracy = tf.reduce_mean(tf.cast(correct_prediction, "float"))
saver = tf.train.Saver()
with tf.Session() as sess:
sess.run(tf.global_variables_initializer())
saver.restore(sess, "C:/Users/考拉拉/Desktop/SAVE/model.ckpt") #使用模型,引數和之前的程式碼保持一致
prediction=tf.argmax(y_conv,1)
predint=prediction.eval(feed_dict={x: [result],keep_prob: 1.0}, session=sess)
print('識別結果:')
print(predint[0])
這是我的test.py程式碼,用於讀取剛才儲存的模型-匯入測試圖片-測試輸出結果
三.製作測試圖片
我們的模型需要輸入的是28 X 28畫素的手寫體數字圖片,如果圖片尺寸不等於28 X 28,可以參照上一篇部落格用opencv進行處理。
這裡,為了方便,我使用PS製作。
這裡,需要大家按照我的步驟進行繪製,不然會出現一些問題,在文章末尾我會為大家總結避坑。
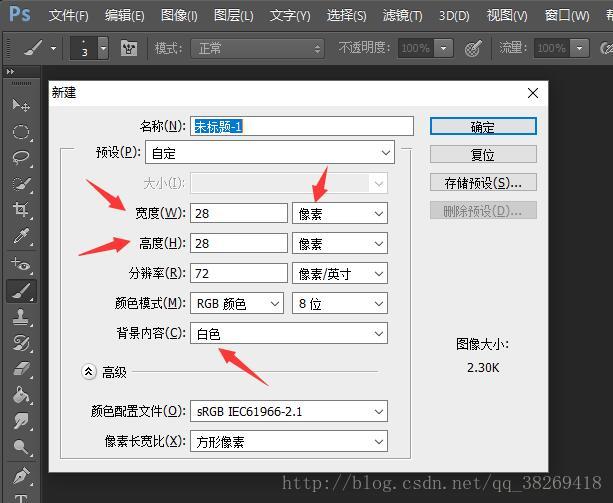
第一步:開啟ps建立畫素為28 X 28的畫布,填充白色如圖
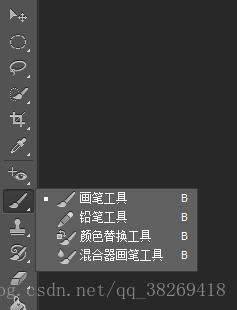
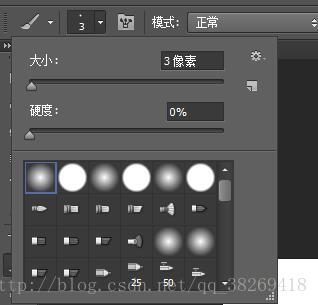
第二步:找到畫筆工具,使用柔邊畫筆,三畫素,進行圖片繪製(前景色黑/背景色白)
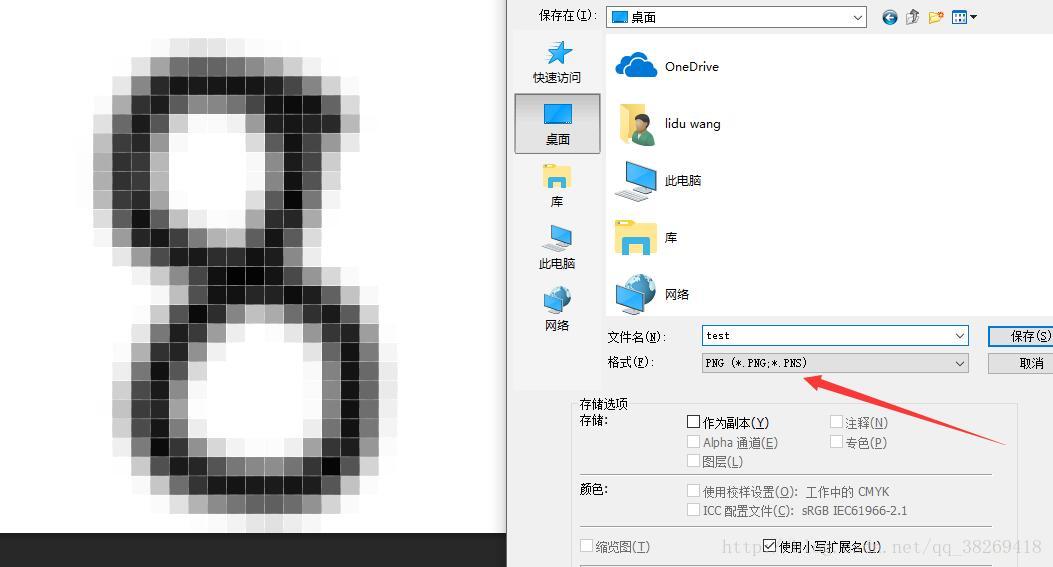
第三步:繪製的圖片另存為格式png(png相對jpg,儲存資訊更完整)
第四步:更改test.py讀取為要測試圖片的路徑,然後執行

大功告成
問題總結:
一.為什麼要用3畫素柔邊畫筆?(不一定要3,隨便你)
之前我用的小方塊繪製測試圖片,做了很多測試,可是發現正確率很低,很容易出錯,我做的圖片如圖:
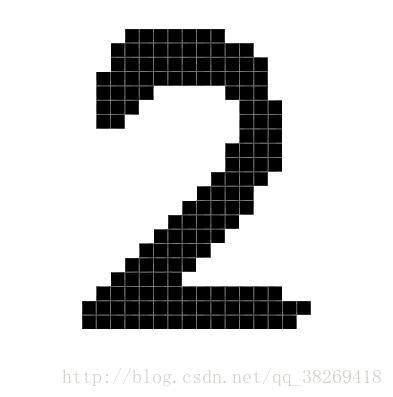
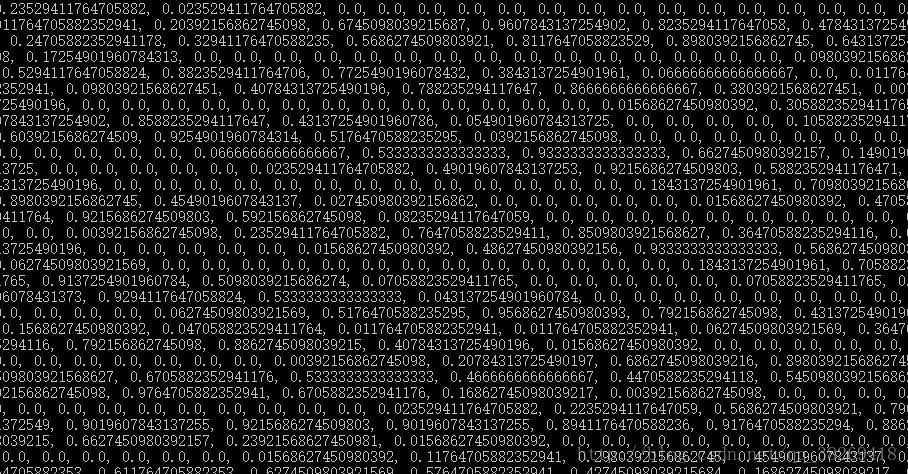
困擾了我很久,我忽然想到MNIST是手寫體文字,那麼手寫體和我畫的圖有什麼區別呢?我將處理後的每個畫素儲存的值輸出:
手寫體:
我做的圖:
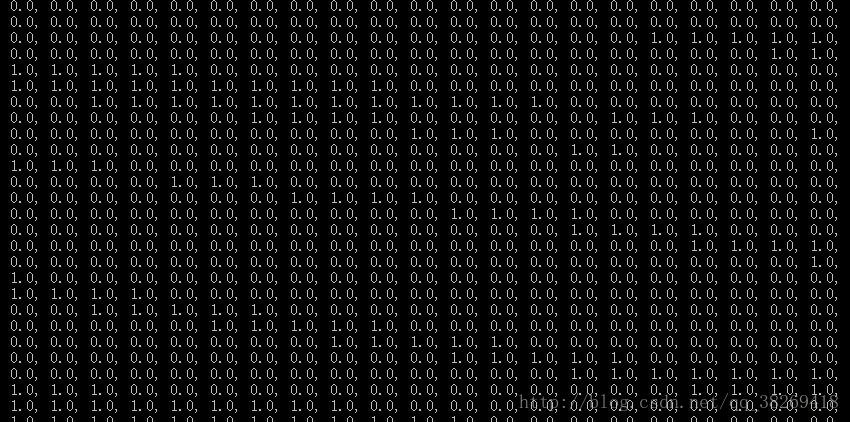
顯而易見,錯誤率是由於測試圖片不對導致的!
我們訓練的MNIST注意是手寫體,手寫體並不是我畫的圖那樣只存在0和1兩個數值,而是處在0~1之間的一個值如圖:
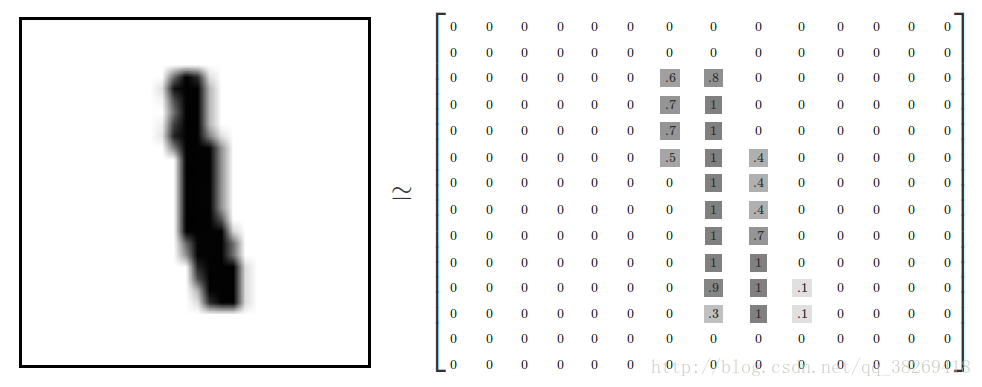
而如果,訓練資料是二值圖(MNIST資料集也可以通過閾值處理轉化為二值圖)。那麼我輸出這種二值圖圖片,當然,機器是不會出錯的啦。
二.關於西方手寫體和東方手寫體
但我解決了上一個問題後,我發現準確率還是不能保證上去,特別是5,6傻傻分不清如圖:
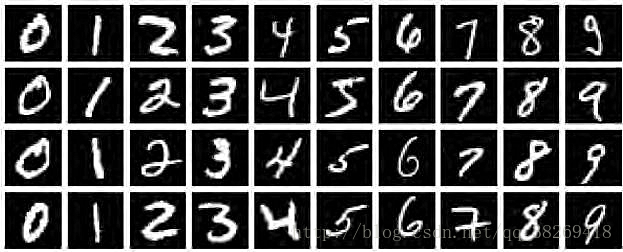
於是,我搜索部分了訓練用的MNIST資料集(仔細看6):
我他孃的義大利。。。。。。面呢。。。。
於是乎,我重新畫了許多張西方手寫體的6:
基本不會出錯了

三.關於3.6和2.7的print上面已經介紹了
四.其他關於識別率的問題,大多都是尺寸,格式之類的問題了
其他什麼地方有問題,歡迎評論區指正