
iOS 圖片背景模糊效果
阿新 • • 發佈:2019-01-11
1.使用CoreImage中的模糊濾鏡
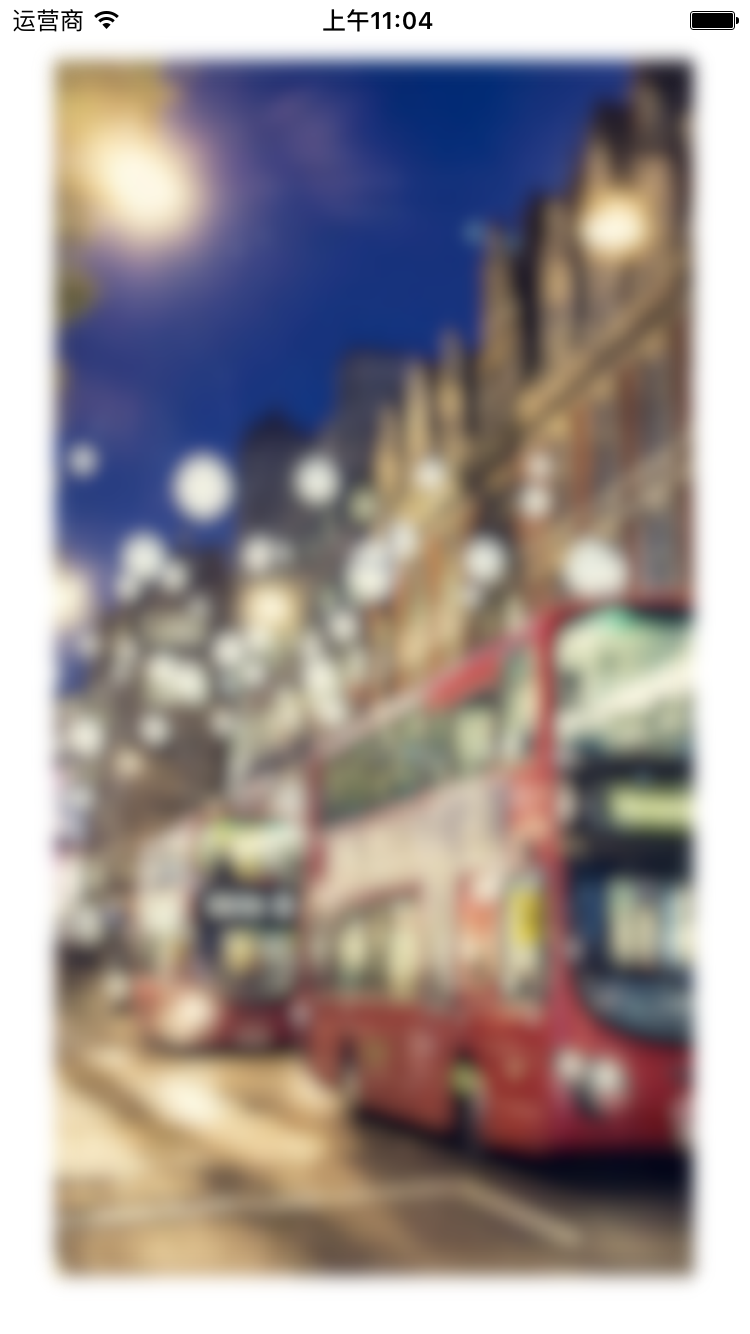
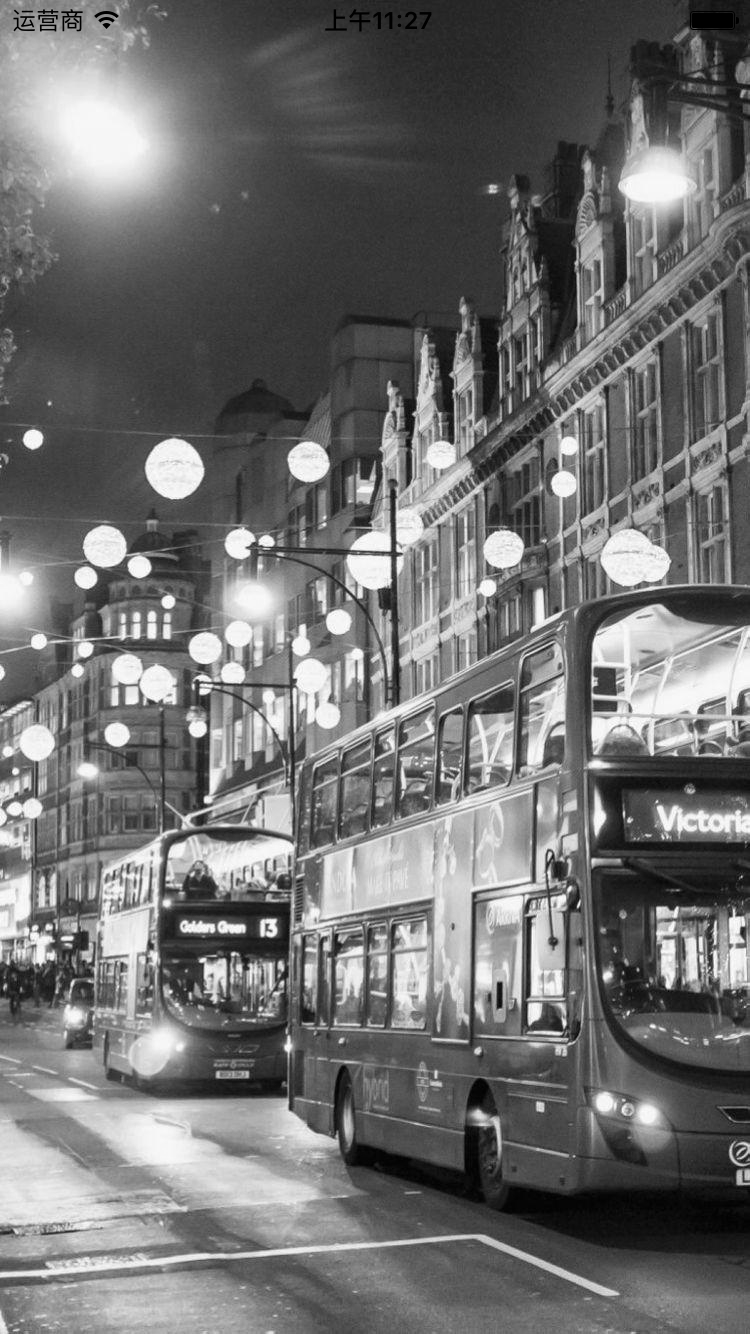
原始效果圖如下:

CoreImage的實現:
- (void)viewDidLoad {
[super viewDidLoad];
// Do any additional setup after loading the view, typically from a nib.
UIImage * image = [UIImage imageNamed:@"icon"];
/*..CoreImage中的模糊效果濾鏡..*/
//CIImage,相當於UIImage,作用為獲取圖片資源
CIImage * ciImage = [[CIImage alloc]initWithImage:image
];
//CIFilter,高斯模糊濾鏡 [blurFilter attributes]列印結果如下:
//引數以及一些相關的資訊,如果不做任何的設定,預設程度為10( CIAttributeDefault = 10);
{
"CIAttributeFilterAvailable_Mac" = "10.4";
"CIAttributeFilterAvailable_iOS" = 6;
CIAttributeFilterCategories = (
CICategoryBlur,
CICategoryStillImage,
CICategoryVideo,
CICategoryBuiltIn
);
CIAttributeFilterDisplayName = "Gaussian Blur";
CIAttributeFilterName = CIGaussianBlur;
CIAttributeReferenceDocumentation = "http://developer.apple.com/cgi-bin/apple_ref.cgi?apple_ref=//apple_ref/doc/filter/ci/CIGaussianBlur";
inputImage = {
CIAttributeClass = CIImage;
CIAttributeDescription = "The image to use as an input image. For filters that also use a background image, this is the foreground image.";
CIAttributeDisplayName = Image;
CIAttributeType = CIAttributeTypeImage;
};
inputRadius = {
CIAttributeClass = NSNumber;
CIAttributeDefault = 10;
CIAttributeDescription = "The radius determines how many pixels are used to create the blur. The larger the radius, the blurrier the result.";
CIAttributeDisplayName = Radius;
CIAttributeIdentity = 0;
CIAttributeMin = 0;
CIAttributeSliderMax = 100;
CIAttributeSliderMin = 0;
CIAttributeType = CIAttributeTypeScalar;
};
}
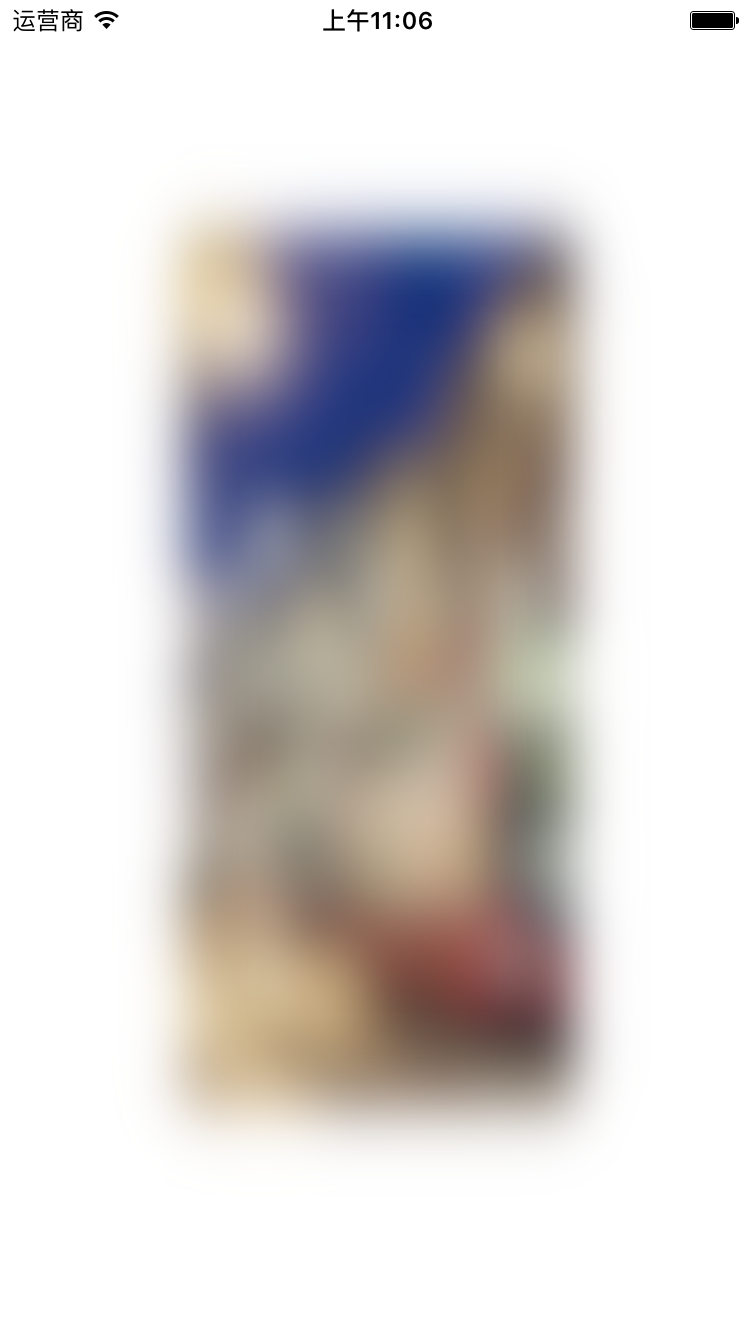
預設程度為10效果圖如下:
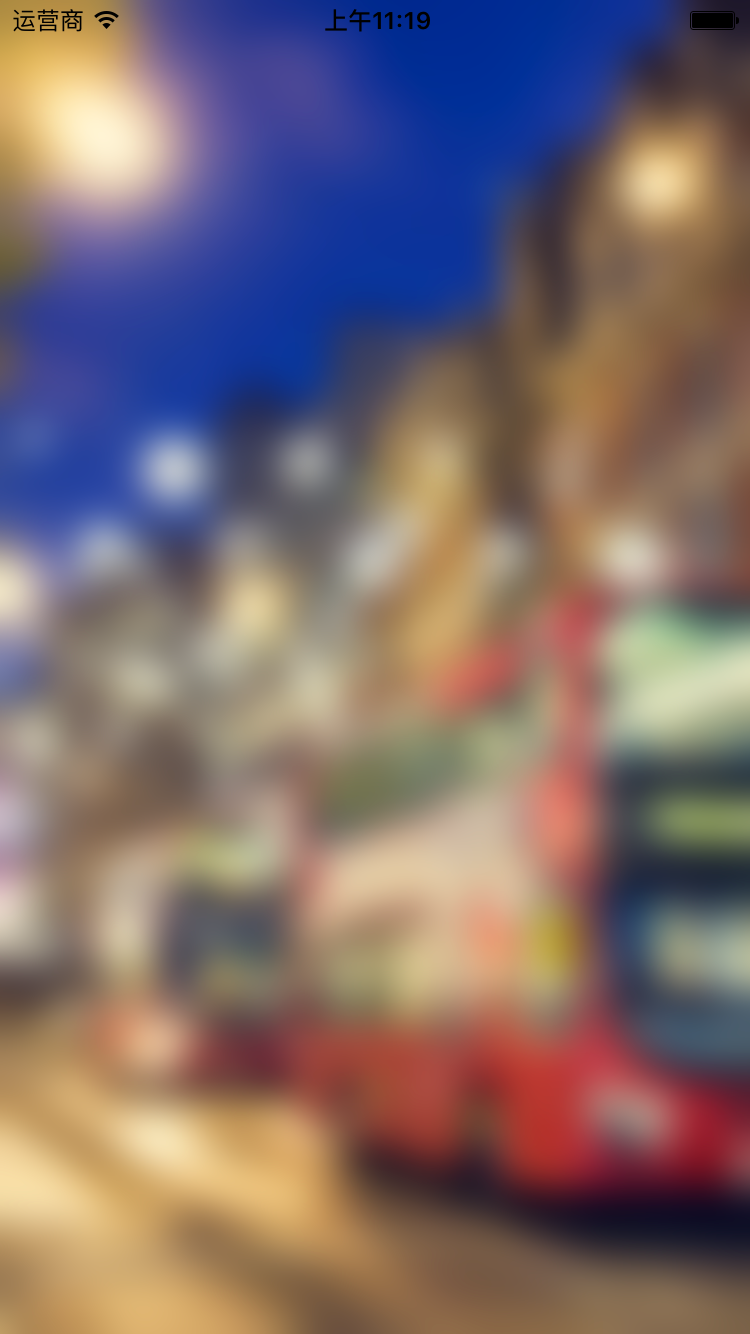
預設程度為50效果圖如下:
2.使用UIImage+ImageEffects
UIImage+ImageEffects的實現:
UIImage * image = [UIImage imageNamed:@"icon"];
//模糊效果渲染耗費時間,建議在子執行緒中渲染
//對圖片進行模糊
UIImage * blurImage = [image blurImage];
//設定模糊度
UIImage * blurImage1 = [image blurImageWithRadius:10];
//設定區域性模糊度
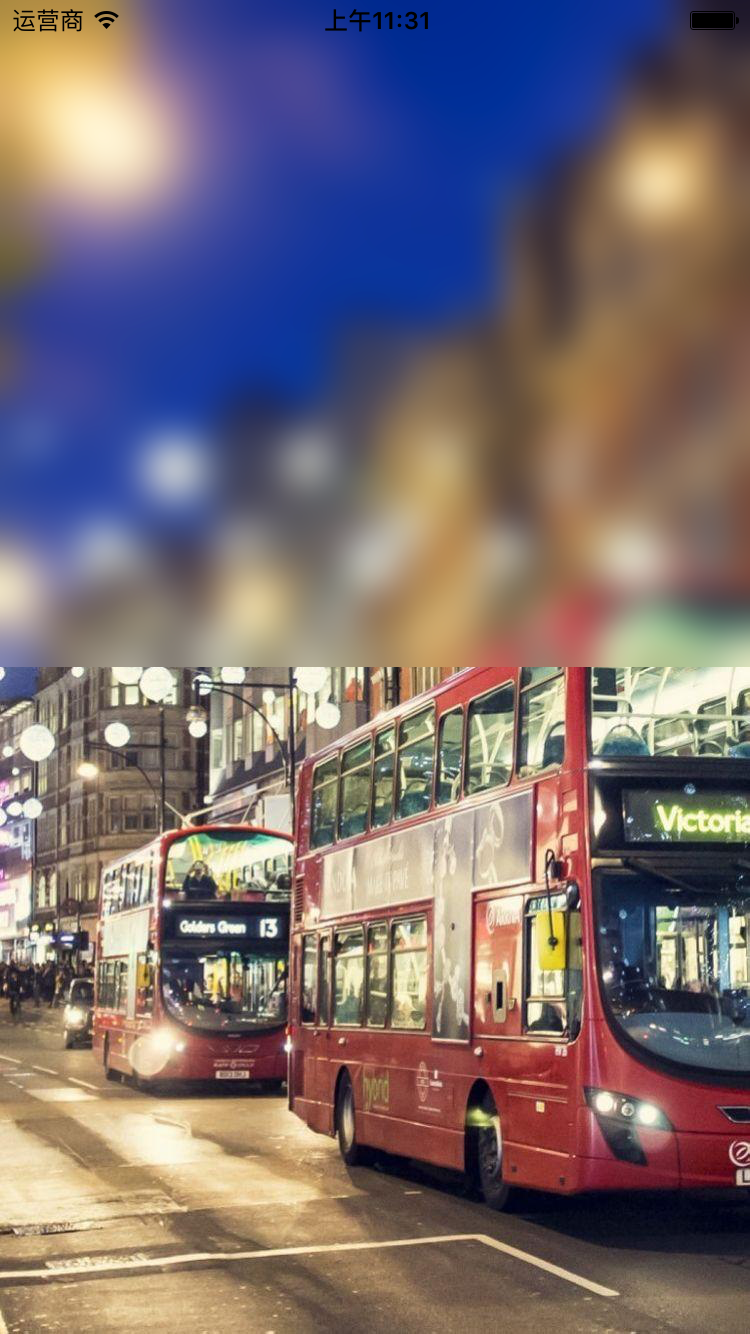
UIImage * blurImage2 = [image blurImageAtFrame:CGRectMake(0, 0, image.size.width, image.size.height/2)];
//灰度效果
UIImage * blurImage3 = [image grayScale];
/*其他的一些方法,可以自己嘗試使用
//固定寬度與固定高度
- (UIImage *)scaleWithFixedWidth:(CGFloat)width;
- (UIImage *)scaleWithFixedHeight:(CGFloat)height;
//平均的顏色
- (UIColor *)averageColor;
//裁剪圖片的一部分
- (UIImage *)croppedImageAtFrame:(CGRect)frame;
*/
UIImageView * imageView = [[UIImageView alloc]initWithFrame:self.view.bounds];
imageView.image = blurImage;
[self.view addSubview:imageView];
效果圖分別如下:
//區域性模糊
//灰色
3.使用UIVisualEffectView
注意:UIVisualEffectView只適用使用者iOS 8或以上,才可以使用8以下則不能使用;
UIVisualEffectView的實現:
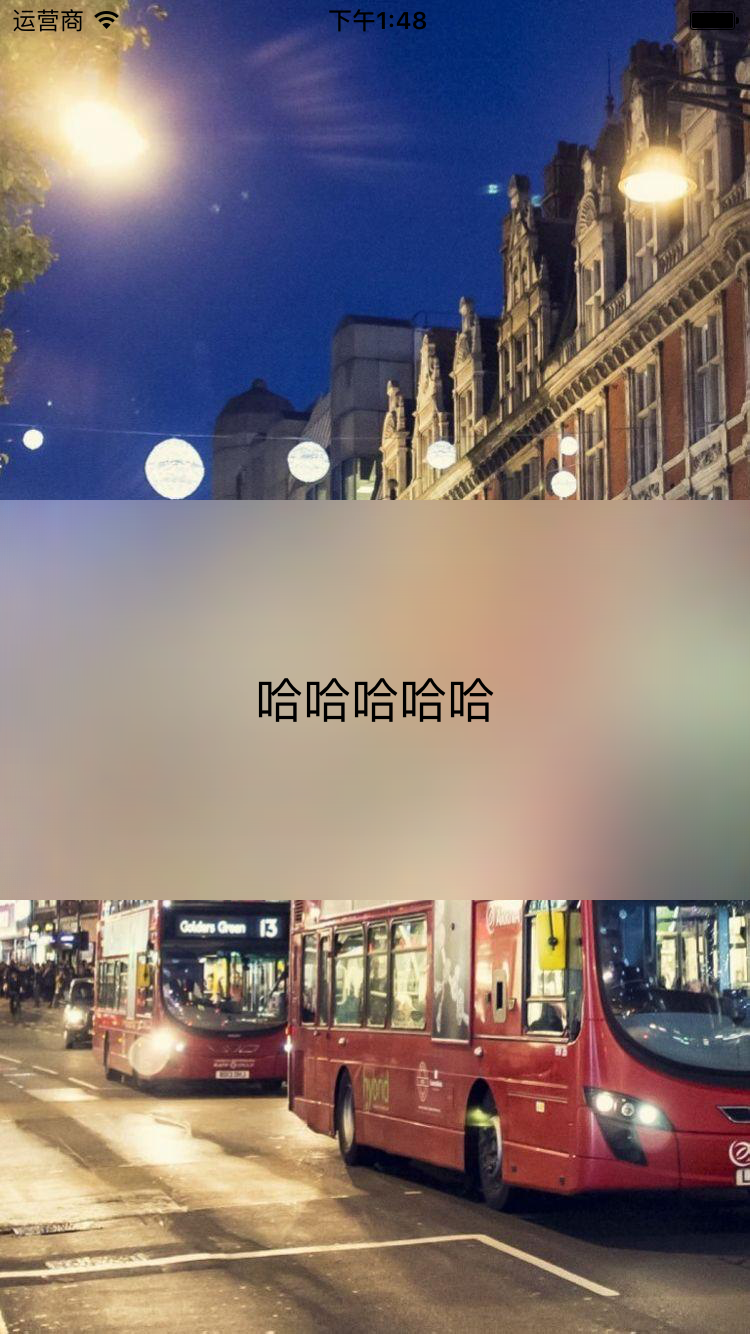
1.直接將文字內容加在effectView(該情況下的文字內容不能與背景相符應);
UIImage * image = [UIImage imageNamed:@"icon"];

    UIImageView * imageView = [[UIImageView alloc]initWithFrame:self.view.bounds];
    imageView.image = image;
    [self.view addSubview:imageView];

    UIBlurEffect * blur = [UIBlurEffect effectWithStyle:UIBlurEffectStyleLight];
    //建立模糊view
    UIVisualEffectView * effectView = [[UIVisualEffectView alloc]initWithEffect:blur];
    effectView.frame = CGRectMake(0, 250, imageView.frame.size.width, 200);
    [imageView addSubview:effectView];

    //新增顯示文字
    UILabel * lable = [[UILabel alloc]initWithFrame:effectView.bounds];
    lable.text = @"哈哈哈哈哈";
    lable.textAlignment = NSTextAlignmentCenter;
    lable.font = [UIFont systemFontOfSize:24];
    [effectView.contentView addSubview:lable];
效果圖如下:
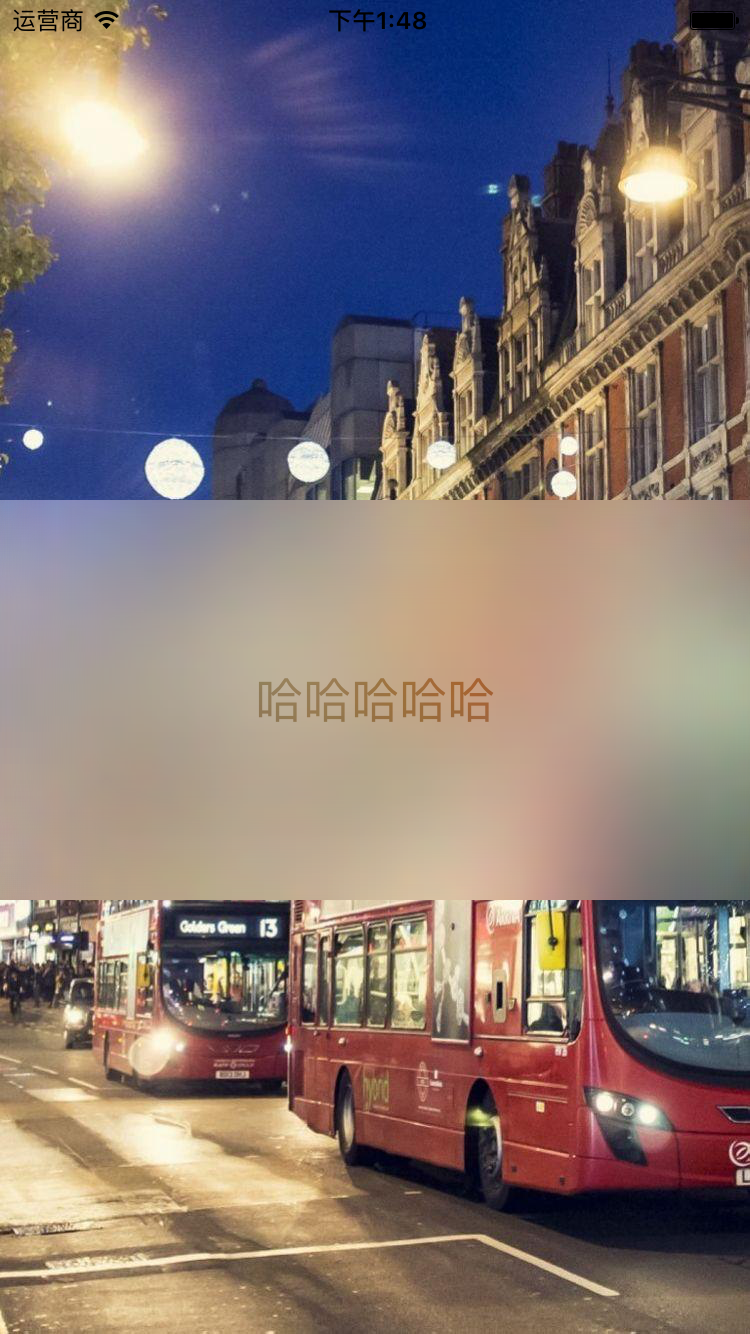
2.加在effectView的子view中使文字與背景相符應;
UIImage * image = [UIImage imageNamed:@"icon"];

    UIImageView * imageView = [[UIImageView alloc]initWithFrame:self.view.bounds];
    imageView.image = image;
    [self.view addSubview:imageView];

    UIBlurEffect * blur = [UIBlurEffect effectWithStyle:UIBlurEffectStyleLight];
    //建立模糊view
    UIVisualEffectView * effectView = [[UIVisualEffectView alloc]initWithEffect:blur];
    effectView.frame = CGRectMake(0, 250, imageView.frame.size.width, 200);
    [imageView addSubview:effectView];

    //新增顯示文字
    UILabel * lable = [[UILabel alloc]initWithFrame:effectView.bounds];
    lable.text = @"哈哈哈哈哈";
    lable.textAlignment = NSTextAlignmentCenter;
    lable.font = [UIFont systemFontOfSize:24];

    //建立模糊子view的UIVisualEffectView

    //1.創建出子模糊view
    UIVisualEffectView * subEffectView = [[UIVisualEffectView alloc]initWithEffect:[UIVibrancyEffect effectForBlurEffect:(UIBlurEffect *)effectView.effect]];

    //2.設定尺寸
    subEffectView.frame = effectView.bounds;

    //3.將子模糊view新增到effectView的contentView才能夠生效
    [effectView.contentView addSubview:subEffectView];

    //4.新增要顯示的view來達到特殊的效果
    [subEffectView.contentView addSubview:lable];
效果圖如下:
4.下載圖片後自動模糊效果
程式碼的實現:
建立一個UIView的子類,命名為BlurDownloadPicView;
BlurDownloadPicView.h的裡面內容:
#import <UIKit/UIKit.h>

@interface BlurDownloadPicView : UIView
//圖片下載地址
@property (nonatomic, strong)NSString * picUrl;
//圖片顯示的方式
@property (nonatomic)UIViewContentMode contentMode;

//開始執行
- (void)startProgress;

@end
BlurDownloadPicView.m的裡面內容:
#import "BlurDownloadPicView.h"
#import "GCD.h"
#import "UIImage+ImageEffects.h"

@interface BlurDownloadPicView ()
@property (nonatomic, strong)UIImageView * imageView;

@end

@implementation BlurDownloadPicView

- (instancetype)initWithFrame:(CGRect)frame
{
    self = [super initWithFrame:frame];
    if (self) {
        [self loadSubViews];
    }
    return self;
}
- (void)loadSubViews
{
    self.imageView = [[UIImageView alloc]initWithFrame:self.bounds];
    self.imageView.alpha = 0;
    [self addSubview:self.imageView];
}


- (void)startProgress
{
    if (self.picUrl) {


        [GCDQueue executeInGlobalQueue:^{
            //建立請求
            NSURLRequest * request = [NSURLRequest  requestWithURL:[NSURL URLWithString:self.picUrl]];

            //因為是同步請求,會阻塞主執行緒(mainQueue)
            NSData * data = [NSURLConnection sendSynchronousRequest:request returningResponse:nil error:nil];

            //獲取圖片
            UIImage * image = [[UIImage alloc]initWithData:data];

            //對圖片進行模糊,會阻塞主執行緒(mainQueue)
            UIImage * blurImage = [image blurImage];

            [GCDQueue executeInMainQueue:^{
                //載入圖片
                self.imageView.image = blurImage;

                [UIView animateWithDuration:1 animations:^{
                    self.imageView.alpha = 1;
                }];
            }];
        }];

    }
}
//重寫set,get方法
-(void)setContentMode:(UIViewContentMode)contentMode
{
    self.contentMode  = contentMode;
    self.imageView.contentMode = contentMode;
}
- (UIViewContentMode)contentMode
{
    return self.contentMode;
}
在ViewController.m裡面的實現;
引入#import “BlurDownloadPicView.h”標頭檔案
在viewDidLoad裡面的程式碼實現
- (void)viewDidLoad {
    [super viewDidLoad];
  NSString * picUrl = @"http://i4.download.fd.pchome.net/g1/M00/0D/1C/oYYBAFTEeAmIWRXgAAKhY5iKdP8AACP_QP4y0IAAqF7878.jpg";

    BlurDownloadPicView * blurPicView = [[BlurDownloadPicView alloc]initWithFrame:self.view.bounds];
    [self.view addSubview:blurPicView];
    blurPicView.picUrl = picUrl;
    [blurPicView startProgress];
}
效果圖如下:
