
ssd目標檢測整理
ssd多目標檢測:
https://github.com/ex4sperans/SSD
https://github.com/georgesung/ssd_tensorflow_traffic_sign_detection
The model was trained on the LISA Traffic Sign Dataset, a dataset of US traffic signs.
Dependencies
- Python 3.5+
- TensorFlow v0.12.0
- Pickle
- OpenCV-Python
- Matplotlib (optional)
How to run
Clone this repository somewhere, let's refer to it as $ROOT
To run predictions using the pre-trained model:
cd $ROOTpython inference.py -m demo- This will take the images from sample_images, annotate them, and display them on screen
- To run predictions on your own images and/or videos, use the
-iflag in inference.py (see the code for more details)- Note the model severly overfits at this time
Training the model from scratch:
- Download the LISA Traffic Sign Dataset, and store it in a directory
$LISA_DATA cd $LISA_DATA- Follow instructions in the LISA Traffic Sign Dataset to create 'mergedAnnotations.csv' such that only stop signs and pedestrian crossing signs are shown
cp $ROOT/data_gathering/create_pickle.py $LISA_DATApython create_pickle.pycd $ROOTln -s $LISA_DATA/resized_images_* .ln -s $LISA_DATA/data_raw_*.p .python data_prep.py- This performs box matching between ground-truth boxes and default boxes, and packages the data into a format used later in the pipeline
python train.py- This trains the SSD model
python inference.py -m demo
Differences between original SSD implementation
Obivously, we are only detecting certain traffic signs in this implementation, whereas the original SSD implemetation detected a greater number of object classes in the PASCAL VOC and MS COCO datasets. Other notable differences are:
- Uses AlexNet as the base network
- Input image resolution is 400x260
- Uses a dynamic scaling factor based on the dimensions of the feature map relative to original image dimensions
Performance
As mentioned above, this SSD implementation was able to achieve 40-45 fps on a GTX 1080 with an Intel Core i7 6700K.
The inference time is the sum of the neural network inference time, and Non-Maximum Suppression (NMS) time. Overall, the neural network inference time is significantly less than the NMS time, with the neural network inference time generally between 7-8 ms, whereas the NMS time is between 15-16 ms. The NMS algorithm implemented here has not been optimized, and runs on CPU only, so further effort to improve performance can be done there.
Dataset characteristics
The entire LISA Traffic Sign Dataset consists of 47 distinct traffic sign classes. Since we are only concered with a subset of those classes, we only use a subset of the LISA dataset. Also, we ignore all training samples where we do not find a matching default box, further reducing our dataset's size. Due to this process, we end up with very little data to work with.
In order to improve on this issue, we can perform image data augmentation, and/or pre-train the model on a larger dataset (e.g. VOC2012, ILSVRC)
Training process
Given the small size of our pruned dataset, I chose a train/validation split of 95/5. The model was trained with Adadelta optimizers, with the default parameters provided by TensorFlow. The model was trained over 200 epochs, with a batch size of 32.
Areas of improvement
There are multiple potential areas of improvement in this project:
- Pre-train the model on VOC2012 and/or ILSVRC
- Image data augmentation
- Hyper-parameter tuning
- Optimize NMS alogorithm, or leverage existing optimized NMS algorithm
- Implement and report mAP metric
- Try different base networks
- Expand to more traffic sign classes
ssd_tensorflow
Single Shot Multibox Detector (SSD) (paper) implementation in TensorFlow, in development.
Results of some hand-picked test images through an experimental run with MS COCO, some good and some bad:
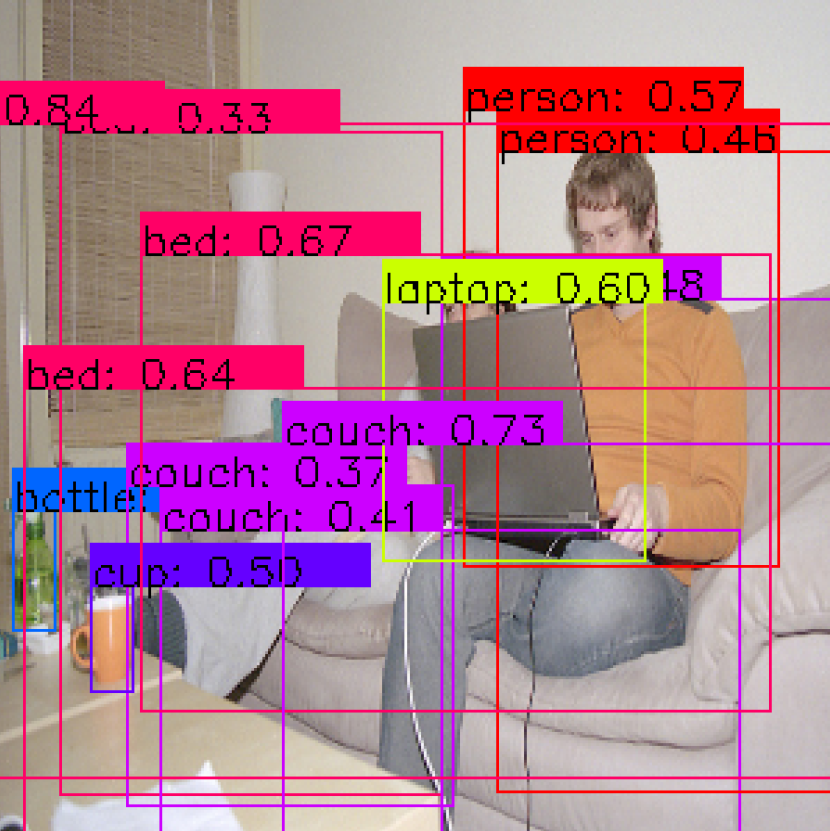
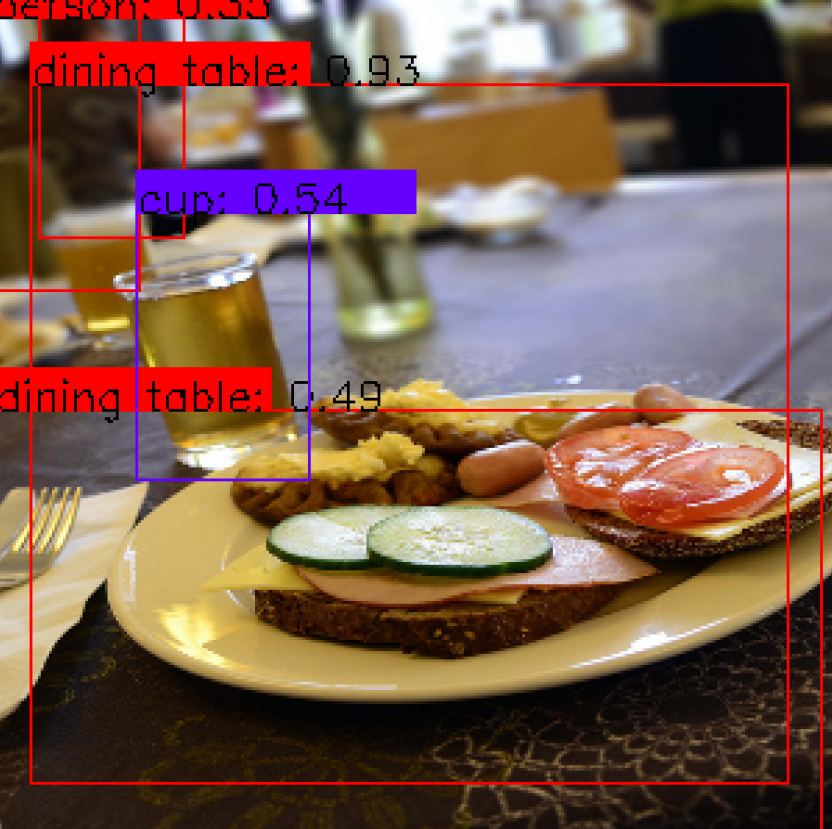
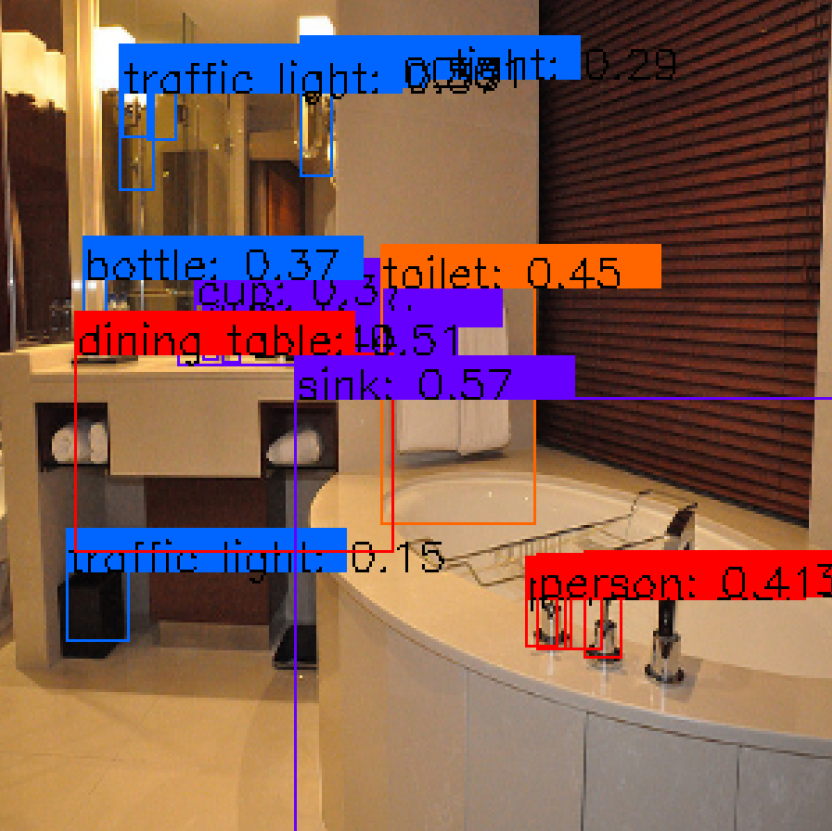
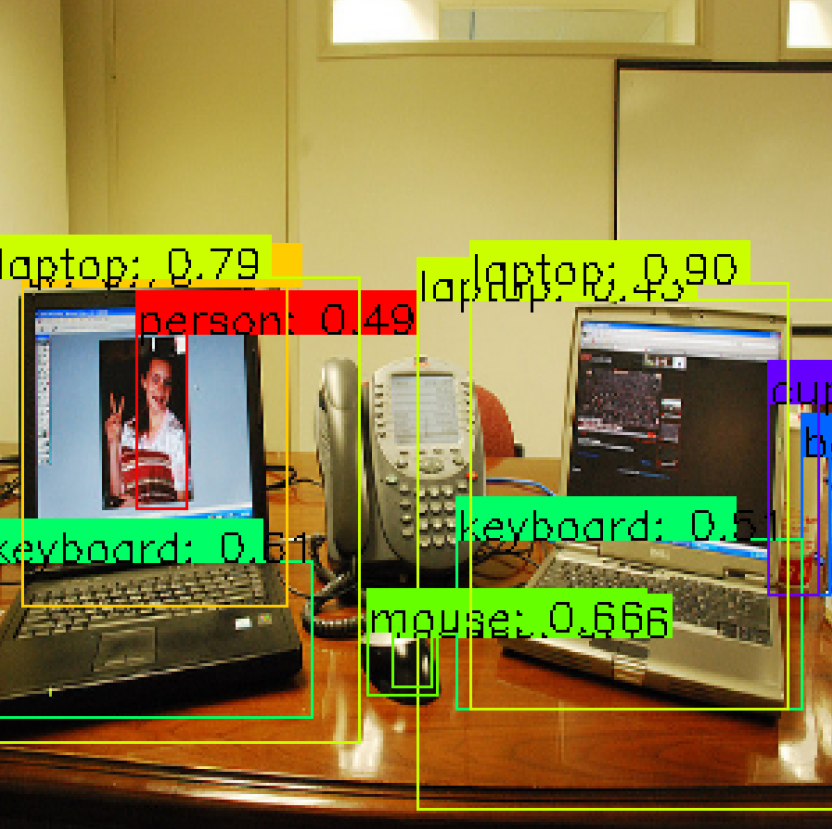
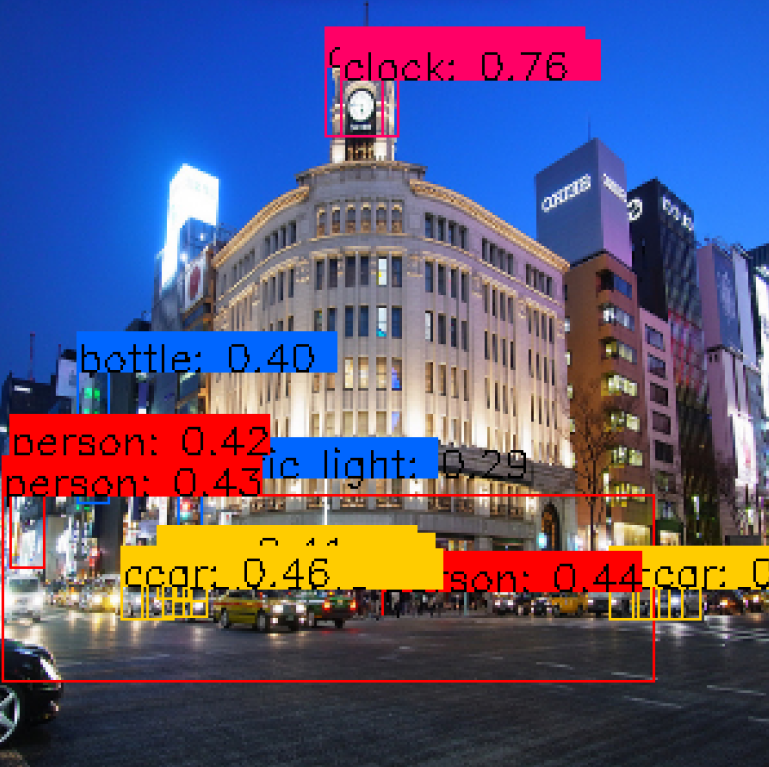
Just looking through them, the results are okay but not good enough.
However, there are still major things needed to do that was done in the original paper for COCO but not here:
- Train on 500x500 images (this was 300x300)
- Use COCO trainval (this was only train)
- Use batch size 32 (this was only 8)
Other major improvements needed:
- Implement proper evaluation (mAP)
- Optimize training (currently pretty slow)
Concerns:
- Simple momentum optimizer stopped working (stopped converging) at some point during development, but adding batch normalization made it work again
Dependencies
- TensorFlow
- OpenCV
- MS COCO tools
Basic Instructions
- This project is still under development--it's especially slow, but here are some instructions anyway.
-
You need vgg16.npy from this repository, which is what I used for the base network. Unfortunately, it's a big file, and for now it's just uploaded to Mega, so you might need an account. Direct link to npy
-
For now, the code uses and depends on MS COCO. You need the MS COCO dataset from here. You should at least have the 2014 training images and corresponding 2014 train/val object instance annotations.
-
Download and install COCO tools from here
-
Change the COCO paths in coco_loader.py
-
Test or train with trainer.py
相關推薦
ssd目標檢測整理
ssd多目標檢測: https://github.com/ex4sperans/SSD https://github.com/georgesung/ssd_tensorflow_traffic_sign_detection The model was train
SSD 目標檢測演算法詳細總結分析(one-stage)(深度學習)(ECCV 2016)
論文名稱:《 SSD: Single Shot MultiBox Detector 》 論文下載:https://arxiv.org/pdf/1512.02325.pdf 論文程式碼:https://github.com/weiliu89/caffe/tree/ssd
SSD目標檢測(1):圖片+視訊內的物體定位(附原始碼)
一、SSD用於圖片物體的定位與檢測 SSD原理介紹這一篇部落格對我的幫助比較大,很詳細的介紹了SSD原理,送給大家做了解 1、下載SSD框架原始碼 1.1
使用SSD目標檢測c++介面編譯問題解決記錄
本來SSD做測試的Python介面用起來也是比較方便的,但是如果部署整合的話,肯定要用c++環境,於是動手鼓搗了一下。 編譯用的cmake,寫的CMakeList.txt,期間碰到一些小問題,簡單記錄一下問題以及解決方法。 當然前提是你本地的caffe環境沒啥問題。各種依賴都安好了。。 1.error: ‘A
SSD目標檢測演算法改進DSSD(反捲積)
轉自: https://blog.csdn.net/u010725283/article/details/79115477 論文:DSSD : Deconvolutional Single Shot Detector DSSD是2017年的CVPR
解讀SSD目標檢測方法
SSD是YOLO之後又一個引人注目的目標檢測結構,它沿用了YOLO中直接回歸 bbox和分類概率的方法,同時又參考了Faster R-CNN,大量使用anchor來提升識別準確度。通過把這兩種結構相結合,SSD保持了很高的識別速度,還能把mAP提升到較高的水平。 一、
SSD目標檢測原理
Preface 做目標檢測這塊的多關注哦~ Abstract 這篇文章在既保證速度,又要保證精度的情況下,提出了 SSD 物體檢測模型,與現在流行的檢測模型一樣,將檢測過程整個成一個 single deep neu
經典網路結構梳理:SSD目標檢測演算法。
SSD全稱:Single Shot MultiBox Detector 是2016年ICCV的一篇論文。是目前為止主要的目標檢測演算法。 演算法的主要優點: 1. 速度比Faster-Rcnn快,精度比YOLO高。(在兼顧速度的同時,精度也很高。在不同的測試集下
SSD目標檢測(2):如何製作自己的資料集(詳細說明附原始碼)
前言:因為要依賴上一章SSD目標檢測(1):圖片+視訊版物體定位(附原始碼)來訓練預測自己的資料集,所以建立自己的資料集是一個複雜且避不開的步驟,以下給出了製作自己的資料集所要經過的簡單步驟,而後也有更詳細的說明奉上。 VOC2007資料集簡介; 規定資料夾
SSD目標檢測論文簡讀
本文簡單綜合性地介紹一下SSD,SSD文章內容資訊較多,若有失誤之處,望能熱心指出,感謝. SSD框架介紹: 演算法的主網路結構是VGG16,將兩個全連線層改成卷積層(Conv6與Conv7)再增加4個卷積層構成網路結構。然後對6個特徵圖使用3*3卷積濾波器(k*
SSD目標檢測(3):使用自己的資料集做預測(詳細說明附原始碼)
前言:上兩章已經詳細介紹了SSD目標檢測(1):圖片+視訊版物體定位(附原始碼),SSD目標檢測(2):如何製作自己的資料集(詳細說明附原始碼)。由於SSD框架是開源的程式碼,自然有很多前輩研究後做了改進。我也不過是站在前輩的肩膀上才能完成這篇部落格,在這裡表示
為什麼SSD目標檢測演算法對小目標檢測的效果不好
在SSD演算法中,每個feature map的畫素點都會生成prior box,SSD通過prior box進而對feature map進行訓練。 文章中提到,SSD在訓練過程中,prior box與GroundTruth的之間ROI 達到0.5才會放到網路裡面進行訓練。大
製作SSD目標檢測模型需要的訓練資料並訓練SSD目標檢測模型
1構建 資料集 先來看一下我們構建資料集合應該是什麼樣的,假設總資料為1000張。 為了方便,我們將資料放在/home/bingolwang/data 資料夾下。/home/bingolwang/data/VOCdevkit 這個目錄下是VOC2007 VOC200
動手創建 SSD 目標檢測框架
卷積神經網絡 不變 cto not 深度 參考 flat args 進行 參考:單發多框檢測(SSD) 本文代碼被我放置在 Github:https://github.com/XinetAI/CVX/blob/master/app/detection/ssd.py 關於 S
TF專案實戰(基於SSD目標檢測)——人臉檢測1
SSD實戰——人臉檢測 Tensorflow 一 、人臉檢測的困難: 1. 姿態問題 2.不同種族人, 3.光照 遮擋 帶眼睛 4.視角不同 5. 不同尺度 二、 資料集介紹以及轉化VOC: 1. FDDB 2.WIDER Face (本實戰採用) 3.
學習筆記-目標檢測、定位、識別(RCNN,Fast-RCNN, Faster-RCNN,Mask-RCNN,YOLO,SSD 系列)
0. 前言 說到深度學習的目標檢測,就要提到傳統的目標檢測方法。 傳統的目標檢測流程: 1)區域選擇(窮舉策略:採用滑動視窗,且設定不同的大小,不同的長寬比對影象進行遍歷,時間複雜度高) 2)特徵提取(SIFT、HOG等;形態多樣性、光照變化多樣性、背景多樣性使得特徵魯棒性差)
計算機視覺之目標檢測一之SSD
目標檢測——SSD 編者:楊柳依依 日期:2018年9月27日 今天給大家介紹一篇目標檢測領域中經典的一篇論文,15年發表在ECCV。 1.背景知識 在介紹論文之前,我們先簡單瞭解下本文的思路和做法。 作者提出了一種單個深度神經網路來解決影象中的目標檢測的問題。這種方法
caffe-ssd使用預訓練模型做目標檢測
首先參考https://www.jianshu.com/p/4eaedaeafcb4 這是一個傻瓜似的目標檢測樣例,目前還不清楚圖片怎麼轉換,怎麼驗證,後續繼續跟進 模型測試(1)圖片資料集上測試 python examples/ssd/score_ssd_pascal.py 輸出為
快速小目標檢測--Feature-Fused SSD: Fast Detection for Small Objects
Feature-Fused SSD: Fast Detection for Small Objects 本文針對小目標檢測問題,對 SSD 模型進行了一個小的改進,將 contextual information 引入到 SSD 中 幫助SSD檢測小目標。 contextual inf
一文讀懂目標檢測 R-CNN Fast R-CNN Faster R-CNN YOLO SSD
分享一下我老師大神的人工智慧教程!零基礎,通俗易懂!http://blog.csdn.net/jiangjunshow 也歡迎大家轉載本篇文章。分享知識,造福人民,實現我們中華民族偉大復興!