
iOS學習筆記20-通過AirServer使用AirPlay映象並實現多螢幕顯示控制
1、使用AirServer軟體實現AirPlay
AirServer是一個極其強大的軟體,能夠通過軟體的方式完全實現Apple TV的功能。大家可以到Google之,有免費的試用版。下圖就是其圖示:

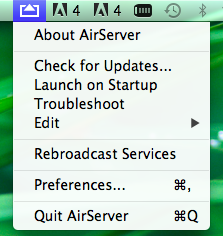
在安裝好AirServer後,開啟,可以看到標誌在Mac的工具欄上:
OK,接下來就是將iPhone與Mac連線起來,可以使用iPhone上的熱點,用Mac連線,或者在Mac上建立一個熱點,讓iPhone連線Wifi。
連線好之後,雙擊iPhoneHome鍵,拉到音量調節介面,如下:
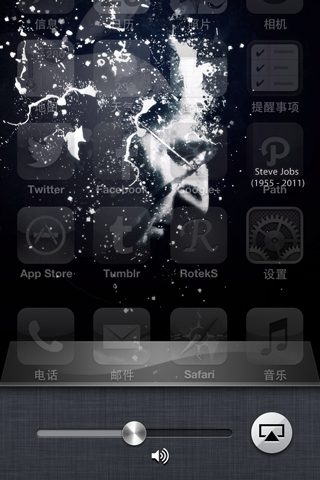
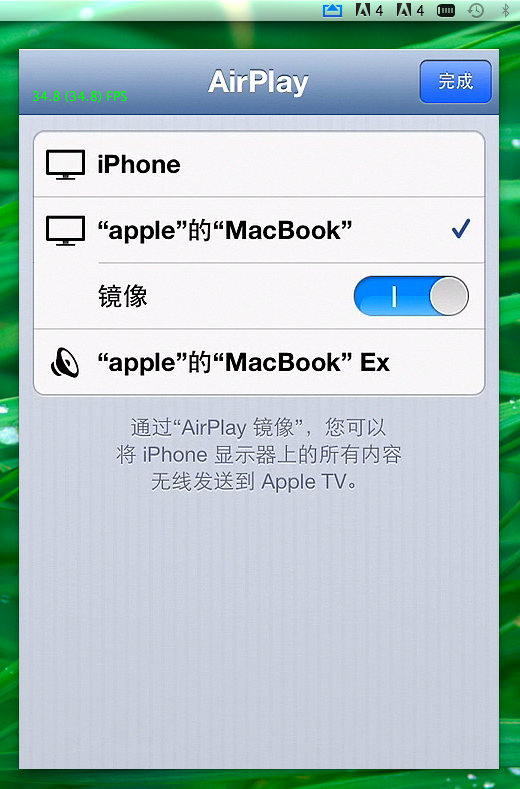
點選右邊的AirPlay按鍵,彈出設定介面:
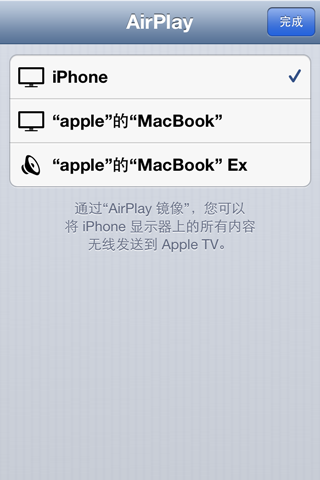
選擇第二個,也就是Mac:
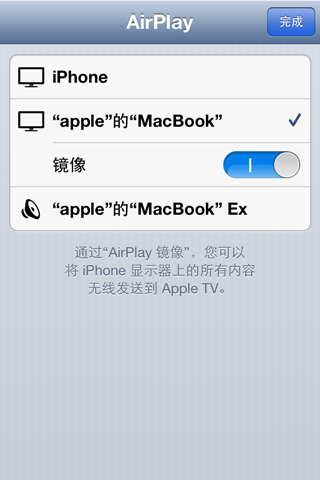
開啟映象,完成。這樣沒有錯誤的情況下,在Mac上就實現了AirPlay的映象,如下圖:
接下來你可以播放視訊,音樂來測試一下效果。如果有點卡的話,可以考慮重啟一下wifi,這樣傳輸速度會快一點。
2、程式設計實現多螢幕。
在可以使用AirPlay之後,我們要實現多螢幕,也就是在電腦上顯示的和iOS裝置上顯示的內容不一樣。
2.1 基本原理
獲取新的螢幕資訊--->建立一個新的Window--->將新的Window對應的Screen螢幕設定為新的螢幕--->設定新的螢幕的UI顯示
我們知道,一般情況下,我們在開發過程中只使用一個window(UIWindow),而且一般在AppDelegate檔案中建立,一般情況下我們甚至完全不用理會window。一樣的,screen(UIScreen)我們除了通過它來獲取一些螢幕資訊之外也不會做任何處理,比較螢幕也只有一塊。那麼現在要實現多螢幕就不一樣了。我們要建立新的window,獲取新的screen,並且將window和screen聯絡在一起,這樣要在這個window中顯示的內容就可以顯示在這個新的螢幕當中。
2.2 實現
STEP 1:檢查是否有多的螢幕存在,如果有,那麼直接設定。一般先在viewController中設定一個UIWindow和UIScreen的例項:
- @property (nonatomic,strong) UIWindow *externalWindow;
- @property (nonatomic,strong) UIScreen *externalScreen;
然後,檢查:
- - (void)checkForExistingScreenAndInitializeIfPresent
- {
- if ([UIScreen screens].count > 1) {
- self.externalScreen = [[UIScreen screens] objectAtIndex:1];
- NSLog(@"external screen :%@",self.externalScreen);
- CGRect screenBounds = self.externalScreen.bounds;
- self.externalWindow = [[UIWindow alloc] initWithFrame:screenBounds];
- self.externalWindow.screen = self.externalScreen;
- // Set the initial UI for the window for example
- {
- UILabel *screenLabel = [[UILabel alloc] initWithFrame:screenBounds];
- screenLabel.text = @"Screen 2";
- screenLabel.textAlignment = NSTextAlignmentCenter;
- screenLabel.font = [UIFont systemFontOfSize:100];
- UIViewController *externalViewController = [[UIViewController alloc] init];
- externalViewController.view.frame = screenBounds;
- [externalViewController.view addSubview:screenLabel];
- self.externalWindow.rootViewController = externalViewController;
- }
- self.externalWindow.hidden = NO;
- }
- }
在這裡通過screens Method來判斷是否螢幕數大於1,如果是意味著有別的螢幕連線到iOS裝置,這時獲取這個螢幕。
對於window初始化然後關鍵是要設定其Frame,一般就是設定成螢幕大小,全屏。然後將window的screen設定為外部螢幕。然後就可以進行window相關view,viewController的設定,上面的程式碼只是一個小例子。最後設定window 的hidden為NO。
對於上面這種情況,主要是針對iOS在啟動應用之前就已經AirPlay了,那麼,如果是啟動應用後才要開啟AirPlay呢?
當然有辦法------notification
STEP 2:Notification檢查螢幕的連線情況。
UIScreen有兩個notification可以檢查螢幕的連線情況:
UIScreenDidConnectNotification
UIScreenDidDisconnectNotification
一旦螢幕連線上或斷開iOS裝置,就會發出上面的notification。這樣就簡單了,設定一下:- [[NSNotificationCenter defaultCenter] addObserver:self selector:@selector(screenDidConnect:) name:UIScreenDidConnectNotification object:nil];
- [[NSNotificationCenter defaultCenter] addObserver:self selector:@selector(screenDidDisconnect:) name:UIScreenDidDisconnectNotification object:nil];
然後進行相關的處理。
- #pragma mark - Notifications Handler
- - (void)screenDidConnect:(NSNotification *)notification
- {
- NSLog(@"connect");
- self.externalScreen = notification.object;
- // Handle the configuration below......
- }
- - (void)screenDidDisconnect:(NSNotification *)notification
- {
- NSLog(@"disconnect");
- if (self.externalWindow) {
- self.externalWindow.hidden = YES;
- self.externalScreen = nil;
- self.externalWindow = nil;
- }
- }
這樣差不多就搞定了。基本上在iOS開發中主要是view的編輯,因為在新的螢幕中解析度不一樣,要進行特定的設定。