
Spring Cloud 入門教程(八): 服務鏈路追蹤(Spring Cloud Sleuth)(Greenwich.RELEASE)
阿新 • • 發佈:2019-07-13
參考連結:https://blog.csdn.net/forezp/article/details/81041078
一、準備工作
啟動kafka服務,啟動前面的 erurekaserver、config-server
二、安裝zipkinServer
下載地址:
https://dl.bintray.com/openzipkin/maven/io/zipkin/java/zipkin-server/
下載完成jar 包之後,執行即可:
java -jar zipkin-server-2.9.4-exec.jar
三、修改專案eurekaclient1
1、修改bootstrap.yml,新增 spring.zipkin.base-url: http://localhost:9411,如下:
server:
  port: 8762
spring:
  application:
    name: eurekaclient
  cloud:
    config:
      label: master
      profile: dev
      discovery:
        enabled: true
        service-id: config-server
    bus:
      refresh:
        enabled: true
      trace:
        enabled: true
  kafka:
    bootstrap-servers: 127.0.0.1:9092
  zipkin:
    base-url: http://localhost:9411
eureka:
  instance:
     instance-id: eurekaclient1
     appname: ${spring.application.name}
  client:
    serviceUrl:
      defaultZone: http://localhost:8761/eureka/
management:
  endpoints:
    web:
      exposure:
          include: '*'
  security:
    enabled: false
2、修改pom.xml,新增
<dependency>
	<groupId>org.springframework.cloud</groupId>
	<artifactId>spring-cloud-starter-zipkin</artifactId>
</dependency>
3、啟動專案 eurekaclient1
四、修改專案service-ribbon
1、修改application.yml,新增spring.zipkin.base-url: http://localhost:9411,如下:
server:
  port: 8764
spring:
  application:
    name: service-ribbon
  zipkin:
    base-url: http://localhost:9411
eureka:
  client:
    serviceUrl:
      defaultZone: http://localhost:8761/eureka/
2、修改pom.xml,新增:
<dependency>
	<groupId>org.springframework.cloud</groupId>
	<artifactId>spring-cloud-starter-zipkin</artifactId>
</dependency>
3、啟動專案
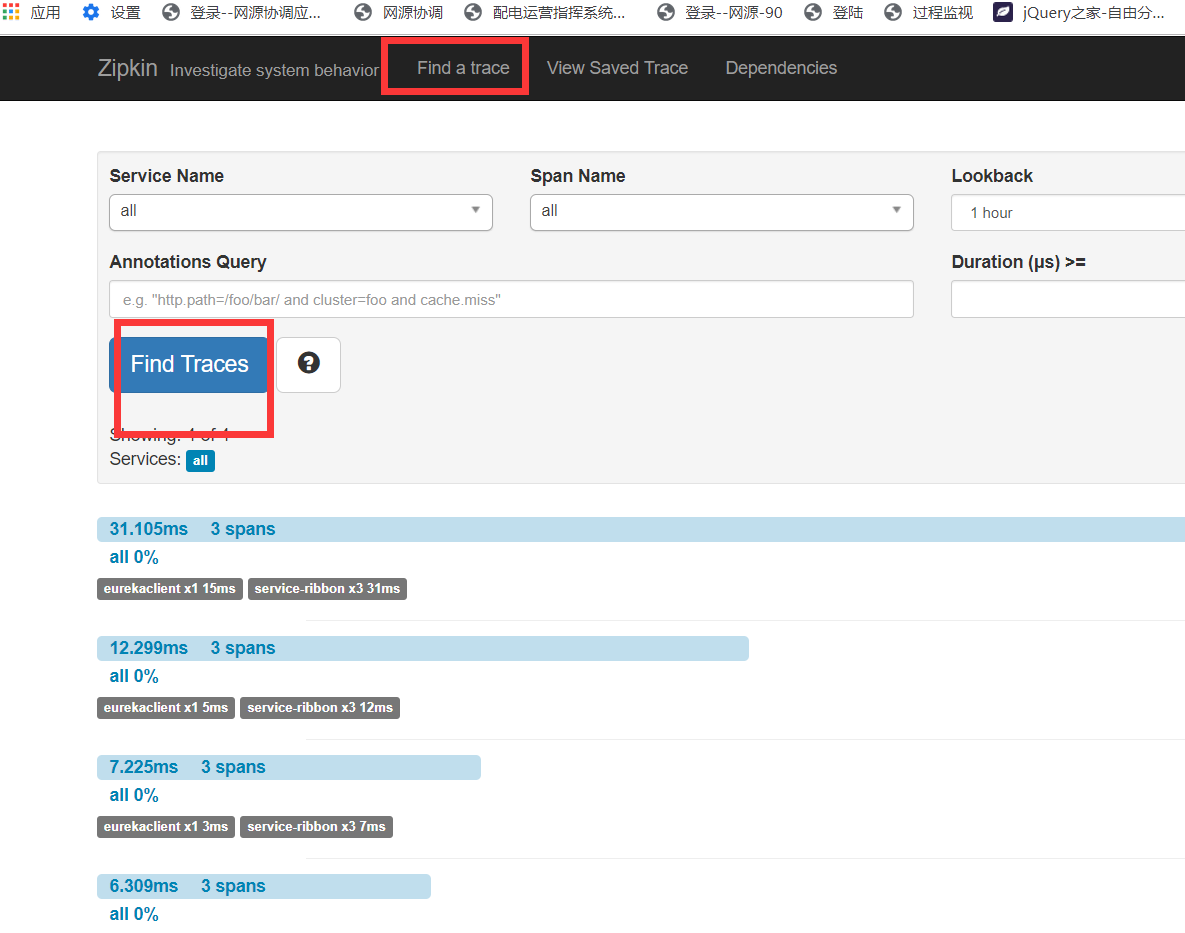
五、測試鏈路跟蹤
1、訪問 http://localhost:9411/zipkin/

2、訪問http://localhost:8764/hello (多重新整理幾次)

3、訪問http://localhost:9411/zipkin/
點選 Dependencies

上一篇:Spring Cloud 入門教程(七): 訊息匯流排(Spring Cloud Bus)(Greenwich.RELEASE