ELK部署logstash安裝部署及應用(二)
Logstash 安裝部署註意事項:
Logstash基本概念:
logstash收集日誌基本流程: input-->codec-->filter-->codec-->output
input:從哪裏收集日誌。
filter:發出去前進行過濾
output:輸出至Elasticsearch或Redis消息隊列
codec:輸出至前臺,方便邊實踐邊測試
數據量不大日誌按照月來進行收集
如果通過logstash來采集日誌,那麽每個客戶端都需要安裝logstash
安裝需要前置系統環境
安裝java
下載並安裝GPG key [[email protected]_agent yum.repos.d]# rpm --import https://packages.elastic.co/GPG-KEY-elasticsearch
配置yum倉庫
[[email protected]_agent yum.repos.d]# echo ‘[logstash-2.3]> name=Logstash repository for 2.3.x packages > baseurl=https://packages.elastic.co/logstash/2.3/centos> gpgcheck=1> gpgkey=https://packages.elastic.co/GPG-KEY-elasticsearch > enabled=1‘ >>/etc/yum.repos.d/logstash.repo
安裝logstash
[[email protected]_agent yum.repos.d]# yum install -y logstash
查看多種輸出輸出方式
實例1
[[email protected]_agent yum.repos.d]# /opt/logstash/bin/logstash -e ‘input { stdin{} } output { stdout{} }‘
輸出內容:
[[email protected]_agent yum.repos.d]# /opt/logstash/bin/logstash -e ‘input { stdin{} } output { stdout{} }‘OpenJDK 64-Bit Server VM warning: If the number of processors is expected to increase from one, then you should configure the number of parallel GC threads appropriately using -XX:ParallelGCThreads=N
Settings: Default pipeline workers: 1Pipeline main started
hello2017-06-27T04:10:21.010Z master_agent hello
hello word 2017-06-27T04:10:48.513Z master_agent hello wordquit2017-06-27T04:11:12.959Z master_agent quitexit2017-06-27T04:11:19.064Z master_agent exit實例2
[[email protected]_agent yum.repos.d]# /opt/logstash/bin/logstash -e ‘input { stdin{} } output { stdout{ codec => rubydebug} }‘
[[email protected]_agent yum.repos.d]# /opt/logstash/bin/logstash -e ‘input { stdin{} } output { stdout{ codec => rubydebug} }‘OpenJDK 64-Bit Server VM warning: If the number of processors is expected to increase from one, then you should configure the number of parallel GC threads appropriately using -XX:ParallelGCThreads=N
Settings: Default pipeline workers: 1Pipeline main started
hello word
{ "message" => "hello word", "@version" => "1", "@timestamp" => "2017-06-27T04:13:14.560Z", "host" => "master_agent"}實例3 不輸出在屏幕上,直接記錄在es裏
[[email protected]_agent yum.repos.d]# /opt/logstash/bin/logstash -e ‘input { stdin{} } output { elasticsearch { hosts => ["172.16.1.201:9200"] } }‘OpenJDK 64-Bit Server VM warning: If the number of processors is expected to increase from one, then you should configure the number of parallel GC threads appropriately using -XX:ParallelGCThreads=N
Settings: Default pipeline workers: 1Pipeline main started
hello word!!
Pipeline main has been shutdown實例5
記錄兩份,屏幕輸出一份、es記錄一份 [[email protected]_agent yum.repos.d]# /opt/logstash/bin/logstash -e ‘input { stdin{} } output { elasticsearch { hosts => ["172.16.1.201:9200"] } stdout{ codec => rubydebug } }‘
[[email protected]_agent yum.repos.d]# /opt/logstash/bin/logstash -e ‘input { stdin{} } output { elasticsearch { hosts => ["172.16.1.201:9200"] } stdout{ codec => rubydebug } }‘OpenJDK 64-Bit Server VM warning: If the number of processors is expected to increase from one, then you should configure the number of parallel GC threads appropriately using -XX:ParallelGCThreads=N
Settings: Default pipeline workers: 1Pipeline main started
hello fly salt
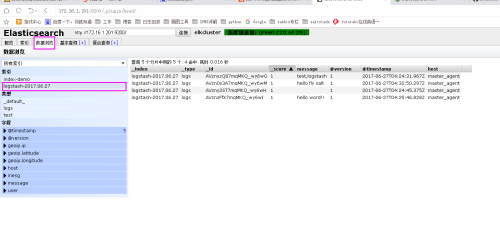
{ "message" => "hello fly salt", "@version" => "1", "@timestamp" => "2017-06-27T04:32:50.297Z", "host" => "master_agent"}查看web頁面記錄的內容

Logstash配置文件
配置Logstash,將創建一個配置文件,指定您想要使用的插件和設置為每個插件。 你可以參考事件字段在配置和使用條件符合一定時處理事件標準;當您運行logstash,你使用-f指定您的配置文件。 參考鏈接
實例如下:
[[email protected]_agent yum.repos.d]# vim /etc/logstash/conf.d/logstash.conf ##新建一個配置語法文件,讓輸入輸出標準化
input { stdin { } }output {
  elasticsearch { hosts => ["localhost:9200"] }  stdout { codec => rubydebug }
}
[[email protected]_agent yum.repos.d]# /opt/logstash/bin/logstash -f /etc/logstash/conf.d/logstash.conf ### 執行命令配置語法文件 手動輸入hao123.com,查看結果
[[email protected]_agent yum.repos.d]# /opt/logstash/bin/logstash -f /etc/logstash/conf.d/logstash.conf OpenJDK 64-Bit Server VM warning: If the number of processors is expected to increase from one, then you should configure the number of parallel GC threads appropriately using -XX:ParallelGCThreads=N
Settings: Default pipeline workers: 1Pipeline main started
hao123.com
{ "message" => "hao123.com", "@version" => "1", "@timestamp" => "2017-06-27T05:06:02.695Z", "host" => "master_agent"}input插件
官方鏈接
創建一個文件夾用於專門存放logfile配置文件 存放的路徑
[[email protected]_agent yum.repos.d]# mkdir -p /home/elk/logfile/
Input plugins file 收集實例:
編輯一個新的配置文件
[[email protected]_agent yum.repos.d]# mkdir -p /home/elk/logfile/[[email protected]_agent yum.repos.d]# cd /home/elk/logfile/[[email protected]_agent logfile]# ls[[email protected]_agent logfile]# vim file.conf
編寫配置文件內容
input {
        file {
                path => "/var/log/messages"   ###讀取log日誌文件路徑
                type => "system"                ### 設置個類型
                start_position => "beginning"   ### 從日誌最開始地方讀取
        }
}output {
        elasticsearch {
                hosts => ["172.16.1.201:9200"]
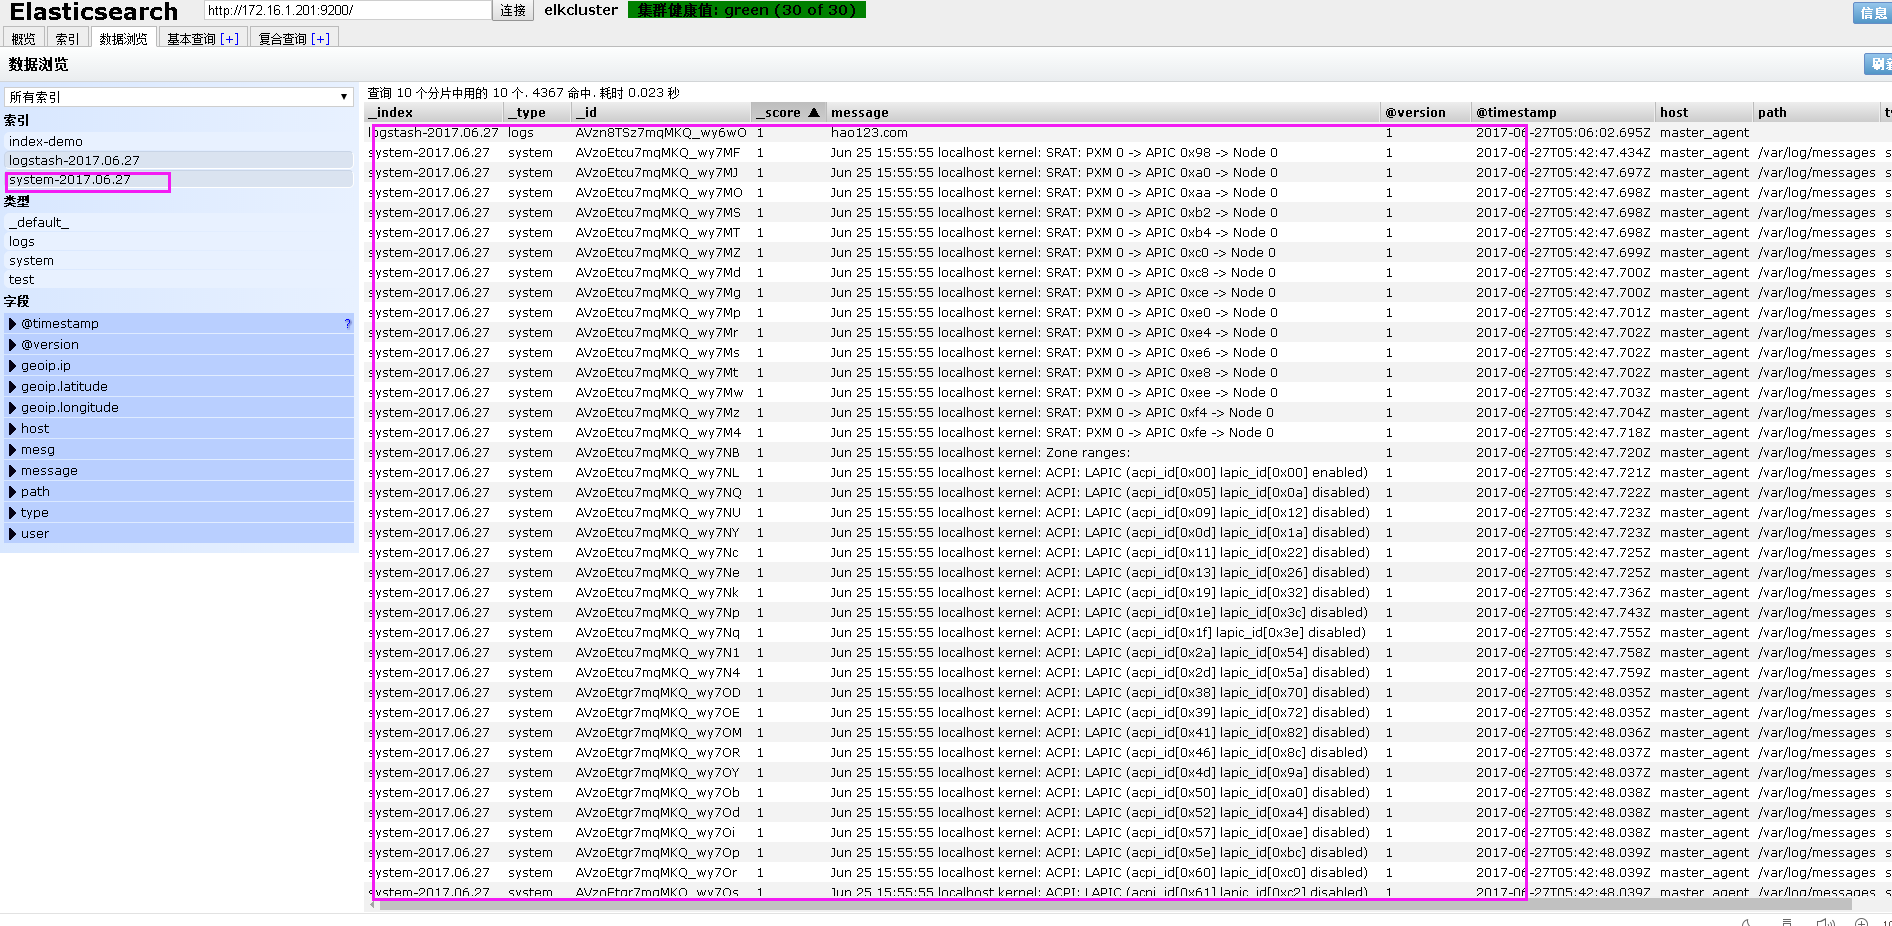
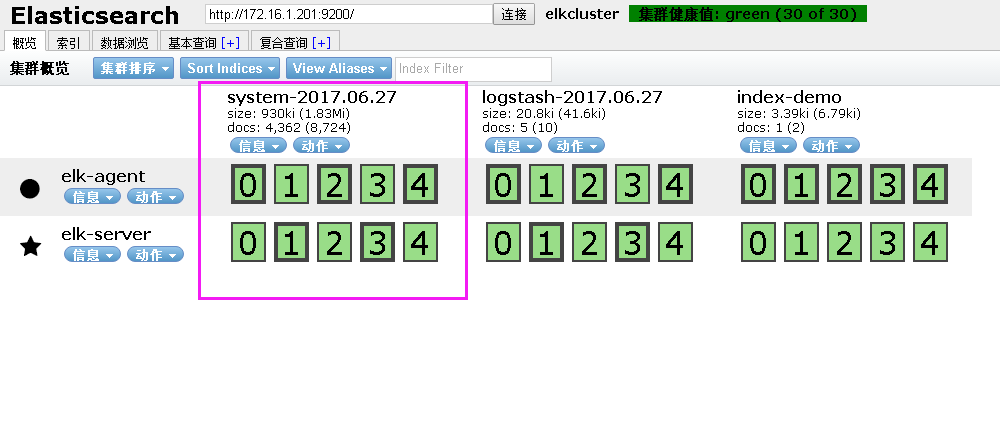
                index => "system-%{+YYYY.MM.dd}"   ##設置個索引每天創建
        }

}
註意:如果采集的日誌文件日誌量不是很大的情況下,采用每月建一從索引,日誌量很大的情況下可以按照每天來建立索引


本文出自 “一杯水” 博客,請務必保留此出處http://6528161.blog.51cto.com/6518161/1953414
ELK部署logstash安裝部署及應用(二)
