PS學習記錄9--PS網頁設計教程IX——巧用大括號設計驚豔的諮詢頁面
作為編碼者,美工基礎是偏弱的。我們可以參考一些成熟的網頁PS教程,提高自身的設計能力。套用一句話,“熟讀唐詩三百首,不會作詩也會吟”。
本系列的教程來源於網上的PS教程,都是國外的,全英文的。本人嘗試翻譯這些優秀的教程。因為翻譯能力有限,翻譯的細節上還有待推敲,希望廣大網友不吝賜教。
約定:
1、本文的軟體是Photoshop CS5版本
2、原教程的截圖是英文的,本人在重新制作的基礎上,重新截了中文版的圖
3、原文中有些操作沒有給出引數。本人在反覆測試的情況下測定了一些引數,以紅色的文字顯示。有些錯誤的引數,直接以紅色文字顯示正確的引數
例如:(90,22,231,77)
例如:(90,22),表示矩形的左上角的座標是(90,22),矩形的其他兩個引數教程裡已經指定
4、在教程的最後會附上本人的心得。有些是對教程中的一些步驟的優化等。
With this layout you will be able to easily build a web site dedicated to teaching and learning, or a business layout, as well as management or marketing layouts. This layout can be transformed also in a WordPress theme.
致力於教學和學習,此佈局使能您將能夠輕鬆地構建 web 站點,或業務佈局,以及管理或市場營銷佈局。這種佈局可以轉換成一個 WordPress 主題。
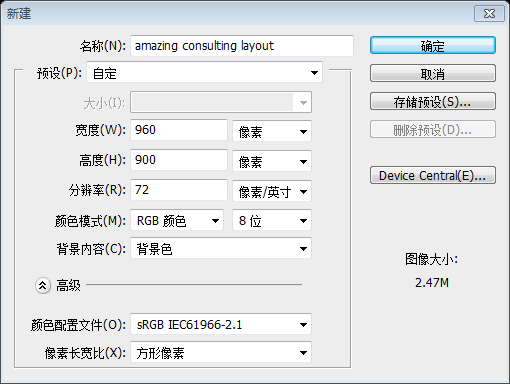
I will use my default document size: 960 x 900 pixels.
我將新建一個文件,文件預設大小為:960*900px
Feel free to use any size you want.
你也可以使用其他的尺寸
Set your foreground color to #1f0f0e and then with Paint Bucket Tool press one time on your canvas. This will be the background of our consulting layout.
設定前景色為 #1f0f0e,用油漆桶工具在你的畫布上噴塗一下。這是我們的諮詢頁面的背景。
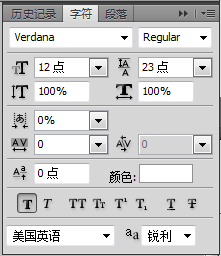
Select you Horizontal Type Tool, and type a brace. I have used the following font, and size:
選擇水平文字工具,輸入一個大括號,我將如下圖設定字型、尺寸等
注:關於字型的方式是“銳利”還是“柔和”,要親自實驗才行,筆者做了兩次,分別得用不同的方式,才有本教程下面的樣子,也不知為何。
Right click on the layer in your layer palette, and choose Convert to shape
在圖層面板上右鍵文字圖層,選擇轉換為形狀
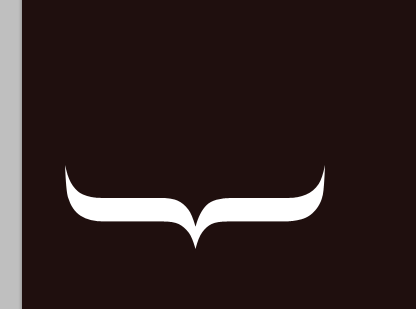
Rotate this shape until you have something like this. To rotate a shape you can select the shape, then press on CTRL+T, and then with mouse too rotate the shape. Another way to rotate a shape is to go to Edit > transform > rotate….
旋轉該形狀如下圖。旋轉該形狀,你可以選擇該形狀,然後按Ctrl+T,用滑鼠去旋轉該形狀。另一個辦法是,點選:編輯 > 變換 > 旋轉...
經測算,該形狀的位置點為(43,296,260,84)
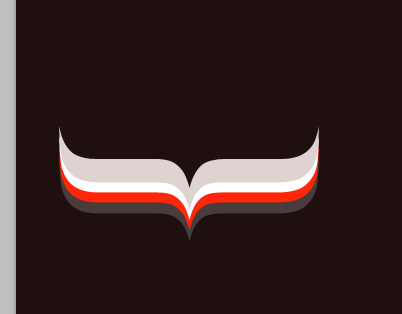
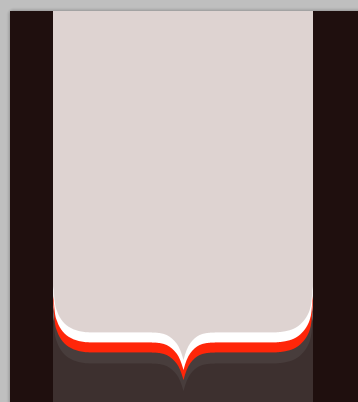
Duplicate the shape a few times and with Move Tool, place them like in the following image
複製該形狀多次(三次),用移動工具,擺放如下圖所示:
自下而上的四個形狀分別為
(43,296),顏色: #483d3c
(43,285),顏色: #ff2609
(43,275),顏色: #ffffff
(43,265),顏色: #ded3d1
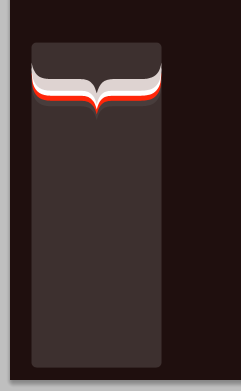
I will change the foreground color to #3d302f, and I will create a rectangle with Rounded Rectangle Tool. I will place this layer under the previous ones.
將前景色更改為 #3d302f,用圓角矩形工具建立一個圓角矩形(43,225,260,650),將該圖層移到剛剛四個形狀的下方
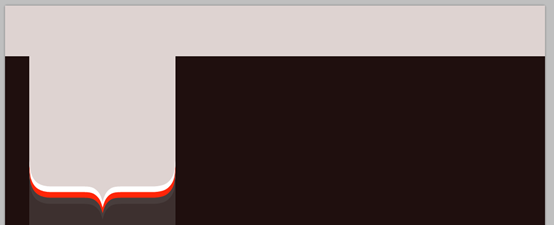
With Rectangle Tool I will create another shape on the top. The color used to create this shape is: #ded3d1
用矩形工具在頂部建立一個新的矩形。該矩形的顏色為: #ded3d1
建議是圓角矩形,半徑為50px,位置(43,-50,250,400)
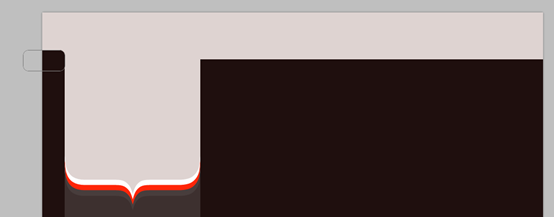
On top of the layout I will add another shape
在頁面的頂部,還是要新建另一個矩形
注:為了後續的操作方便,在此步的矩形的高度調的大一點,矩形為(0,0,960,90)
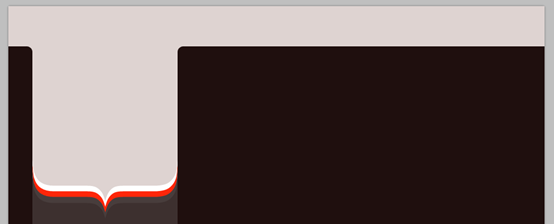
With Pen Tool I will create a shape like in the following image. I want to create a round corner.
I will duplicate this shape (press CTRL+J), and I will place it on the other side of the layout.
I will go to Edit > Transform > Flip Horizontal. If this option is not enabled, then you need to select the layer in your layer palette. The next step is to align this layer. This is my result.
用鋼筆工具建立如下圖所示的形狀。我建立了一個圓角
複製這個形狀(按Ctrl+J),移動該形狀到頁面的另一邊
點選:編輯 > 變形 > 水平翻轉。如果該選項沒有啟用,你需要在圖層面板選中該圖層,接下來就是對齊該圖層
還是不擅長鋼筆工具的使用,於是換了一個思路,選中圓角矩形工具,半徑設定為10px,新建一個圓角矩形(-37,72,80,40),顏色為: #1f0f0e
再用同樣的顏色新建另一個圓角矩形(303,72,700,40)
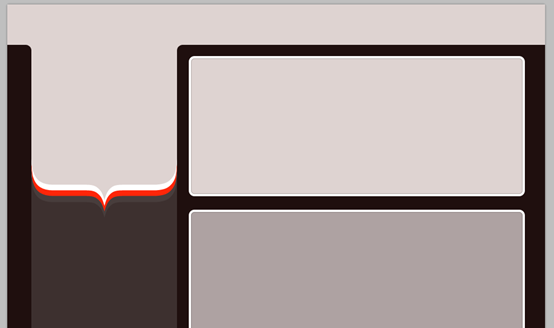
On the right side I will create 2 shapes with Rounded Rectangle Tool.
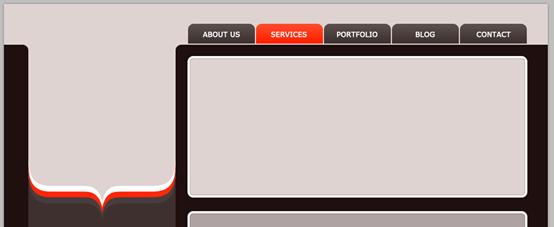
在右側用圓角矩形工具建立兩個圓角矩形。分別是(328,96,593,242),顏色: #ded3d1;和(328,370,593,500),顏色: #aea2a2
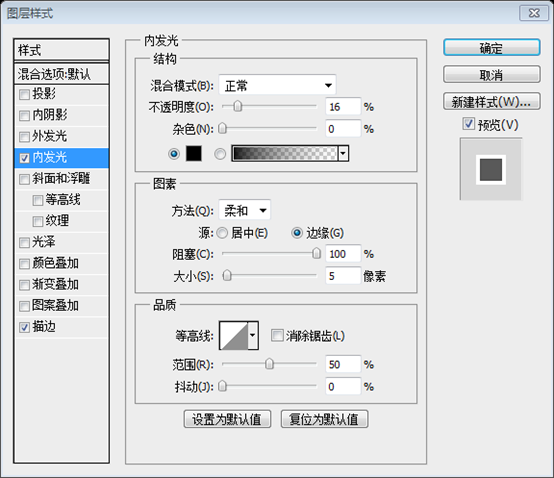
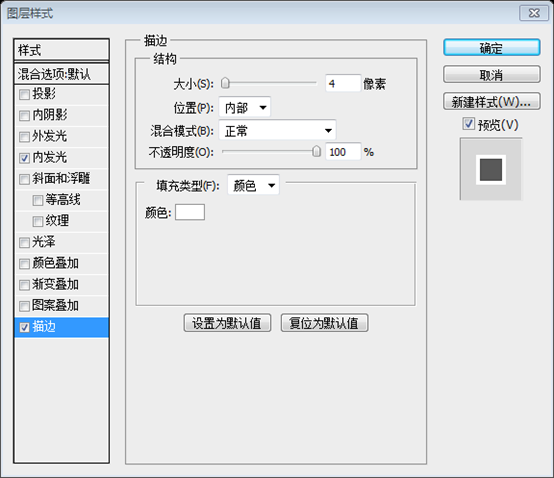
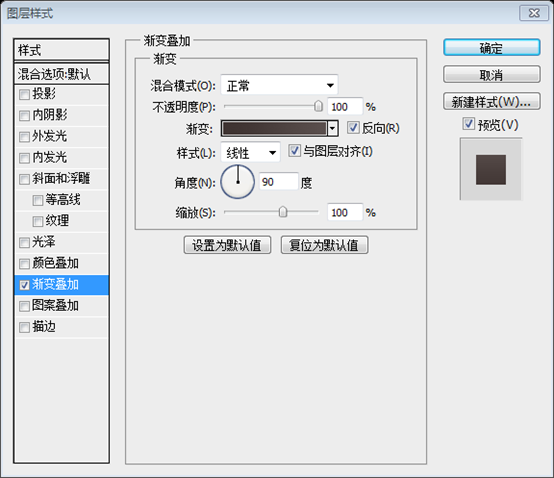
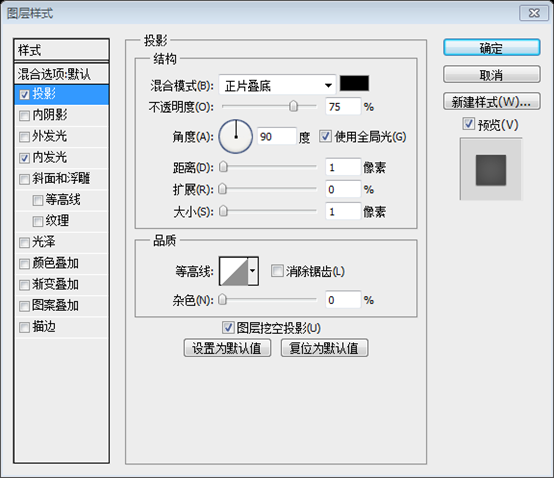
For both layer I will add the following layer styles
對這兩個圖層新增如下的圖層樣式:
This is my result
這是我的結果
On the top I will create a button with Rounded Rectangle Tool.
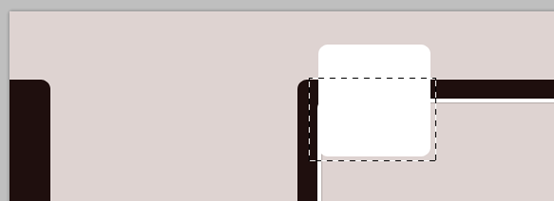
在頂部用圓角矩形工具建立一個按鈕(325,35,118,118),由於後面還要切除按鈕的一部分,所以製作正方形的按鈕比較容易
I will right click on the layer in my layer palette, and I will choose rasterize layer. With Rectangular Marquee Tool, draw a selection on the bottom of the shape
在圖層面板上右鍵,選擇柵格化圖層。用矩形選擇工具,在按鈕的底部畫一個選區。
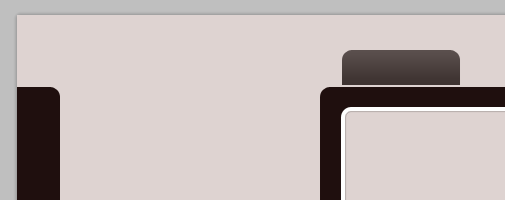
Be sure you have the layer with the button selected, then hit delete key from your keyboard and press on CTRL+D to deselect. After I will apply a nice gradient from this set: 27.000 Photoshop gradients my button looks like this:
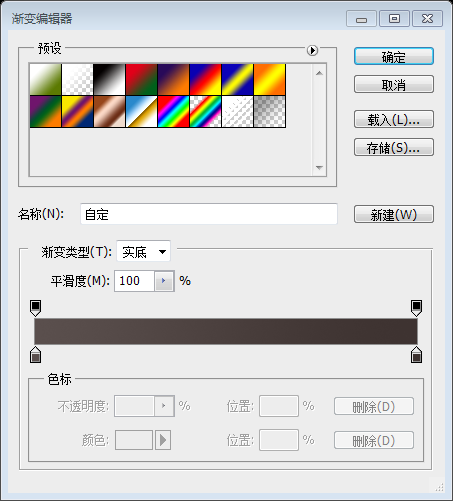
保證按鈕的圖層被選中,然後按鍵盤上的delete鍵,然後按Ctrl+D取消選擇。接下來我要從27.000 Photoshop gradients新增一個漂亮的漸變,我的按鈕如下圖所示:由於沒有註冊為會員,故手動新增漸變,如下圖所示,
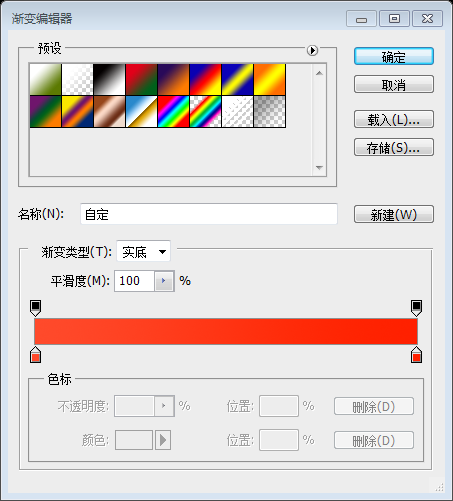
左邊的顏色: #5a4f4d,右邊的顏色: #3e3331
I will duplicate this button and with Move Tool I will place it near this one.
複製該按鈕,用移動工具移到合適的位置
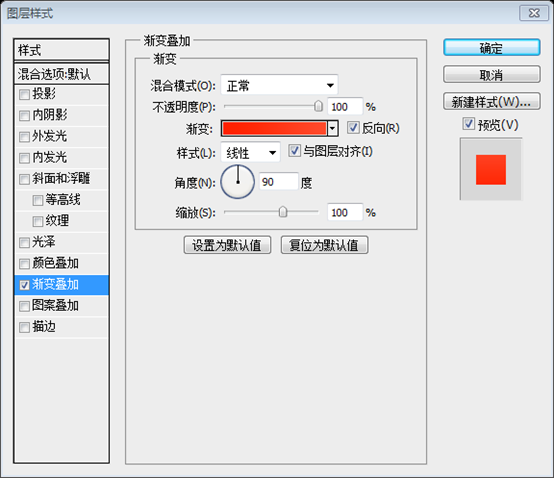
對第二個的按鈕新增合適的漸變,如下圖所示:
左邊的顏色: #ff4a2b,右邊的顏色: #ff2000
對五個按鈕分別新增文字:ABOUT US、SERVICES、PORTFOLIO、BLOG、CONTACT。文字的式樣設定如下:
You will notice a red button. I have used another gradient from our huge gradient set.
你注意到那個紅色的按鈕。我從our huge gradient set新增另一個漸變。(還是自己設定漸變,設定如上)
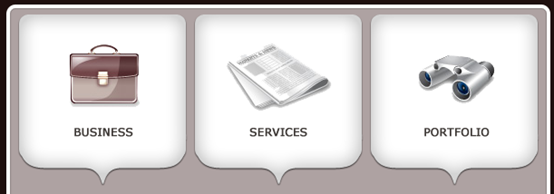
In the middle of my business consulting layout I will create three shapes, and three brace.
在我的商業諮詢佈局的中間,我要建立三個圓角矩形,和三個大括號
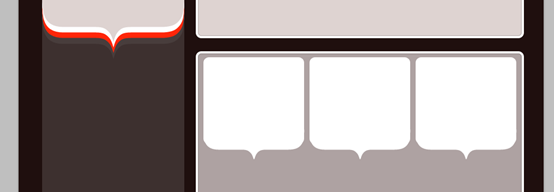
I will change the color of the round shapes to white, and I will select all 6 layers in my layer palette. Then I will press on CTRL+E to merge all the layers into a single one. With Brush Tool I will draw over the empty spot. This is my result so far.
將圓角矩形的顏色改為白色。選擇這6個圖層。然後按Ctrl+E合併圖層到一個圖層。用畫筆工具填充空白部分。這是我的結果
我的做法是:
1、新建一個圓角矩形(338,377,184,159),顏色為白色
2、用文字工具輸入右大括號,字號為194,字型為Book Antiqua,旋轉90度。然後移到合適的位置
3、再用矩形工具填充空白部分
4、合併剛才的三個圖層,然後複製兩次,移到合適的位置
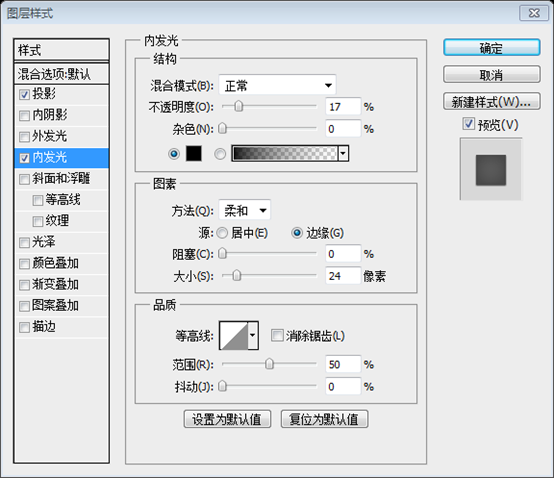
For this layer I will add the following layer styles.
對這些圖層新增如下的圖層樣式
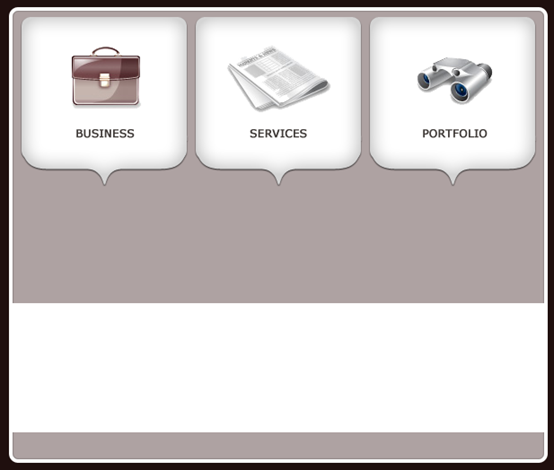
After I will add some icons this is my result
接下來新增一些圖示,和一些文字
With Rectangle Tool, I will create a shape on the bottom of the layout
用矩形工具,在佈局的底部新增一個白色的矩形(324,696,600,144)
It is time to add some text with Horizontal Type Tool. Please click on the image to see how I placed the text.
用文字工具新增一些文字。對照圖片擺放文字,並且新增一張圖片
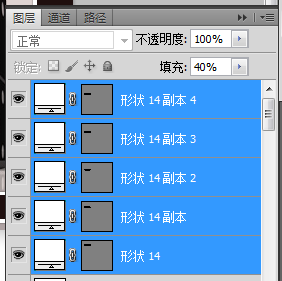
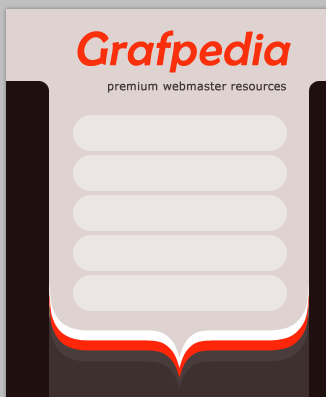
Right under the logo I will create some shapes with Rounded Rectangle Tool. I will use a white color for all these shapes, and I will lover the fill value for each layer to 40 %.
在LOGO的下方新增一些圓角矩形。顏色:白色。對這些圖層設定填充為40%
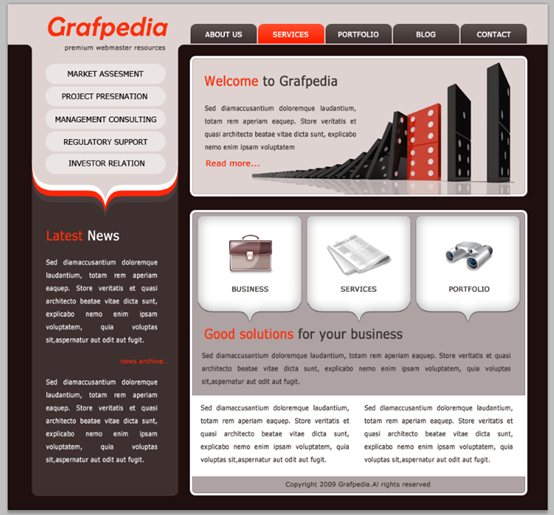
I will place some text over the buttons.
我要在按鈕上新增一些文字
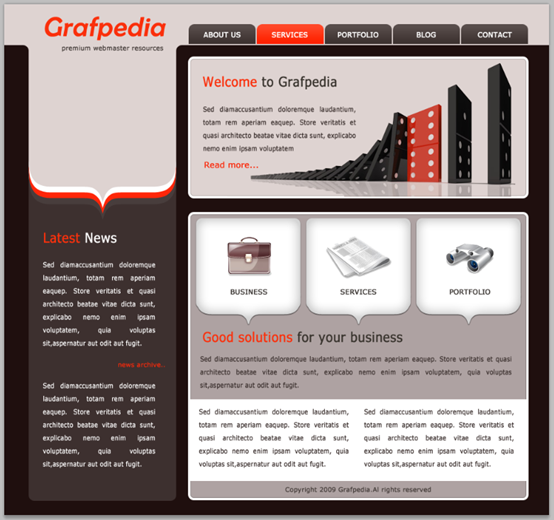
This is my final consulting layout. I hope you like it, and if you want to use it for your website please let me know. I really want to see how it looks.
這是我最終的諮詢佈局。我希望你會喜歡它,並且讓我知道你會用在你的網站佈局中。我真的想知道你的作品。
後記:
利用大括號巧妙的實現佈局。有時候看起來驚豔的效果,其實也就是一些小小的技巧。

