wxpython自定義按鈕
阿新 • • 發佈:2018-12-22
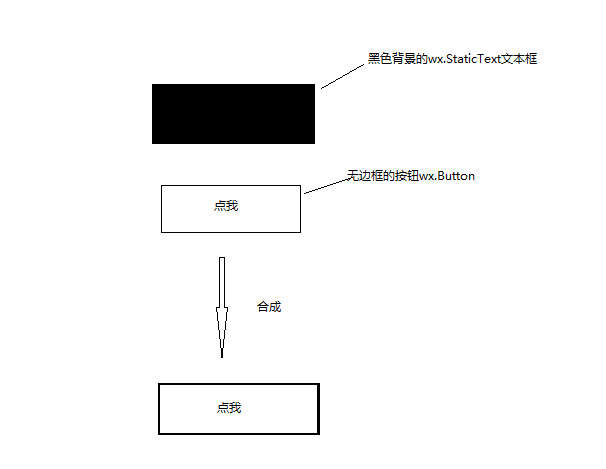
wxpython 自定義按鈕的實現,和上一篇自定義文字實現的思路類似,使用一個wx.StaticText作為邊框,再在之上放一個無邊框的按鈕wx.Button。


class MyButton(wx.Button,wx.EvtHandler): """自定義按鈕""" def __init__(self,parent,title,pos,size=(60,35),borderColor='#EAEAEA',borderSize=1): self.button,self.border = self.__CreateButtonView Code(parent,title,pos,size,borderColor,borderSize) def __CreateButton(self,parent,title,pos,size,borderColor,borderSize): """建立自定義按鈕""" border = wx.StaticText(parent,-1,'',pos=pos,size=size) border.SetBackgroundColour(borderColor) #設定按鈕在border上的位置,使其剛好露出borderSize大小的邊框button = wx.Button(border,-1,title,size=((size[0]-borderSize*2),(size[1]-borderSize*2)), pos=(borderSize,borderSize),style=wx.NO_BORDER) button.SetBackgroundColour('white') button.SetForegroundColour('black') return button,border def SetForegroundColour(self, colour): self.button.SetForegroundColour(colour) self.button.Refresh()def SetBackgroundColour(self, colour): self.button.SetBackgroundColour(colour) def SetBorderColour(self,colour): self.border.SetBackgroundColour(colour) self.border.Refresh() def Disable(self): self.button.Disable() def Enable(self, enable=True): self.button.Enable(enable) def Bind(self, event, handler, source=None, id=wx.ID_ANY, id2=wx.ID_ANY): self.button.Bind(event,handler)
測試程式碼:
# coding:utf-8
import wx

from wxpython import Mywxpython

app = wx.App()
frame = wx.Frame(None, title="Gui Test Editor", pos=(1000, 200), size=(500, 400))

panel = wx.Panel(frame)


my_button = Mywxpython.MyButton(panel,title="點我",pos=(10, 150))
frame.Show()
app.MainLoop()
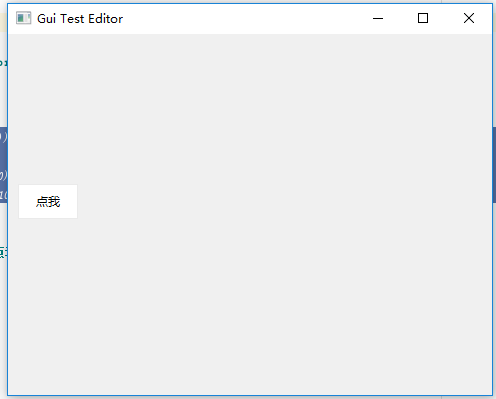
效果圖:

需要什麼邊框,字型,顏色都可以自己設定,還有事件繫結

