
製作Bundle資原始檔包以及正確訪問
阿新 • • 發佈:2018-12-23
一、建立Bundle專案

二、在bundle資源包中新增圖片
方式一:使用Asset管理圖片
在Xcode自帶的Assets裡面,可以自動識別圖片是二倍屏還是三倍屏,圖片名稱以@2x,@3x為字尾,拖到Assets檔案裡會自動識別位置
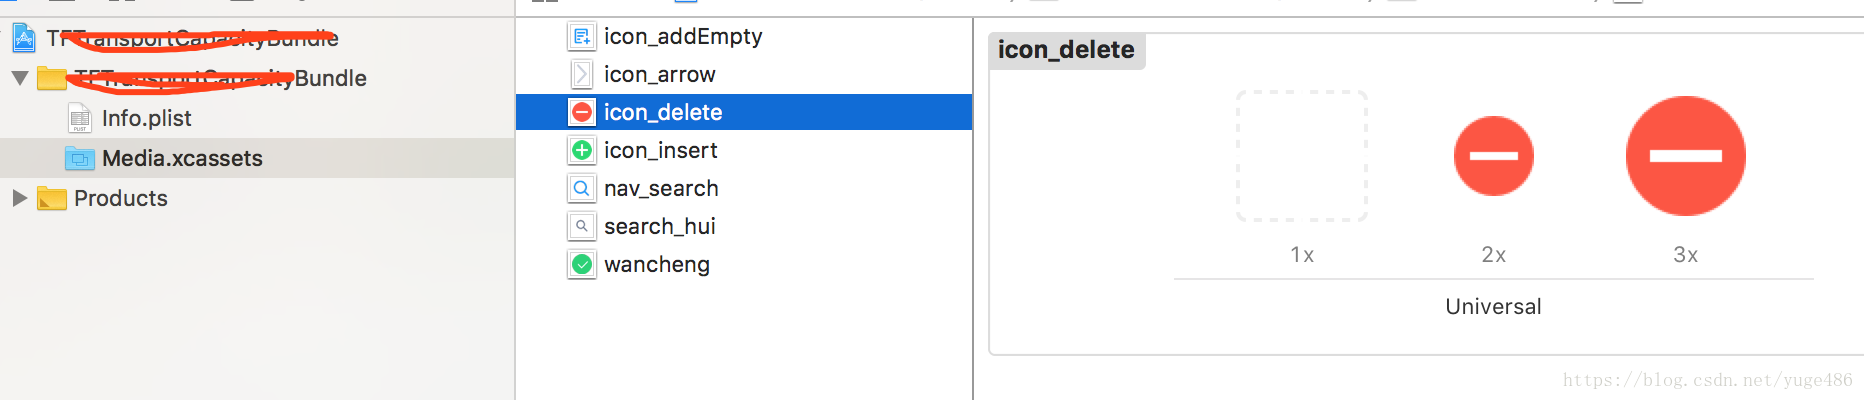
1>建立Asset檔案
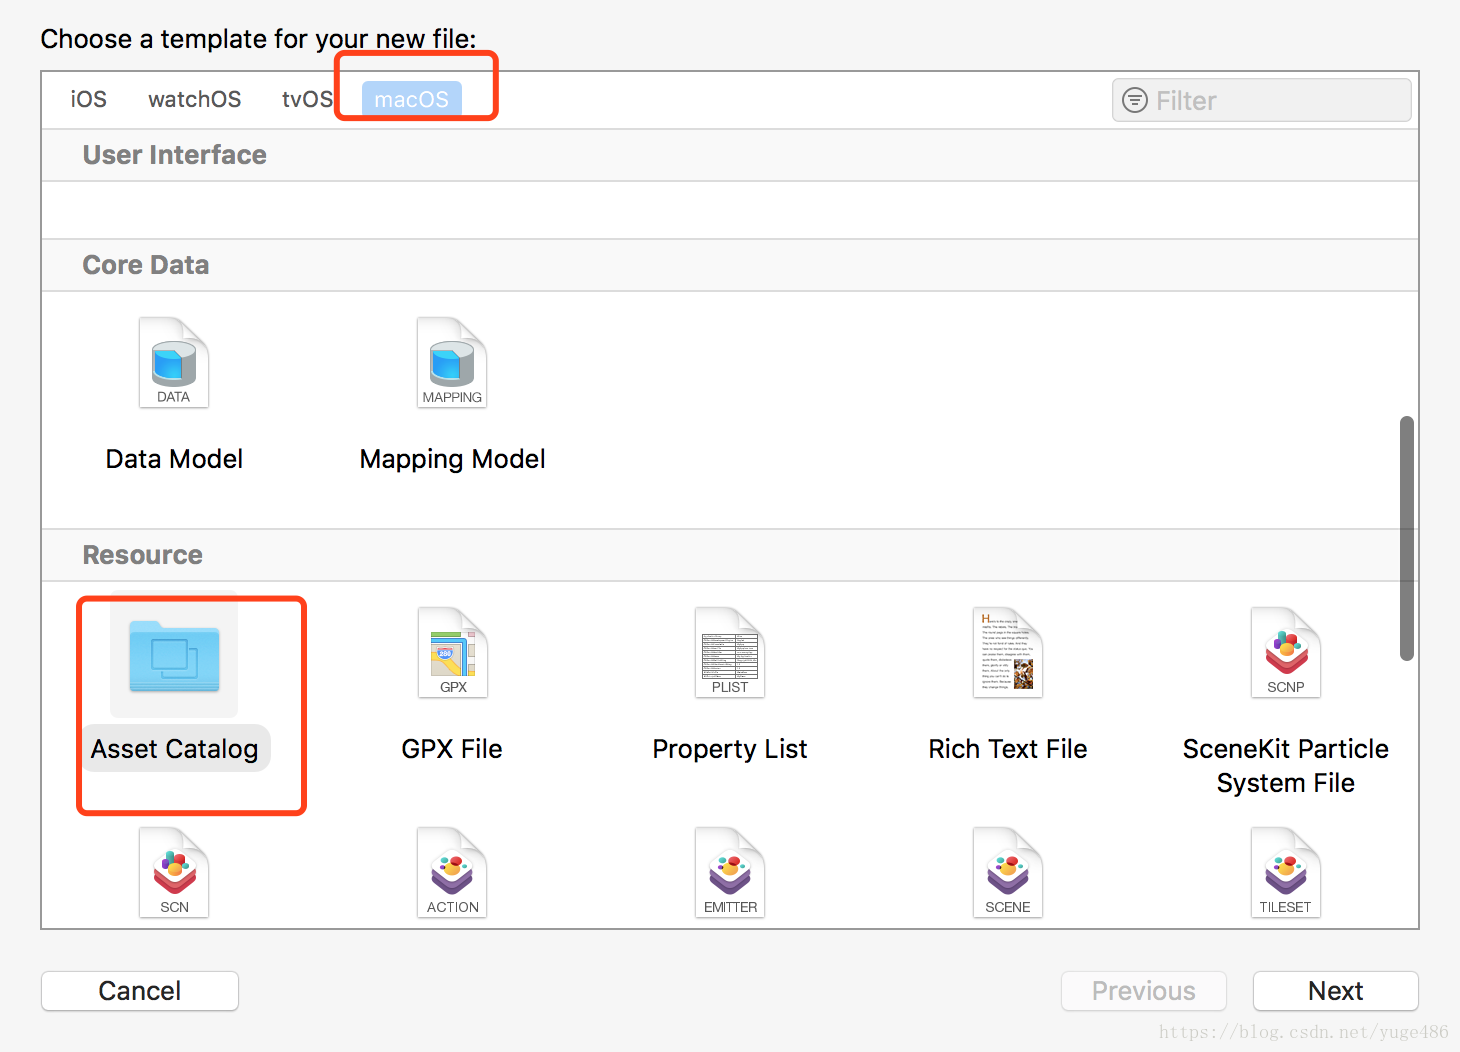
2>拖入對應的圖片
方式二:
建立images資料夾,如圖所示,再拖入對應字尾名的圖片

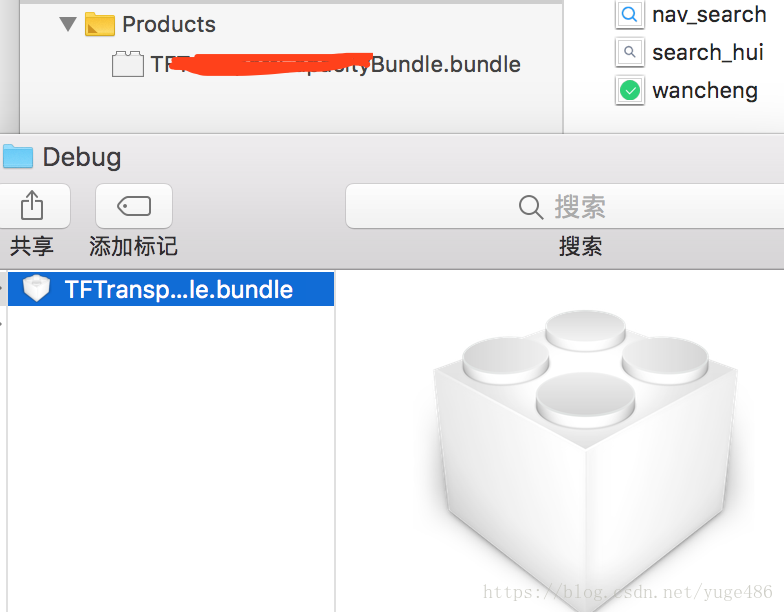
三、生成Bundle包
Command + B後生成Bundle包,點選Products裡面的bundle檔案
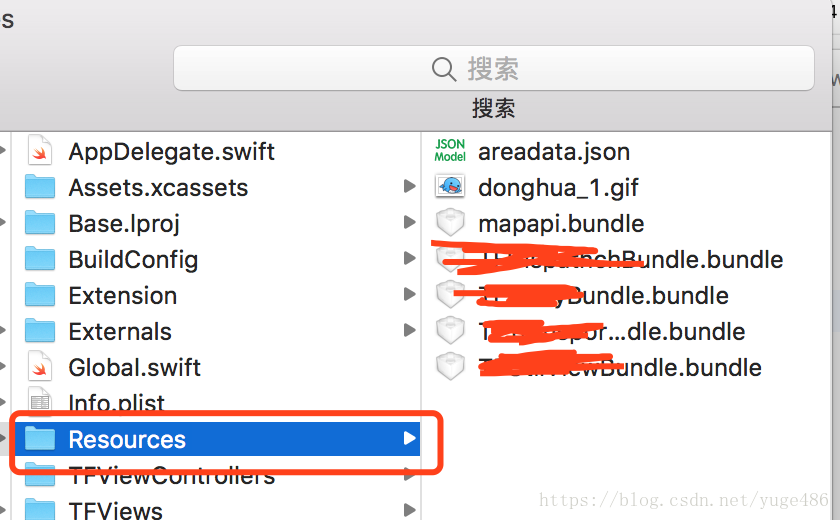
四、整合到專案中
將Bundle資源包放到專案的任意(或指定)的資料夾下
五、程式碼呼叫Bundle包的圖片資源(寫在UIImage的extension裡):
1>方式一載入圖片(使用Asset管理圖片時),使用以下方法:
/// 從Bundle中載入圖片
    ///
    /// - Parameter filename: 圖片名稱
    /// - Returns: 返回UIImage物件
   class func bundleImageNamed(_ filename: String) -> UIImage? {
    let path = "\(Bundle.main.resourcePath ?? "YourBundleName.bundle")"
    return UIImage(named: filename, in: Bundle(path: path), compatibleWith: nil)
    }
2>方式二載入圖片
生成的資源包右鍵檢視包內容,可以看到圖片的路徑,如圖所示

程式碼呼叫如下
/// 從Bundle中載入圖片
    ///
    /// - Parameter filename: 圖片名稱
    /// - Returns: 返回UIImage物件
   class func bundleImageNamed(_ filename: String) -> UIImage? {
    let pathName = "YourBundleName.bundle/Contents/Resources/\(filename)"
    let url = "\(Bundle.main.resourcePath ?? "")/\(pathName)"
    return UIImage(contentsOfFile: url )
    }