
Vue-cli3.0專案部署到sping boot 方案
阿新 • • 發佈:2019-01-03
Vue前端打包部署到sping boot中
以靜態專案作為參考[前端vue-cli3+後臺sping boot]
-
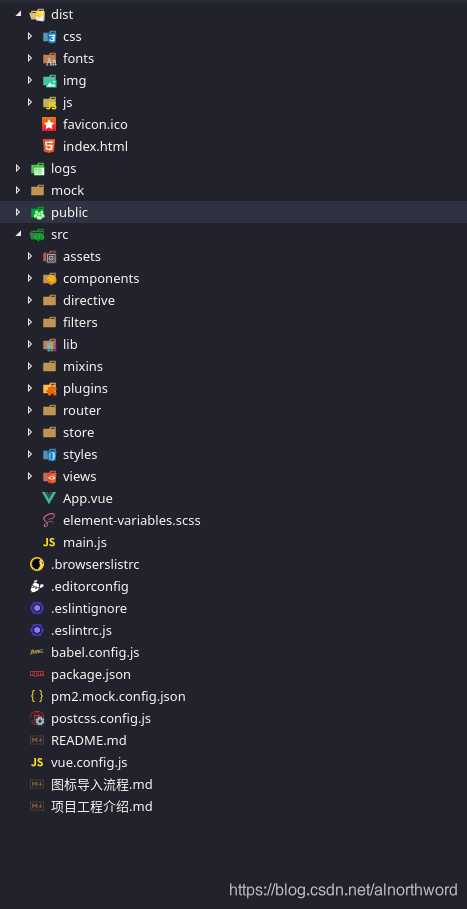
前端工程目錄如下:
-
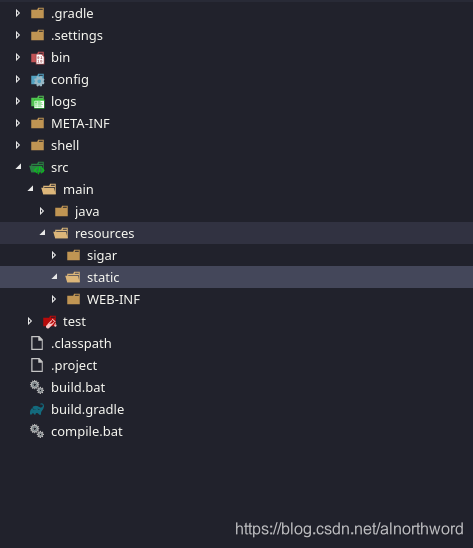
後臺工程目錄如下:
-
前後端整合:
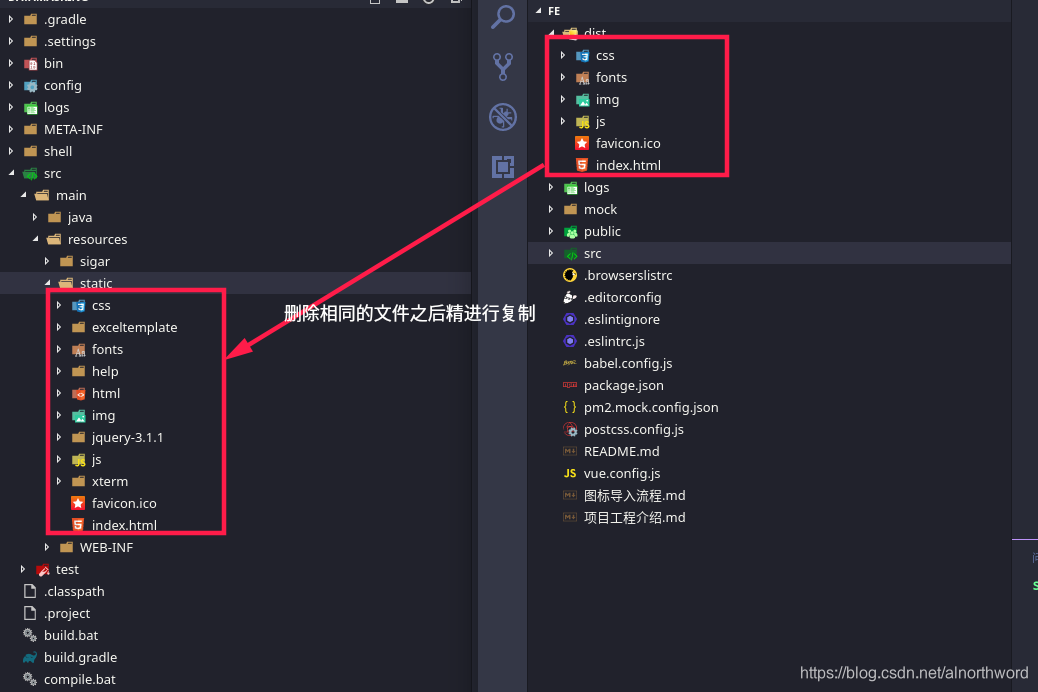
在專案整合的過程中,直接將前端開發好後將build構建好的dist下static中的檔案拷貝到spring boot的resource的static下,index.html則直接拷貝到spring boot的resource的static下。我們這樣就可以愉快的啟動sping boot,輸入網址就可以愉快的訪問啦!但是通過上面的整合後會出現兩個比較大的問題。
-
前後端整合核心問題處理:
<p>1. 無法正常訪問靜態資源 。</p>

 > 解決該問題問題,我們必須重新指定spring boot的靜態資源處理字首,程式碼:
@Configuration
public class WebAppConfigurer extends WebMvcConfigurerAdapter {
@Override
public void addResourceHandlers(ResourceHandlerRegistry registry) {
registry.addResourceHandler <p>2. vue router路由的路徑無法正常解析 。</p>
> 對vue的路由的路徑做rewrite,交給router來處理,而不是spring boot自己處理,rewrite時可以考慮路由的路徑統一增加字尾,然後在spring boot中編寫過濾攔截特定字尾來做請求轉發交給vue的路由處理。前端路增加fe,如
export default {
  path: '/fe/regular',
  component: () => import('@/views/empty'),
  name: 'regular',
  meta: { title: '規則配置', icon: 'guize' },
  children: [{
    path: 'find',
    name: 'regular-find',
    meta: { hidden: true, title: '發現規則', icon: 'right' },
    component: () => import('@/views/regular/find')
  },
  ......
  {
    path: 'mask-edit/:id',
    name: 'regular-mask-edit',
    meta: { title: '編輯脫敏規則', icon: 'right', hidden: true, breadcrumb: [{ name: 'regular-mask', title: '規則配置' }, { name: 'regular-mask', title: '脫敏規則' }] },
    component: () => import('@/views/regular/mask-edit.js')
  }]
}
> 後臺改變,如
Application.java

    public FilterRegistrationBean someFilterRegistration() {
        FilterRegistrationBean registration = new FilterRegistrationBean();
        registration.setFilter(XssFilter());
        registration.addUrlPatterns("/*");
        registration.addInitParameter("paramName", "paramValue");
        registration.addInitParameter(XssFilter.REWRITE_TO,"/index.html");  // 重點
        registration.addInitParameter(XssFilter.REWRITE_PATTERNS, "/fe/*");  // 重點
        registration.setName("XssFilter");
        return registration;
    }

XssFilter.java

public class XssFilter implements Filter {

    //需要rewrite的目的地址
    public static final String REWRITE_TO ="rewriteUrl";
    public static final String REWRITE_PATTERNS = "rewritePatterns";
    private Set<String> urlPatterns = null;//配置url萬用字元
    private String rewriteTo = null;
    @Override
    public void init(FilterConfig filterConfig) throws ServletException {
        rewriteTo = filterConfig.getInitParameter(REWRITE_TO);
        String exceptUrlString = filterConfig.getInitParameter(REWRITE_PATTERNS);
        if(StringUtil.isEmpty(exceptUrlString)) {
            urlPatterns = Collections.emptySet();
        }else {
            urlPatterns = Collections.unmodifiableSet(new HashSet<>(Arrays.asList(exceptUrlString.split(";",0))));
        }
    }

    @Override
    public void doFilter(ServletRequest request, ServletResponse response, FilterChain chain)
            throws IOException, ServletException {
        MHttpServletRequest xssRequest = new MHttpServletRequest((HttpServletRequest) request);
        HttpServletRequest request1 = xssRequest;
        String servletPath = request1.getServletPath();
        String context = request1.getContextPath();
        if(isMatches(urlPatterns, servletPath)) {
            request.getRequestDispatcher(context+ "/"+ rewriteTo).forward(xssRequest,response);
        } else if(servletPath.contains("main")) {//相容處理main和main#
            request.getRequestDispatcher(context+ "/"+ rewriteTo).forward(xssRequest,response);
        }else {
            chain.doFilter(xssRequest, response);
        }

    }

    @Override
    public void destroy() {
    }

    private boolean isMatches(Set<String> patterns, String url) {
        if(null == patterns) {
            return false;
        }
        for (String str: patterns) {
            if(str.endsWith("/*")) {
                String name = str.substring(0, str.length()-2);
                if(url.contains(name)) {
                    return true;
                }
            }else  {
                Pattern pattern = Pattern.compile(str);
                if(pattern.matcher(url).matches()) {
                    return true;
                }
            }
        }
        return false;
    }
}
後端攔截到帶有/fe的都交給router來處理!(或者spring boot 的介面都增加標識,攔截spring boot的介面標識,非介面統一交給前端來處理)
重點:
> 上面這是最簡單的合併方式,但是如果作為工程級的專案開發,並不推薦使用手工合併,也不推薦將前端程式碼構建後提交到spring boot的resouce下。好的方式應該是保持前後端完全獨立開發程式碼,專案程式碼互不影響,編寫指令碼在構建spring boot時觸發前端構建並編寫自動化指令碼將前端webpack構建好的資源拷貝到spring boot下再進行jar的打包,最後就得到了一個完全包含前後端的spring boot專案了。【在複製的時候,不要進行替換或者覆蓋,最好的方式,把原有的的檔案進行刪除之後在進行復制】