
egg.js官方教程攻略
阿新 • • 發佈:2019-02-12
一、文章前言
egg.js是node.js的一個web後臺框架,為我們進行web後臺開發帶來了太多的便利。諸如此類的框架還有很多,例如:express、koa。本文將著重討論egg.js,因為它是很嚴格的MVC開發模式。
eggJS『約定優於配置』
二、準備工作
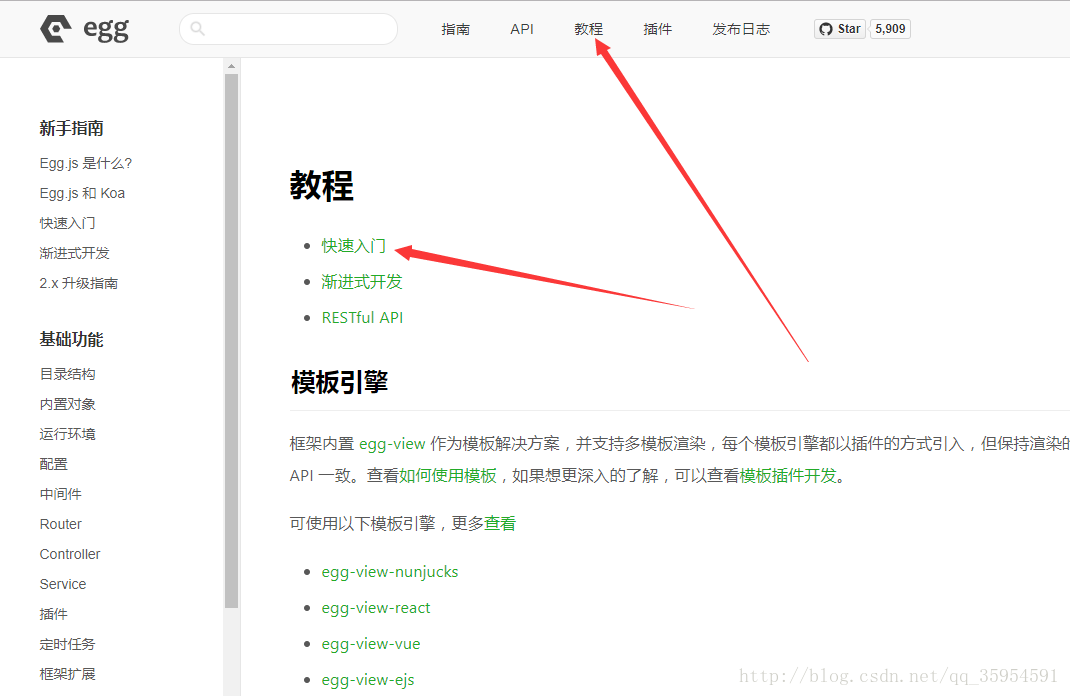
1.首先我們需要先找到egg.js的官網:[egg.js](https://eggjs.org/zh-cn/)
2.開發工具,這裡我使用的是vsc(visual studio code)。
點開教程——快速入門
這時我們需要按照 快速初始化中的程式碼建立一個簡單的例子
1.在工作空間新建一個專案在專案下開啟命令列
2.
$ npm i egg-init -g  //安裝egg
$ egg-init egg-example --type=simple  //初始化一個egg模板例子 後面的type跟的是模板型別這裡是簡單的
$ cd egg-example//進入例子
$ npm i //安裝依賴
將安裝好的例子用vsc開啟
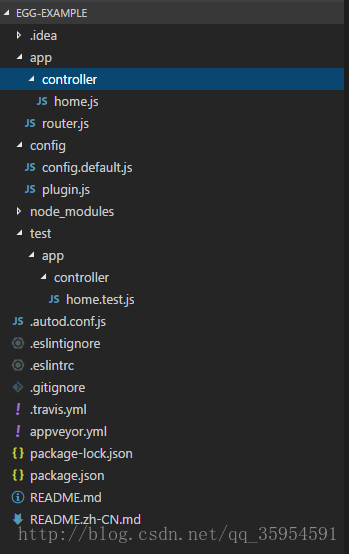
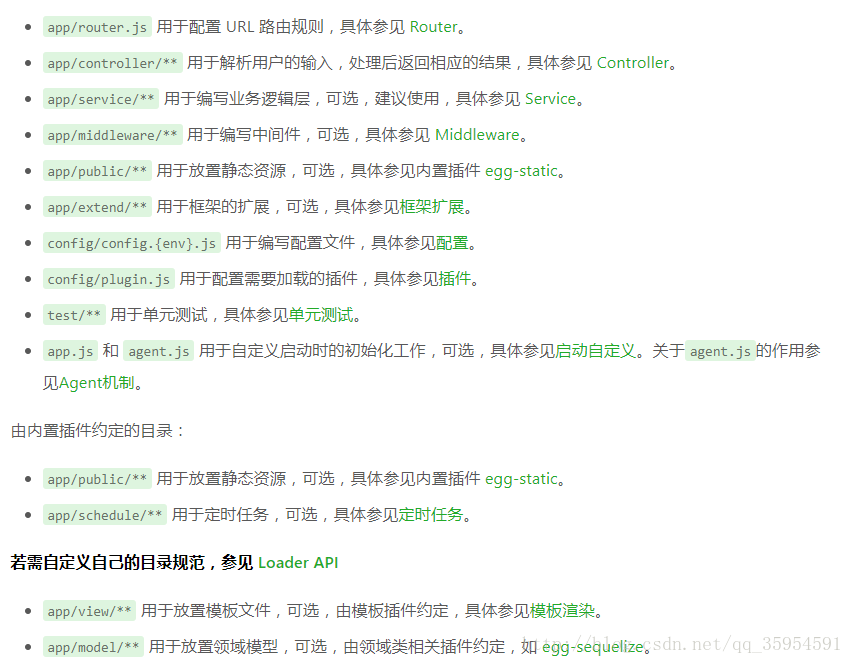
解釋一下這些檔案的意思(官方教程目錄結構中的解釋)
三、內容
本文內容主要討論 Controller 、Service、helper 、get、post請求獲取引數(普通的MVC)
1.Controller
   一切準備就緒後,開始我們的第一個Controller。我們下載的simple型別的example目錄結構中是有controller這樣一個目錄。注意我在文章開頭提到過,egg.js是約定優於配置的,這些目錄是什麼意思都可以在(官方教程的目錄結構中看到)這個controller目錄結構就是指明這個目錄就是一個Controller,所有跟Controller有關的東西都放在這個目錄下面。
   我們下載的這個example中有一個controller的模板程式碼,下面我們來執行一下看看效果
npm run dev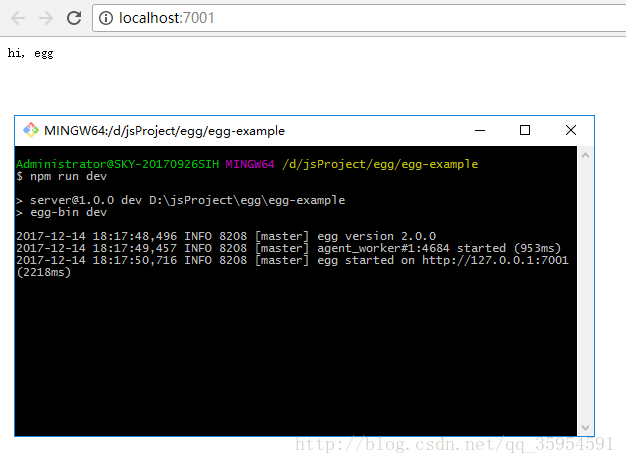
下面我們自定義一個controller看看效果
在controller資料夾下新建一個js檔案
'use strict';
const Controller = require('egg').Controller;
class CustomController extends Controller {
async custonIndex() { //注意這裡要定義成非同步方法防止請求被阻塞
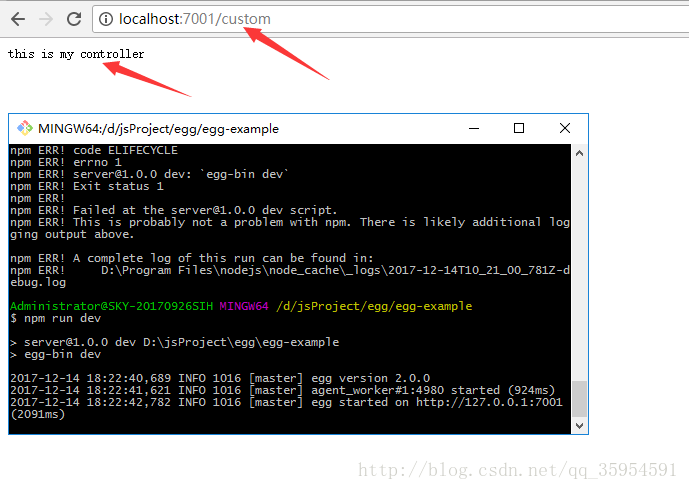
this.ctx.body = 'this is my controller';
}
}
module.exports = CustomController; 寫完controller的程式碼我們還需要在router.js中配置一下路由(訪問時請求的路徑)
'use strict';

/**
 * @param {Egg.Application} app - egg application
 */
module.exports = app => {
  const { router, controller } = app; //獲取app中的router物件和controller
  //這裡需要注意的還是約定大於配置(這樣獲取還是相當於拿到app資料夾下的router和controller)
  router.get('/', controller.home.index); //自帶controller模板的路由(get請求下訪問路徑為localhost:7001/)controller下的home.js中的index方法
  router.get('/custom',controller.customController.custonIndex); //自定義controller的路由
};
controller詳細介紹請檢視官方教程controller模組
2.Service
下面我們來討論一下Service
Service是業務邏輯層在我們自己下載的example中是沒有這麼一項的,但是在官方教程的目錄結構中是有的,只是被標註了可選。
首先我們需要在app下建立一個service的資料夾用來存放service檔案(注意約定大於配置),再在service資料夾下新建一個js檔案用來編寫service程式碼
'use strict';
const Service = require('egg').Service;
class UserService extends Service {
    async show(zc, hh) { //非同步防阻塞
        return zc + " and " + hh;
    }
}
module.exports = UserService;

//controller程式碼
'use strict';

const Controller = require('egg').Controller;

class CustomController extends Controller {
  async custonIndex() {
    let str = await this.ctx.service.customService.show('zc','hh');
    //這裡使用await來獲取非同步方法的返回值詳情請自行百度或谷歌
    //以前是使用回撥函式
    this.ctx.body = 'this is my controller'+str;
  }
}

module.exports = CustomController;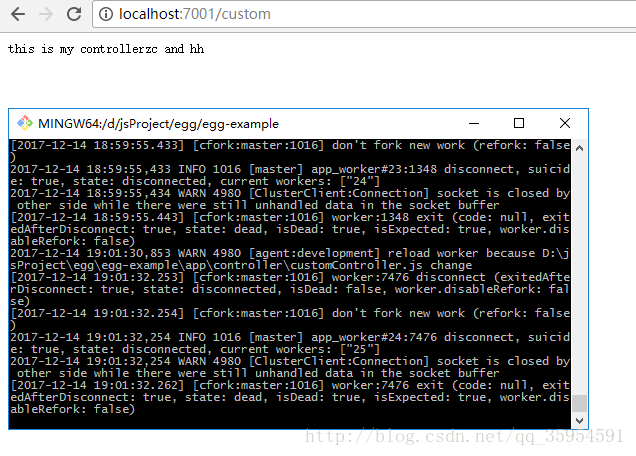
service詳細介紹請檢視官方教程service模組。
3.Helper
1.什麼是helper呢?
    Helper是egg.js的一個內建物件
    我的理解就是存放工具類的地方(類似於java裡util這樣的一個東西)
    要使用helper首先需要在app下建立一個extend資料夾然後在裡面新建一個helper.js檔案。
    extend下面建立你需要使用的‘工具類’這裡我們建立一個string資料夾,在這個資料夾下面新建一個檔案
    addOrSub.js檔案用來對字串增加或減少。然後通過helper.js來對方法進行引用。
2.一個helper的例子
  1).addOrSub.js檔案的程式碼
'use strict';
module.exports = {
    removeOne(str) {
        var rstr = "";
        for (let i = 0; i < str.length; i++) {
            if (str[i] != '1')
                rstr += str[i];
        }
        return rstr;
    }
}
2).helper.js程式碼
'use strict';
const addOrsub = require('./string/addOrsub');
module.exports = {
    show() {
        return addOrsub.removeOne("123");
    }
};
3).在cotroller中引用helper
'use strict';

const Controller = require('egg').Controller;

class CustomController extends Controller {
  async custonIndex() {
    this.ctx.body = this.ctx.helper.show();//this.ctx.helper拿到helper這個內建物件也就是進入helper.js這個檔案
  }
}

module.exports = CustomController;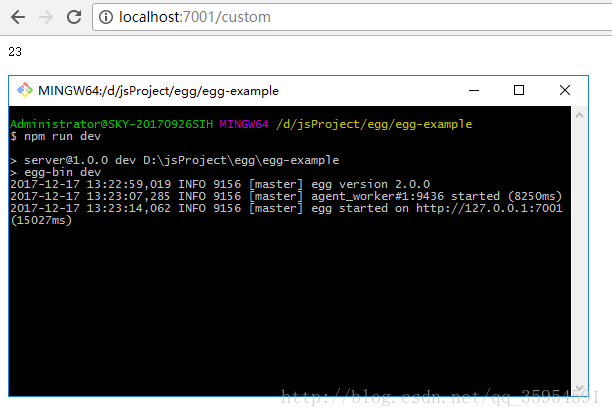
4.頁面渲染
  一個前端框架怎樣去渲染一個頁面想必大家都很想知道下面我們來講一講頁面渲染。
  egg.js使用的是nunjucks頁面模板,我用的是ejs這個模板,因為它更加貼近於html所以在本文中主要討論的是ejs模板。
  要使用ejs模板首先需要安裝這個外掛。
npm install egg-view-ejs --save然後還需要在egg的config.default.js和plugin中配置
//config.default.js檔案

'use strict';
const path = require('path');
module.exports = appInfo => {
  const config = exports = {};

  // use for cookie sign key, should change to your own and keep security
  config.keys = appInfo.name + '_1513149018654_4517';

  // add your config here
  config.middleware = [];

  config.view = {
    defaultViewEngine: 'ejs',
    defaultExtension: '.ejs'
  };
  return config;
};
//plugin.js檔案
'use strict';
// had enabled by egg
// exports.static = true;
module.exports = {
ejs: {
enable: true,
package: 'egg-view-ejs'
}
}然後我們來使用一下ejs頁面渲染
首先我們需要在app下新建一個資料夾view用來存放需要渲染的頁面(詳情參見官方教程模板渲染)
//controller程式碼
'use strict';

const Controller = require('egg').Controller;

class HomeController extends Controller {
  async index() {
    await ctx.render('/index', {
      name: "egg"
    });//index為view資料夾下需要渲染的頁面,後面跟的是後臺需要傳遞給前段的引數
  }
}

module.exports = HomeController;
//ejs模板程式碼
<html lang="en">
<head>
<meta charset="UTF-8">
<meta name="viewport" content="width=device-width, initial-scale=1.0">
<meta http-equiv="X-UA-Compatible" content="ie=edge">
<title>Document</title>
</head>
<body>
<h1>Hello ejs <%= name%></h1>//使用<%= 引數名字%>來獲取引數
</body>
</html>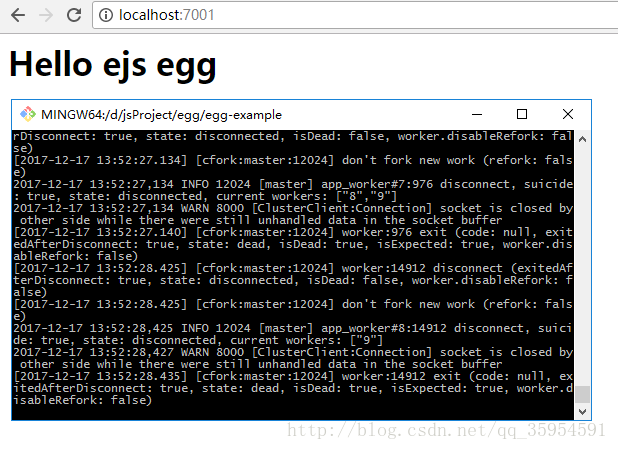
5.get和post請求傳引數
首先建立一個傳送請求的ejs頁面
<html lang="en">

<head>
    <meta charset="UTF-8">
    <meta name="viewport" content="width=device-width, initial-scale=1.0">
    <meta http-equiv="X-UA-Compatible" content="ie=edge">
    <title>Document</title>
</head>

<body>
    <form action="/home/param" method="get">
        <input type="text" name="id">
        <input type="submit" value="提交">
    </form>
    <form action="/home/paramPost" method="post">
        <input type="text" name="id">
        <input type="submit" value="提交">
    </form>
</body>
</html>
首先我們需要配置路由
因為我們在實際的開發中會使用很多路由所以這裡我們將路由改成分級的
在app下建立一個router資料夾用來存放路由檔案home.js
改寫router.js檔案程式碼
'use strict';
const RouteHome = require('./router/home');
/**
 * @param {Egg.Application} app - egg application
 */
module.exports = app => {
  const { router, controller } = app;
  RouteHome(app);
};
/*router資料夾下home.js檔案*/
module.exports = app => {
'use strict';
const {
home //名字必須和controller下的js檔案一致
} = app.controller; //獲取controller下home.js
let root = '/home'
app.get('/',home.index);
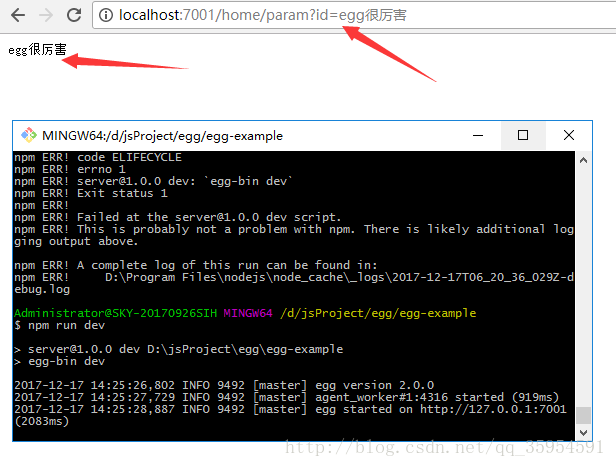
app.get(root + '/param', home.getParam);
}//接受get請求的controller
'use strict';
const Controller = require('egg').Controller;
class HomeController extends Controller {
async index() {
await this.ctx.render('/index', {
name: "egg"
})
}
async getParam(){
let id = await this.ctx.query.id;
this.ctx.body = id;
}
}
module.exports = HomeController;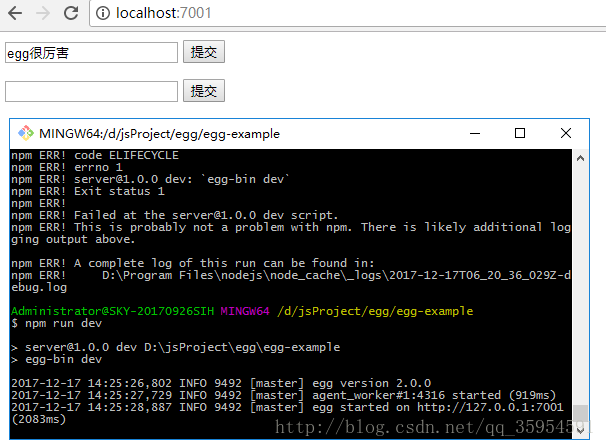
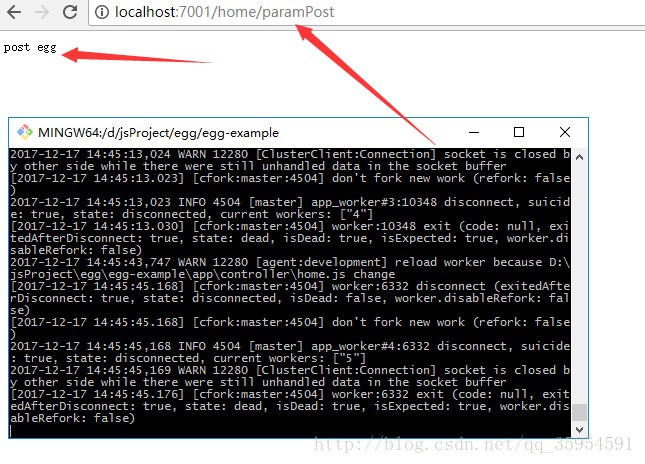
下面使用post請求
ejs模板中我們已經寫了post請求的表單只需修改一下路由和controller就可以了
//在router資料夾下的home.js檔案中增加一條路由
app.post(root + '/paramPost', home.postParam);
//在上述的controller中增加一個方法postParam()。
async postParam(){
let id = await this.ctx.request.body.id; //獲取post引數
this.ctx.body = id;
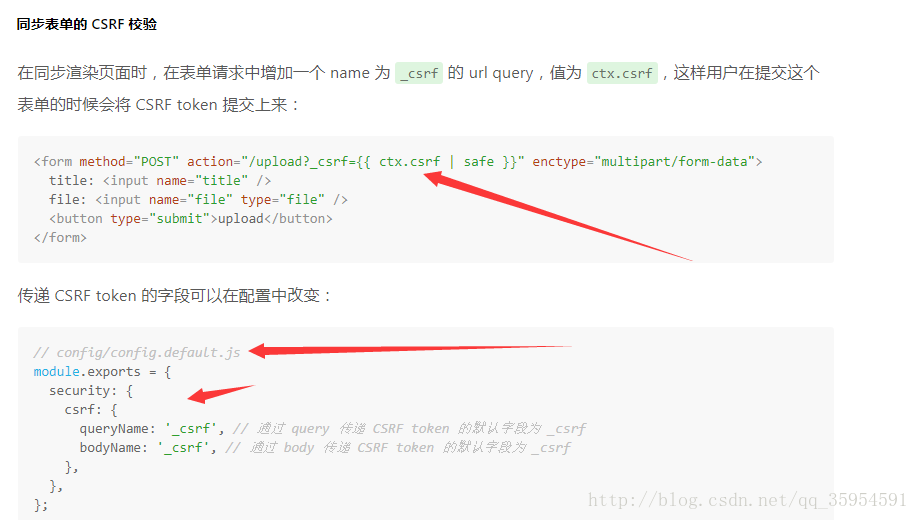
}這個時候本以為可以成功了但是卻出現403錯誤,查文件可知egg.js為了防止CSRF攻擊做了表單校驗
按照上述過程我也沒有成功,具體原因待查
當然我們也可以將安全引擎關閉,不推薦
/*config.default.js*/
config.security = {
    xframe: {
      enable: false,
    }
  };
/*plugin.js*/
security: false,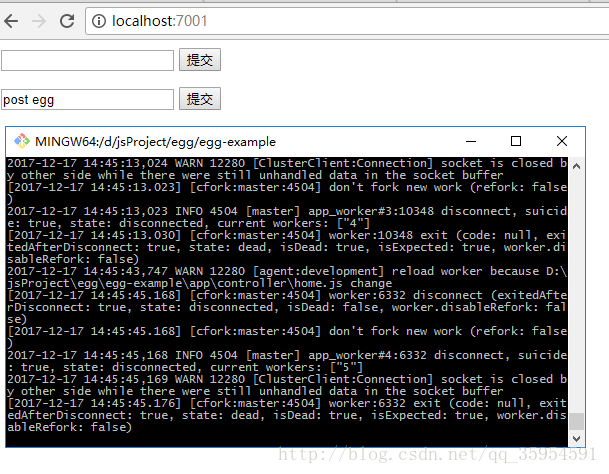
四、總結
以上便是本人對egg.js教程的部分總結,一個MVC結構應該是可以搭出來了,如有補充請留言,後續我會在學習中進行補充。