
Unity編輯器拓展之六:利用反射開啟Unity Preferences Window
阿新 • • 發佈:2019-02-13
如何利用反射開啟Unity Preferences Window
Unity Preferences Window如下圖所示:
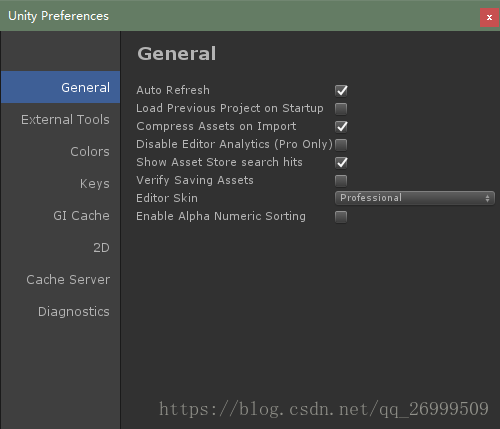
作為Unity 的引數設定視窗,這個視窗支援新增項,當然本文不介紹這個內容,本次介紹如何利用反射、以及Unity Editor程式碼來實現用程式碼開啟Preferences Window以及設定選中項。
使用ILSpy工具反編譯UnityEditor.dll後呢,在下圖目錄中的PreferencesWinndow.cs指令碼
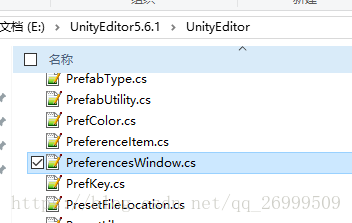
裡面有一個介面是”ShowPreferencesWindow”,從字面上就可以理解到是用來開啟PreferencesWindow的。
private static void ShowPreferencesWindow()
{
EditorWindow window = EditorWindow.GetWindow<PreferencesWindow>(true, "Unity Preferences");
window.minSize = new Vector2(500f, 400f);
window.maxSize = new Vector2(window.minSize.x, window.maxSize.y);
window.position = new Rect(new Vector2(100 該函式是私有的,沒辦法直接調,利用反射試一下。
using System.Collections;
using System.Collections.Generic;
using UnityEngine;
using UnityEditor;
using System.Reflection;
using System;
public class OpenPreferencesWindow : EditorWindow
{
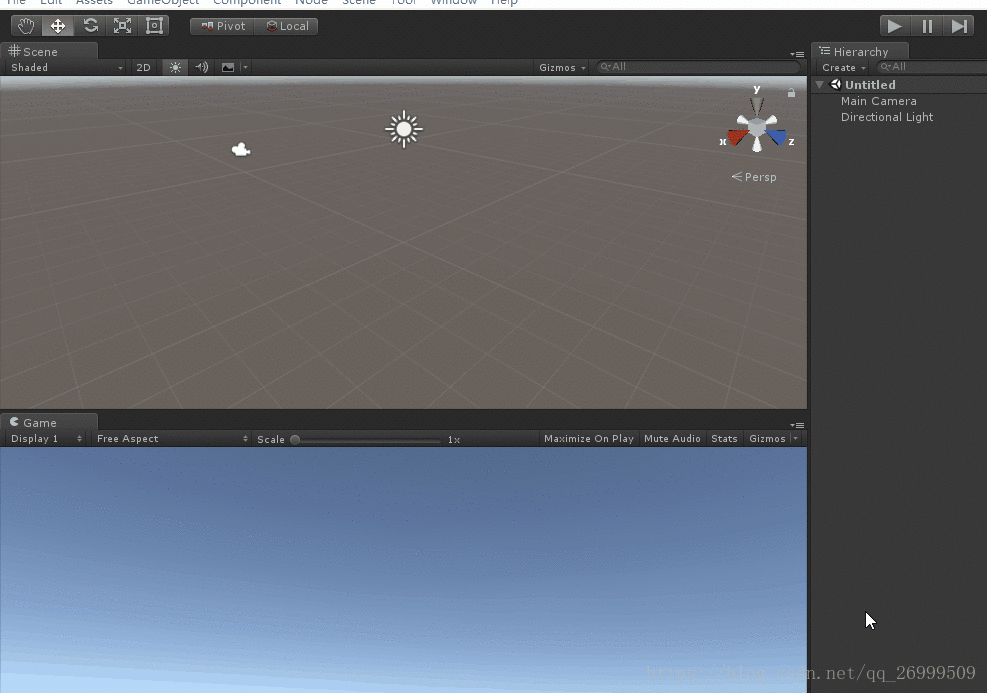
[MenuItem("Tool/OpenPreferencesWindow" 效果圖:
接下來,就是如何實現在開啟window之後直接選中某一項。
檢視一下OnEnable函式,初始化裡面做了啥?
private void OnEnable()
{
    this.prefWinExtensions = ModuleManager.GetPreferenceWindowExtensions();
    this.ReadPreferences();
    this.m_Sections = new List<PreferencesWindow.Section>();
    this.m_Sections.Add(new PreferencesWindow.Section("General", new PreferencesWindow.OnGUIDelegate(this.ShowGeneral)));
    this.m_Sections.Add(new PreferencesWindow.Section("External Tools", new PreferencesWindow.OnGUIDelegate(this.ShowExternalApplications)));
    this.m_Sections.Add(new PreferencesWindow.Section("Colors", new PreferencesWindow.OnGUIDelegate(this.ShowColors)));
    this.m_Sections.Add(new PreferencesWindow.Section("Keys", new PreferencesWindow.OnGUIDelegate(this.ShowKeys)));
    this.m_Sections.Add(new PreferencesWindow.Section("GI Cache", new PreferencesWindow.OnGUIDelegate(this.ShowGICache)));
    this.m_Sections.Add(new PreferencesWindow.Section("2D", new PreferencesWindow.OnGUIDelegate(this.Show2D)));
    if (Unsupported.IsDeveloperBuild() || UnityConnect.preferencesEnabled)
    {
        this.m_Sections.Add(new PreferencesWindow.Section("Unity Services", new PreferencesWindow.OnGUIDelegate(this.ShowUnityConnectPrefs)));
    }
    this.m_RefreshCustomPreferences = true;
}
與PreferencesWindow圖對比之後發現,m_Sections這個集合裡存的Section物件應該就是Window左側的可選項了。
接著看看Section這個類
private class Section
{
    public GUIContent content;
    public PreferencesWindow.OnGUIDelegate guiFunc;
    public Section(string name, PreferencesWindow.OnGUIDelegate guiFunc)
    {
        this.content = new GUIContent(name);
        this.guiFunc = guiFunc;
    }
    public Section(string name, Texture2D icon, PreferencesWindow.OnGUIDelegate guiFunc)
    {
        this.content = new GUIContent(name, icon);
        this.guiFunc = guiFunc;
    }
    public Section(GUIContent content, PreferencesWindow.OnGUIDelegate guiFunc)
    {
        this.content = content;
        this.guiFunc = guiFunc;
    }
}
PreferencesWindow在OnEnable的時候,就有例項化幾個物件,其中傳入的第一個引數,例如“Colors”,就存在類的content中,那麼只需要反射到這個content的,再遍歷這個m_Sections,就可以實現選中左側了。
完整程式碼,如下:
using System.Collections;
using System.Collections.Generic;
using UnityEngine;
using UnityEditor;
using System.Reflection;
using System;

public class OpenPreferencesWindow : EditorWindow
{
    [MenuItem("Tool/OpenPreferencesWindow")]
    public static void Open()
    {
        OpenPreferencesWindow editor = EditorWindow.GetWindow<OpenPreferencesWindow>();
    }

    private void OnGUI()
    {
        if (GUILayout.Button("開啟PerferencesWindow"))
        {
            Assembly assembly = Assembly.GetAssembly(typeof(UnityEditor.EditorWindow));
            Type type = assembly.GetType("UnityEditor.PreferencesWindow");
            type.GetMethod("ShowPreferencesWindow", BindingFlags.NonPublic | BindingFlags.Static).Invoke(null, null);

            EditorWindow window = EditorWindow.GetWindow(type);

            FieldInfo sectionsField = type.GetField("m_Sections", BindingFlags.Instance | BindingFlags.NonPublic);
            IList sections = sectionsField.GetValue(window) as IList;

            Type sectionType = sectionsField.FieldType.GetGenericArguments()[0];
            FieldInfo sectionContentField = sectionType.GetField("content", BindingFlags.Instance | BindingFlags.Public);
            for (int i = 0; i < sections.Count; i++)
            {
                GUIContent sectionContent = sectionContentField.GetValue(sections[i]) as GUIContent;
                if (sectionContent.text == "Colors")
                {
                    FieldInfo sectionIndexField = type.GetField("m_SelectedSectionIndex", BindingFlags.Instance | BindingFlags.NonPublic);
                    sectionIndexField.SetValue(window, i);
                    return;
                }
            }
        }
    }
}
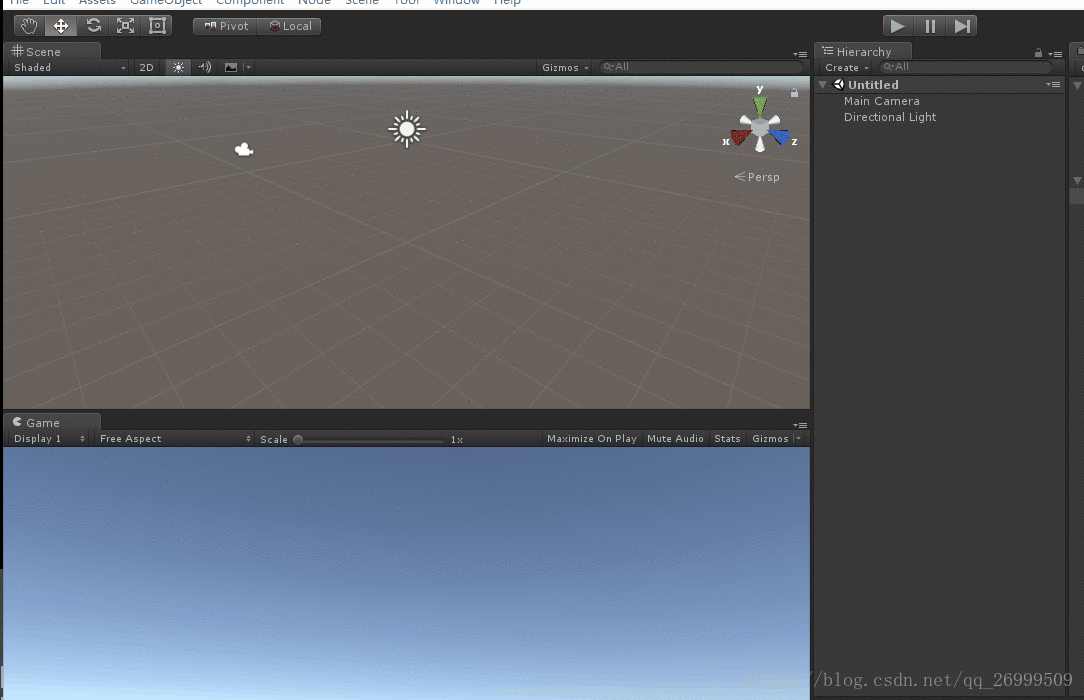
效果圖:
如果外掛中有在PreferencesWindow中新增項,就可以通過這個讓使用者快捷打開了。
通過這篇文章,希望可以幫助大家學會如何分析反編譯出的程式碼,分析UnityEditor如何實現的編輯器,以此來寫出更加實用的外掛
以上知識分享,如有錯誤,歡迎指出,共同學習,共同進步。