關於Nine-patch的使用
近期在學習製作聊天的介面,設計到了圖片的拉伸問題等等,參考了部分書籍學習了製作Nine-Patch圖片。
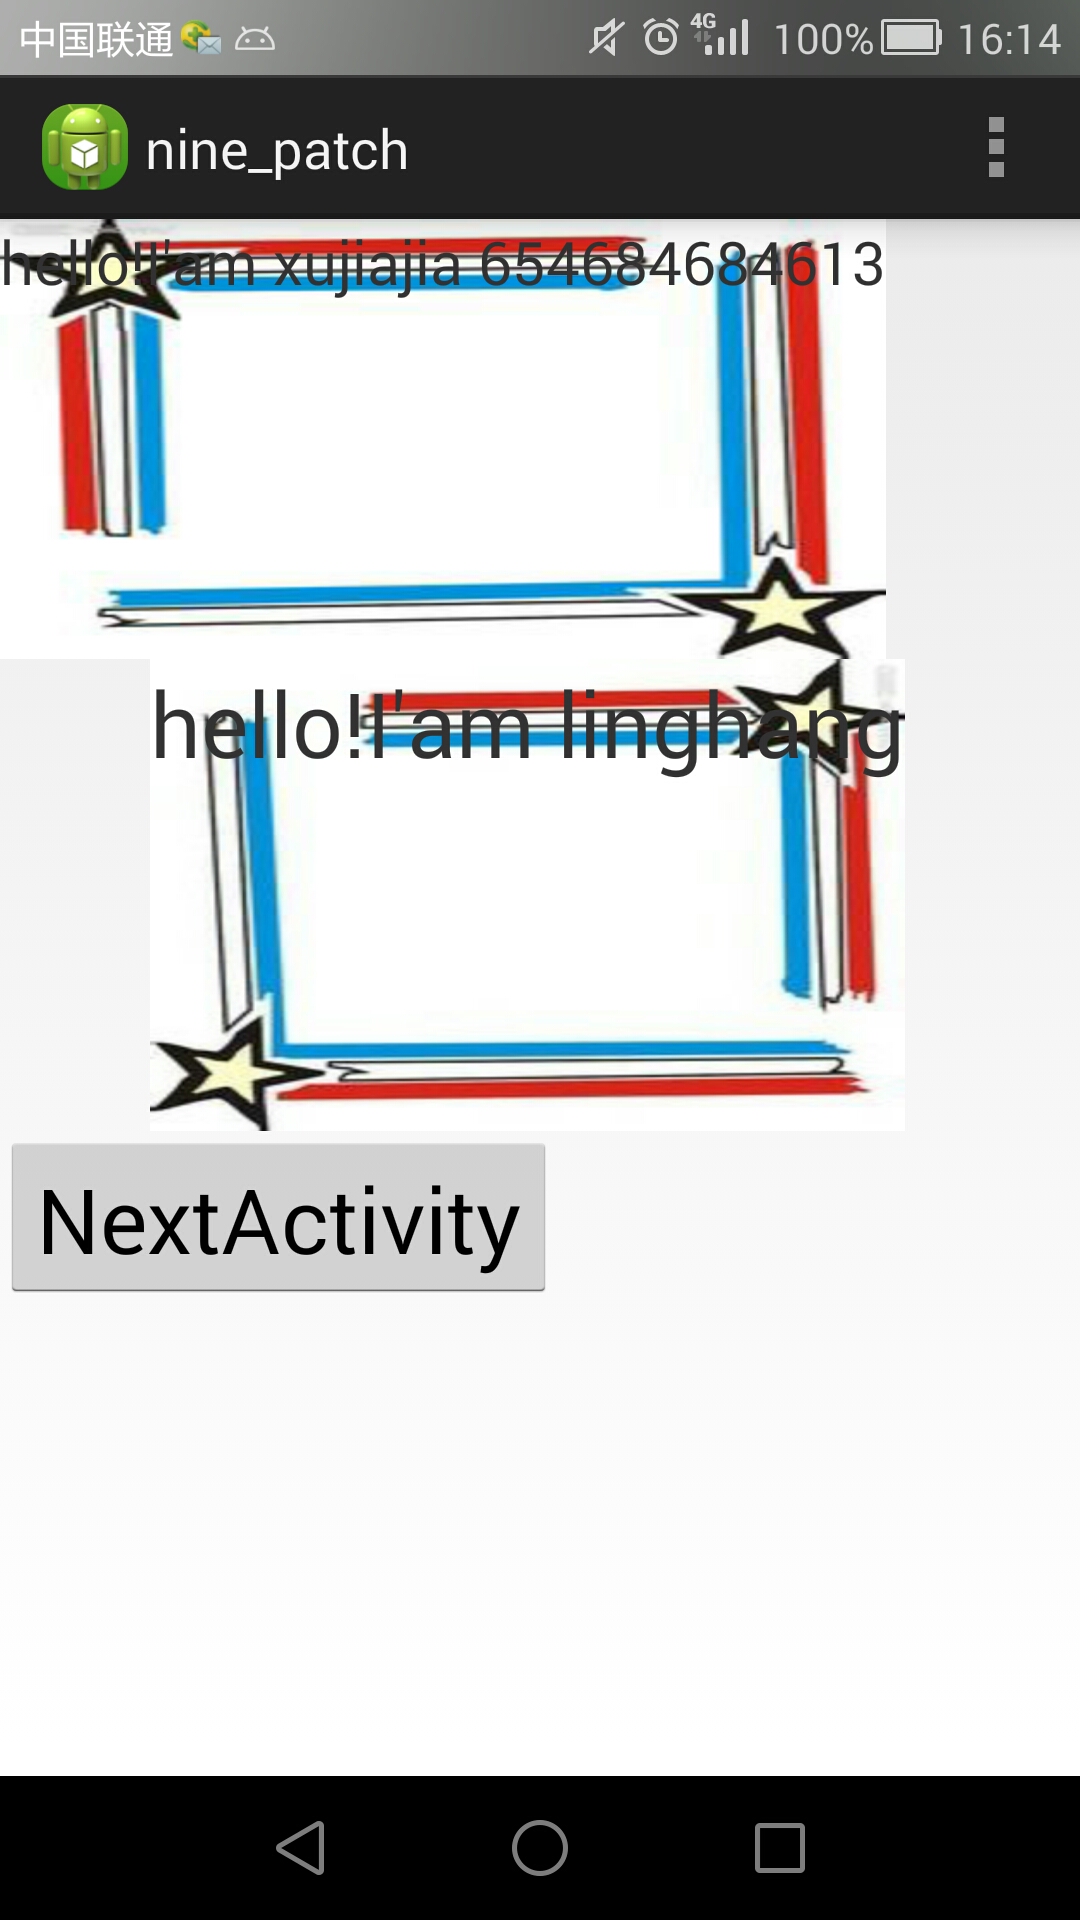
首先先看不使用Nine_patch的程式碼與效果:
<LinearLayout xmlns:android="http://schemas.android.com/apk/res/android"
xmlns:tools="http://schemas.android.com/tools"
android:layout_width="match_parent"
android:layout_height="match_parent"
android:orientation="vertical"
><TextView
android:layout_width="wrap_content"
android:layout_height="wrap_content"
android:background="@drawable/frame_left2"
android:text="hello!I'am xujiajia 654684684613"
android:textSize="20sp"
android:layout_marginRight="50dp"/>
<TextView
android:layout_width="wrap_content"
android:layout_height="wrap_content"
android:background="@drawable/frame_right2"
android:textSize="30sp"
android:text="hello!I'am linghang"
android:layout_marginLeft="50dp"/><LinearLayout
android:layout_width="wrap_content"
android:layout_height="wrap_content"
>
<Button
android:id="@+id/Next"
android:layout_width="match_parent"
android:layout_height="wrap_content"
android:textSize="30sp"
android:text="NextActivity"
/>
</LinearLayout>
</LinearLayout>

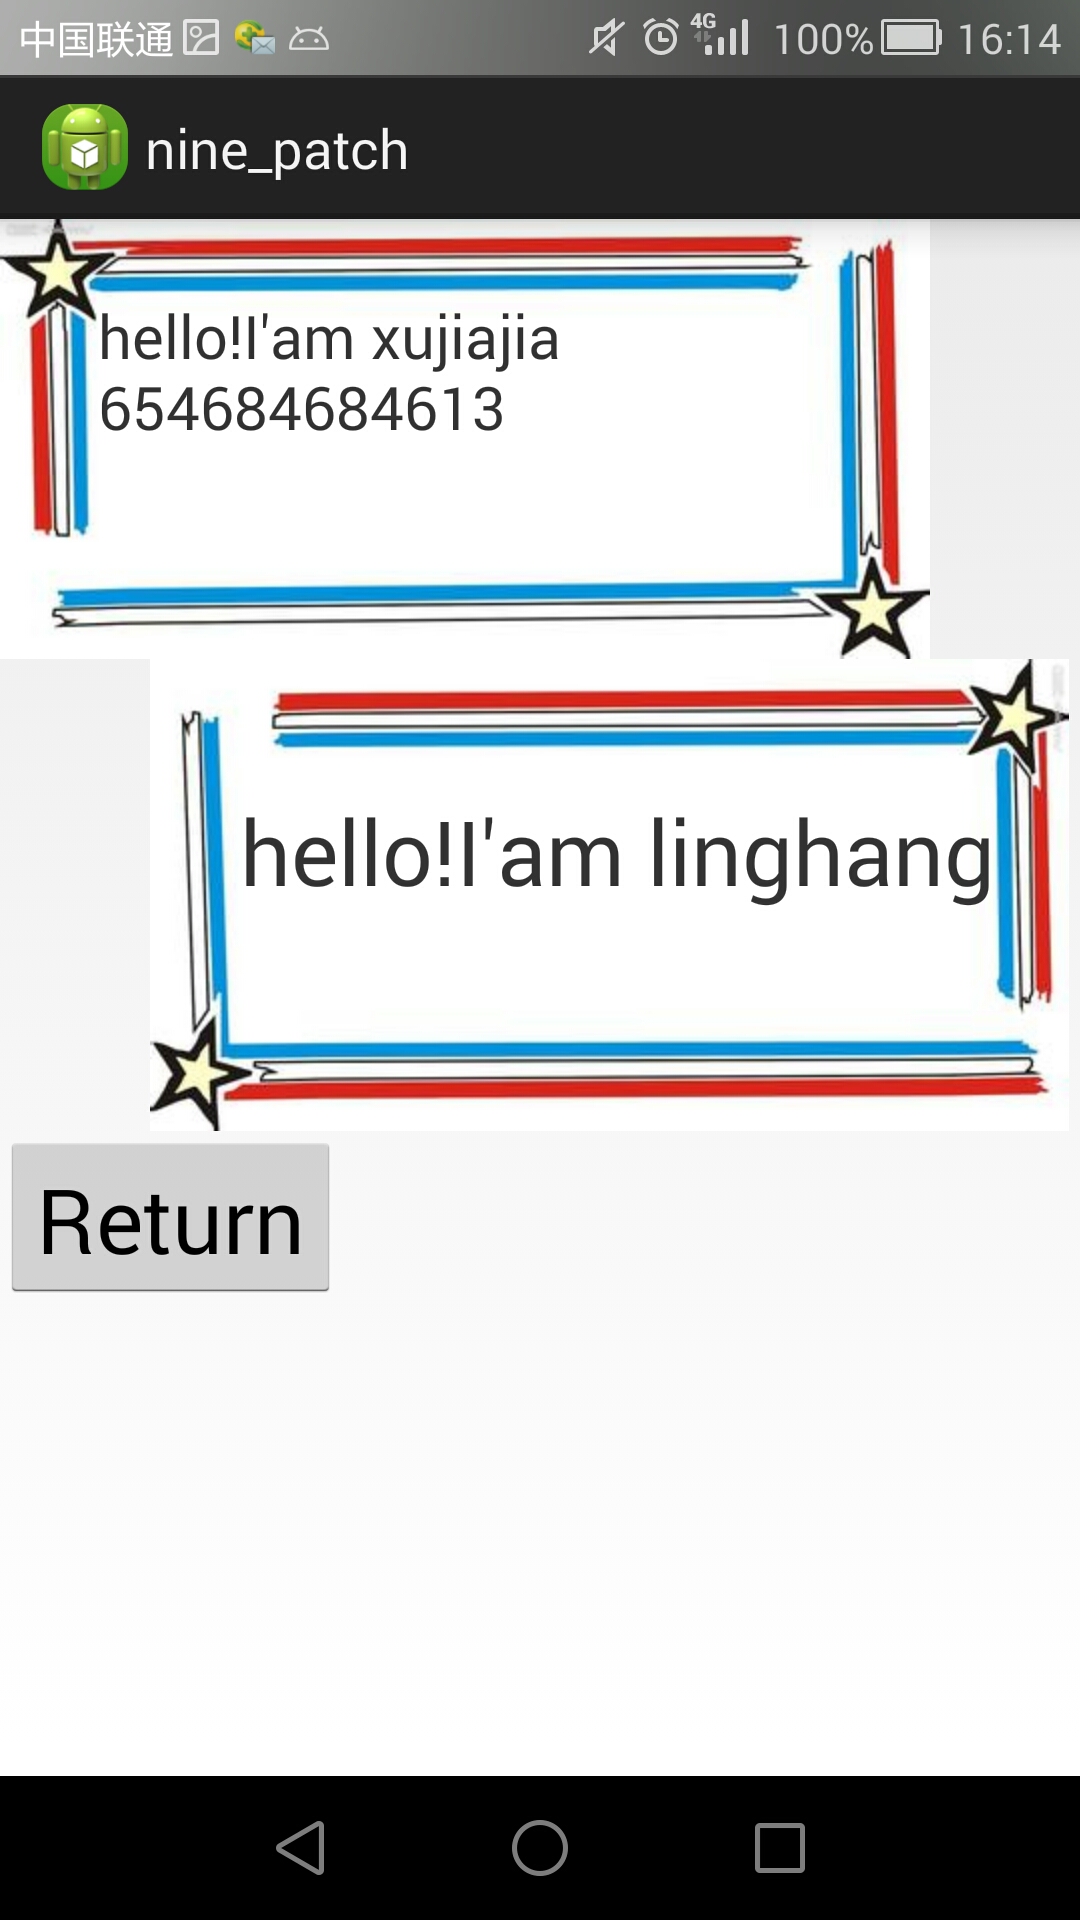
再看一下使用了Nine_Patch的程式碼以及效果:
<?xml version="1.0" encoding="utf-8"?>
<LinearLayout xmlns:android="http://schemas.android.com/apk/res/android"
android:layout_width="match_parent"
android:layout_height="match_parent"
android:orientation="vertical"
><TextView
android:layout_width="wrap_content"
android:layout_height="wrap_content"
android:background="@drawable/frame_left3"
android:text="hello!I'am xujiajia 654684684613"
android:textSize="20sp"
android:layout_marginRight="50dp"/>
<TextView
android:layout_width="wrap_content"
android:layout_height="wrap_content"
android:background="@drawable/frame_right3"
android:textSize="30sp"
android:text="hello!I'am linghang"
android:layout_marginLeft="50dp"/>
<LinearLayout
android:layout_width="wrap_content"
android:layout_height="wrap_content"
>
<Button
android:id="@+id/Return"
android:layout_width="match_parent"
android:layout_height="wrap_content"
android:textSize="30sp"
android:text="Return"
/>
</LinearLayout>
</LinearLayout>

可以很清楚的看到,兩者在程式碼上只有在background中使用到的圖片不同,其他的都一樣,這就是Nine_patch的作用了。
首先先看一下drawable中的圖片:

使用Nine_patch處理過的圖片名字後都會有“.9”,但是在使用的時候不需要寫出來,比如上述程式碼:
android:background="@drawable/frame_left3"
android:background="@drawable/frame_right3"
接下來就是講下 Nine_patch的使用。
首先先要找到Nine_patch。
它位於SDK資料夾中的tools中,名為draw9patch.bat,找到後雙擊開啟即可。
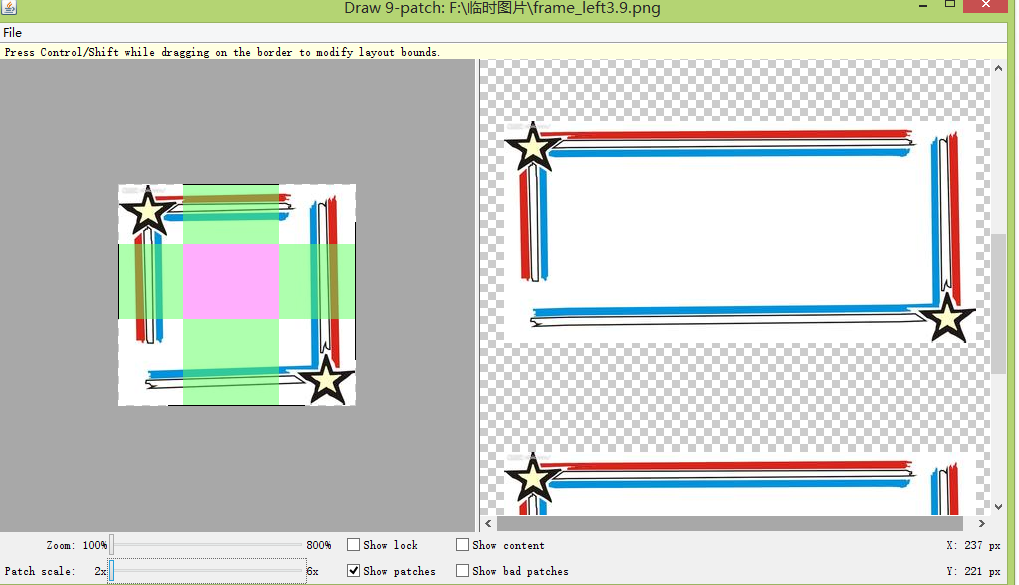
以下是在我電腦中的目錄:D:\安卓環境\adt-bundle-windows-x86_64-20140702\sdk\tools
這是效果:

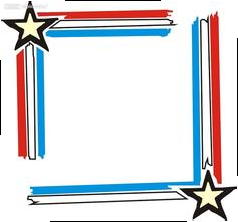
另外是show一下做的圖片的前後對比:


在png的圖片中,僅僅就是多了幾條小黑條,但是在layout的圖片使用中就完全不同了。
(本人比較愚笨,在此點上糾結了很久,一直在糾結為什麼做過的圖片沒有什麼變化,使用之後才明白其理)
小黑條自己開啟檔案後滑鼠點點就可以了,在此說一下上下左右四面的小黑條的不同作用。
左邊線條:當圖片進行縱向拉伸時,由此線條從圖片左邊水平位移到圖片右邊所形成的區域都是可以進行縱向拉伸的,此區域外則不進行拉伸,保留原來效果;
上邊線條:當圖片進行水平拉伸時,由此線條從圖片上邊垂直位移到圖片下邊所形成的區域都是可以進行橫向拉伸的,此區域外則不進行拉伸,保留原來效果;
(簡單地說左邊和上邊的線條就是決定你圖片拉伸的區域)
右邊線條:控制圖片填充內容的垂直padding留白;
下邊線條:控制圖片填充內容的水平padding留白;
(這兩點就是確定你的文字所成列的區域)
