
Python Deep Learning: Part 1
Python Deep Learning: Part 1
Setting up a Deep Learning Environment with Keras
First section in a series of Python Deep Learning posts.
Setting up a Deep Learning Environment with Keras
Let’s look at a concrete example of a neural network that uses the Python library Keras to learn to classify handwritten digits. The problem we’re trying to solve here is to classify grayscale images of handwritten digits (28 × 28 pixels) into their 10 categories (0 through 9). We’ll use the MNIST dataset, a classic in the machine-learning community, which has been around almost as long as the field itself and has been intensively studied. It’s a set of 60,000 training images, plus 10,000 test images, assembled by the National Institute of Standards and Technology (the NIST in MNIST) in the 1980s.
The MNIST dataset comes preloaded in Keras, in the form of a set of four Numpy arrays.
The process of setting up a Deep Learning environment is fairly involved and consists of the following steps, which this appendix will cover in detail:
- Install the Python scientific suite — Numpy and SciPy — and make sure you have a Basic Linear Algebra Subprogram (BLAS) library installed so your models run fast on CPU.
- Install two extras packages that come in handy when using Keras: HDF5 (for saving large neural-network files) and Graphviz (for visualizing neural — network architectures).
- Make sure your GPU can run deep-learning code, by installing CUDA drivers and cuDNN.
- Install a backend for Keras: TensorFlow, CNTK, or Theano.
- Install Keras.
Note: I am currently working on getting my AMD GPUs up and running with ROCm and Tensorflow. Hopefully have the kinks worked and some instructions to follow. More to come…
The only difficult part is setting up GPU support — otherwise, the entire process can be done with a few commands and takes only a couple of minutes.
Note: I will not be going through a GPU setup for Nvidia Based GPUs.
$ sudo apt update$ sudo apt dist-upgrade
By default, Ubuntu uses Python 2 when it installs Python packages such as python-pip. If you wish to use Python 3 instead, you should use the python3 prefix instead of python. Either was, setting up a virtual environment would be the first step. You can refer back to previous post I’ve done called: Setup a Python Virtualenv on Ubuntu 16.04, if you can need further information.
$ virtualenv -p python3 deeplearningUsing base prefix '/usr'New python executable in /home/jon/deeplearning/bin/python3Also creating executable in /home/jon/deeplearning/bin/pythonInstalling setuptools, pip, wheel...done.
$ source deeplearning/bin/activate
(deeplearning) [email protected]:~$
When you’re installing packages using pip, keep in mind that by default, it targets Python 2. To target Python 3, you should use pip3:
$ pip3 install tensorflow-gpu
Install a BLAS library (OpenBLAS, in this case), to ensure that you can run fast tensor operations on your CPU:
$ sudo apt install build-essential cmake git unzip pkg-config libopenblas-dev liblapack-dev
Install the Python scientific suite: Numpy, SciPy and Matplotlib. This is necessary in order to perform any kind of machine learning or scientific computing in Python, regardless of whether you’re doing deep learning:
$ sudo apt install python-numpy python-scipy python-matplotlib python-yaml
Install HDF5. This library, originally developed by NASA, stores large files of numeric data in an efficient binary format. It will allow you to save your Keras models to disk quickly and efficiently:
$ sudo apt install libhdf5-serial-dev python-h5py
Install Graphviz and pydot-ng, two packages that will let you visualize Keras models. They aren’t necessary to run Keras, so you could skip this step and install these packages when you need them.
$ sudo apt install graphviz$ pip install pydot-ng
Additional packages that are used in some of the code examples:
$ sudo apt install python-opencv
Installing Keras and Running the MNIST Example
You can install Keras from PyPI:
$ pip install keras
Alternatively, you can install Keras from GitHub. Doing so will allow you to access the keras/examples folder, which contains many example scripts for you to learn from:
$ cd keras
$ python setup.py install
$ python examples/mnist_cnn.py
Note that running this example to completion may take a few minutes, so feel free to force-quit it (Ctrl-C) once you’ve verified that it’s working normally.
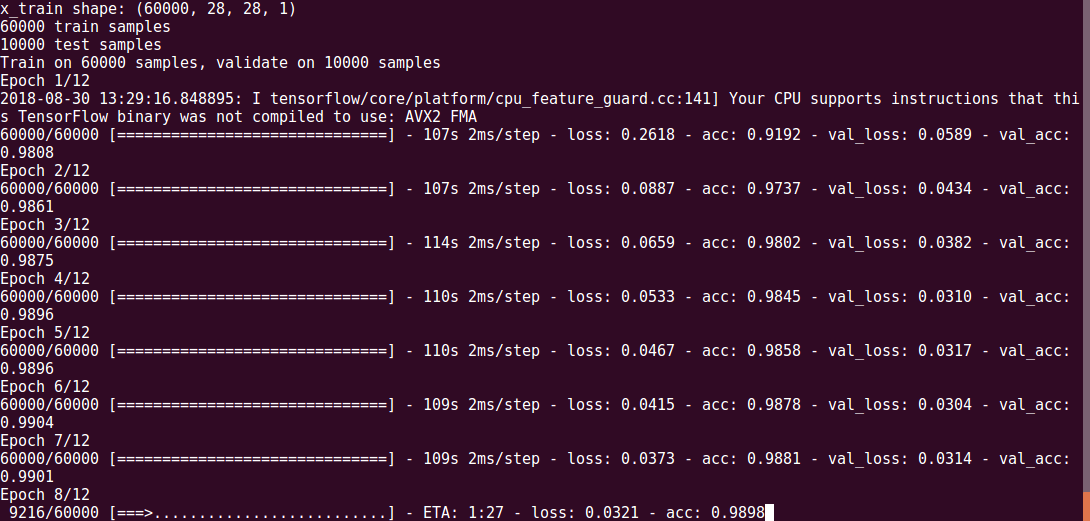
After ~2 minutes:


After ~ 12 minutes:

After ~20 minutes, this what a completed run should look like:

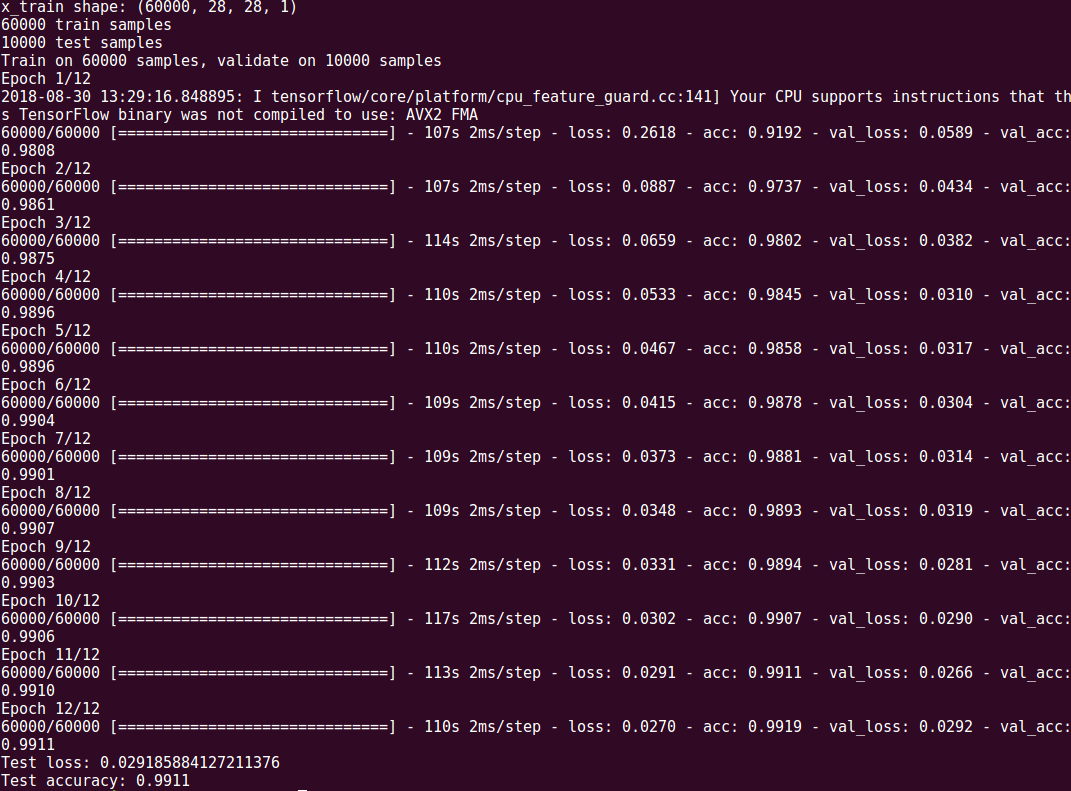
Note: I’m using an AMD Ryzen™ 5 2500U Quad-Core with AMD Radeon™ Vega M Graphics — your results may vary.
After you’ve run Keras at least once, the Keras configuration file can be found at:
$ /.keras/keras.json.
You can edit it to select the backend that Keras runs on: tensorflow, theano, or cntk. Your configuration file should like this:
{ "image_data_format": "channels_last", "epsilon": 1e-07, "floatx": "float32", "backend": "tensorflow"}While the Keras script examples/mnist_cnn.py is running, if you have it setup for GPU utlization, you can monitor GPU utilization in a different shell window:
$ watch -n 5 NVIDIA-smi -a --display=utilization
That’s it! Next we’ll take a quick closer look at the MNIST Dataset.