翻翻git之---閃爍動畫的TextView RevealTextView
阿新 • • 發佈:2018-12-23
今天上一個自身閃爍,用於吸引使用者注意力的TextView * RevealTextView*
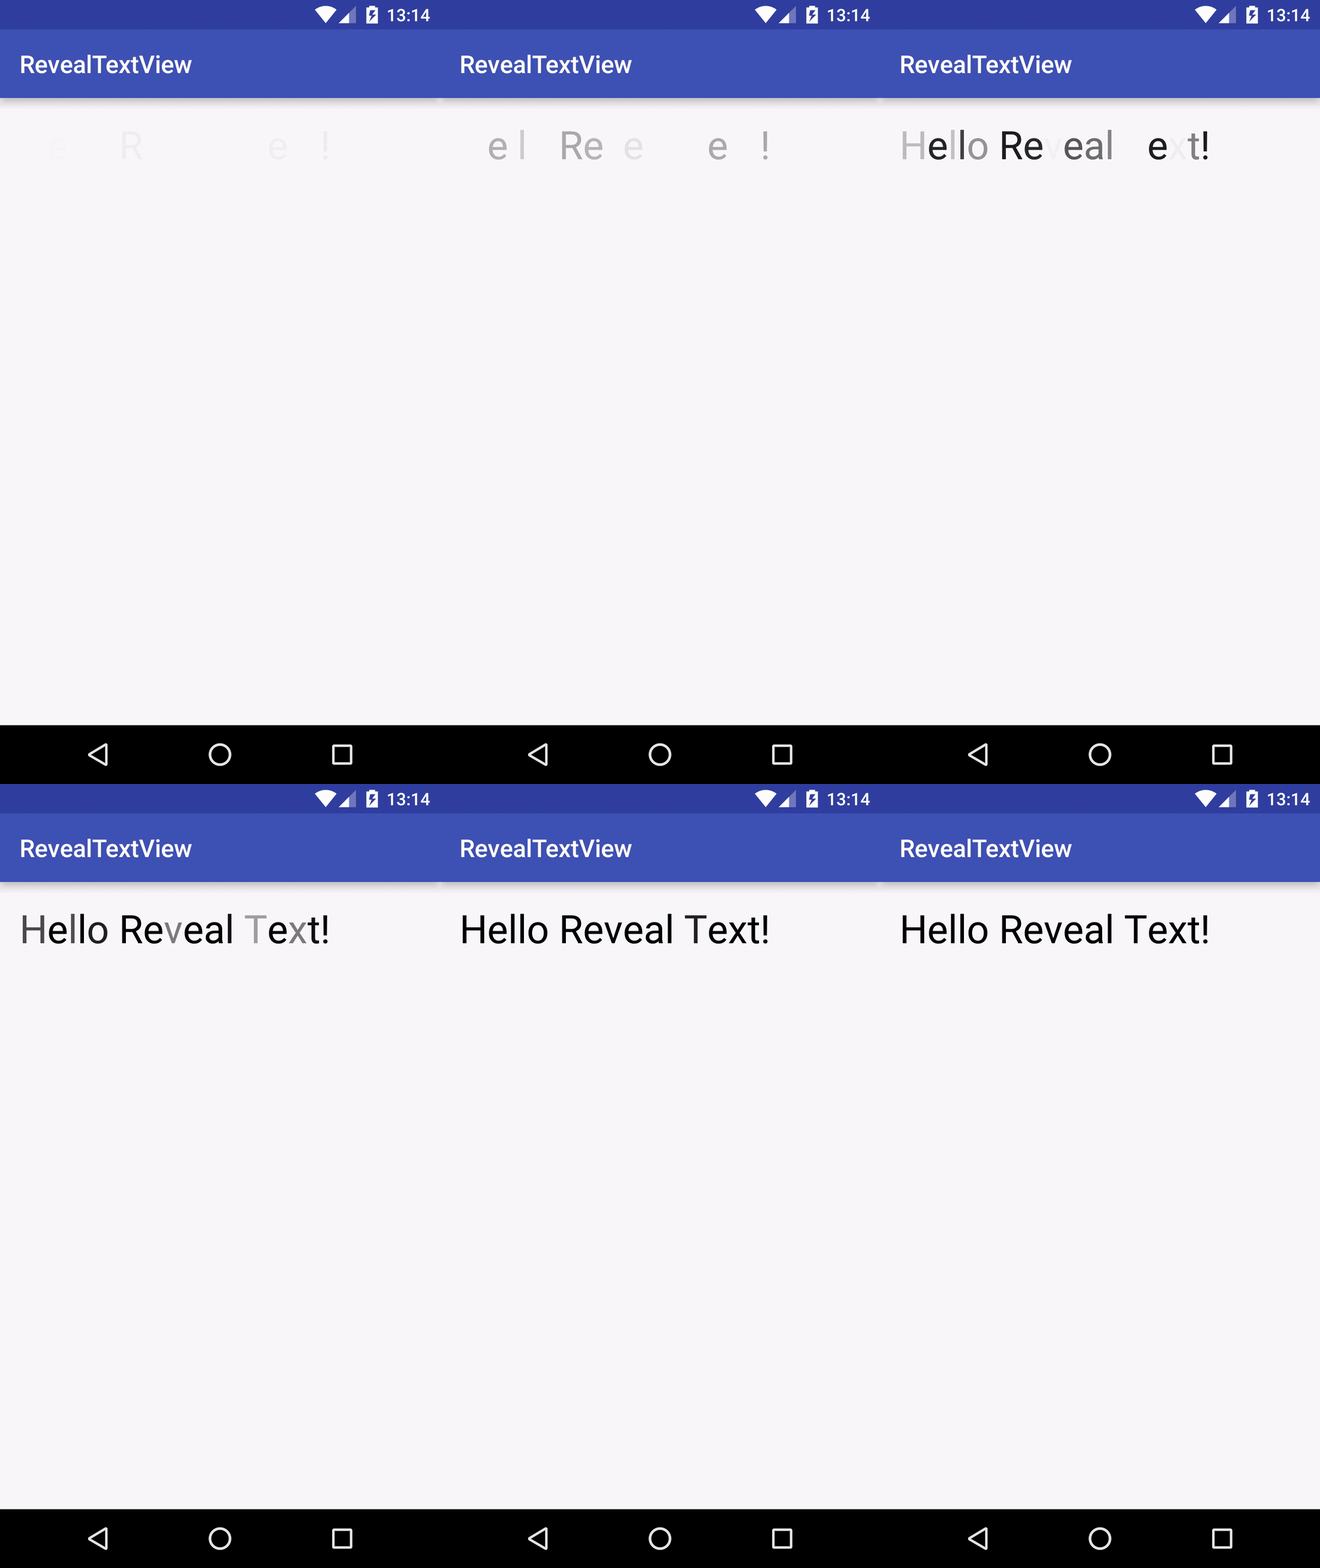
先上下效果圖:(這圖片夠大的)

How to use?
Gradle
dependencies {
  compile 'com.antonionicolaspina:revealtextview:2.0'
}
Eclipse
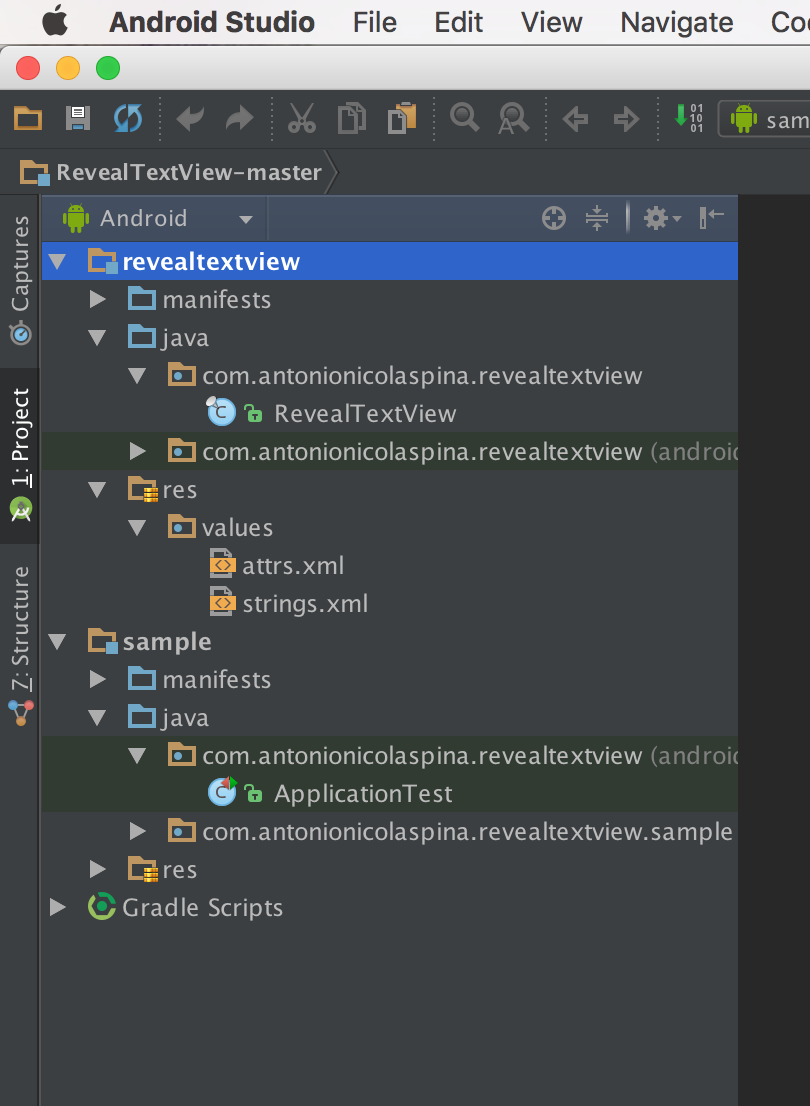
Copy下 attires.xml 和RevealTextView.java就行了,內容不多。
接下來我們來拆拆實現,先看一下自定義Styleable的東西
<declare-styleable name="RevealTextView"> 就只有持續時間和文字
接下來看具體實現
public final class RevealTextView extends TextView implements Runnable, ValueAnimator.AnimatorUpdateListener繼承於TextView 實現多執行緒以及動畫的時間,一看就知道 他沒有用諸如Handler的實現,純粹的主執行緒子執行緒的相互操作配合動畫來實現閃爍效果
protected void init(TypedArray attrs) {
try {
animationDuration = attrs.getInteger(R.styleable.RevealTextView_rtv_duration, animationDuration);
text = attrs.getString(R.styleable.RevealTextView_android_text);
} finally {
attrs.recycle();
}
setAnimatedText(text); 接著就是初始化,然後就是呼叫開始動畫的操作,這裡是把標籤傳來的字送了過去。
public void setAnimatedText(String text) {
    this.text = text;
    alphas    = new double[text.length()];
    for(int i=0; i<text.length(); i++) {
      alphas[i] = Math.random() - 1.0f;
    }

    setText(text);

    replayAnimation();
  }
這邊用一個數組作為整個字串的容器,然後把每個字元生成一個隨機數放入容器中,然後開始多執行緒的操作。
public void replayAnimation() {
    if (null != text) {
      post(this);
    }
  }
當字串不為空開始執行多執行緒操作。
並且這2個方法是public的,給予我們外部呼叫的。
 @Override
  public void run() {
    final int color = getCurrentTextColor();

    red   = Color.red(color);
    green = Color.green(color);
    blue  = Color.blue(color);

    ValueAnimator animator = ValueAnimator.ofFloat(0f, 2f);
    animator.setDuration(animationDuration);
    animator.addUpdateListener(this);
    animator.start();
  }
在run方法中執行了 我們的動畫的初始化操作
  @Override
  public void onAnimationUpdate(ValueAnimator valueAnimator) {
    final float value = (float) valueAnimator.getAnimatedValue();
    SpannableStringBuilder builder = new SpannableStringBuilder(text);
    for(int i=0; i<text.length(); i++) {
      builder.setSpan(new ForegroundColorSpan(Color.argb(clamp(value + alphas[i]), red, green, blue)), i, i+1, Spanned.SPAN_EXCLUSIVE_EXCLUSIVE);
    }
    setText(builder);
  }
在onAnimationUpdate中對字型進行二次處理最終實現了 圖中的效果

